How to Cut the Turkey: A Step-by-Step Guide
Thanksgiving is just around the corner, and you’re getting ready to serve the star of the show – the turkey. But before you go digging in, it’s essential to know how to cut the turkey properly. Whether you’re a seasoned chef or a first-time cook, follow this step-by-step guide to ensure your turkey is perfectly sliced and ready to serve.
Step 1: Gather the Right Tools
Before you begin carving, make sure you have the necessary tools on hand:
- A sharp carving knife
- A carving fork or tongs
- A cutting board
- A platter or serving dish
Having these tools ready will make the process much easier and ensure clean cuts.
Step 2: Let the Turkey Rest
After removing the turkey from the oven, let it rest for about 20 minutes to allow the juices to redistribute. This resting time will make the meat juicier and easier to carve.
Step 3: Remove the Legs and Thighs
Start by cutting through the skin that connects the leg to the body. Pull the leg away from the turkey until you can see the joint, and then use your knife to carefully separate the leg from the body. Repeat on the other side. Once the legs are removed, locate the joint between the thigh and the drumstick and cut through it. Place the thighs and drumsticks on your serving platter.
Step 4: Remove the Wings
Next, hold the turkey firmly in one hand and locate the joint where the wing attaches to the body. Cut through the joint to remove the wing. Repeat on the other side. Place the wings on your serving platter.
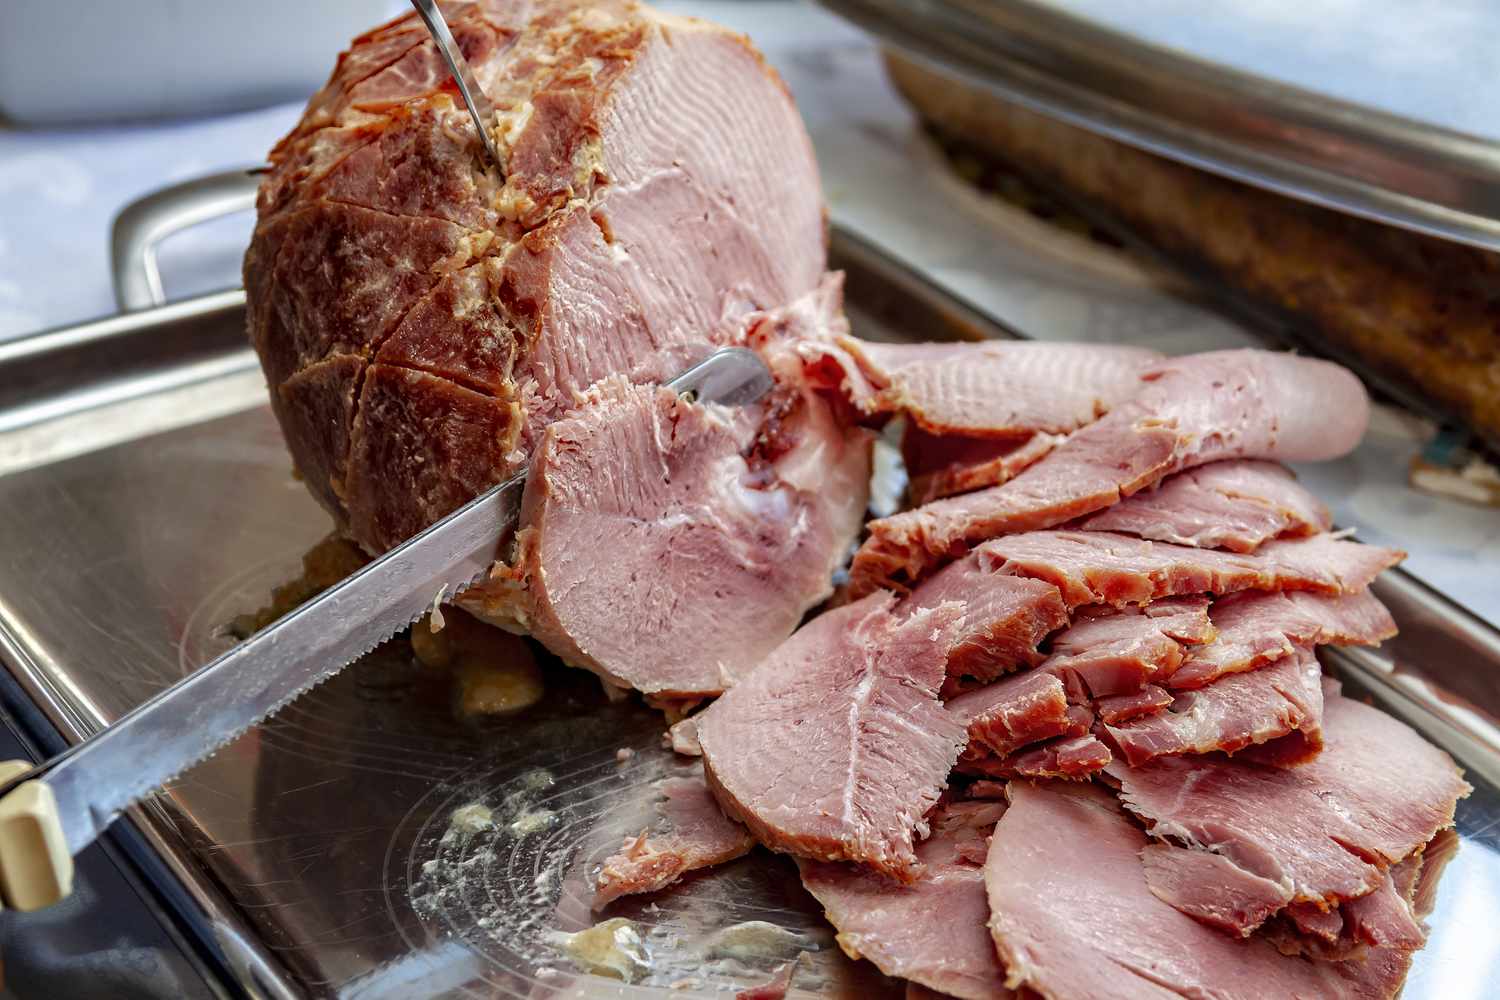
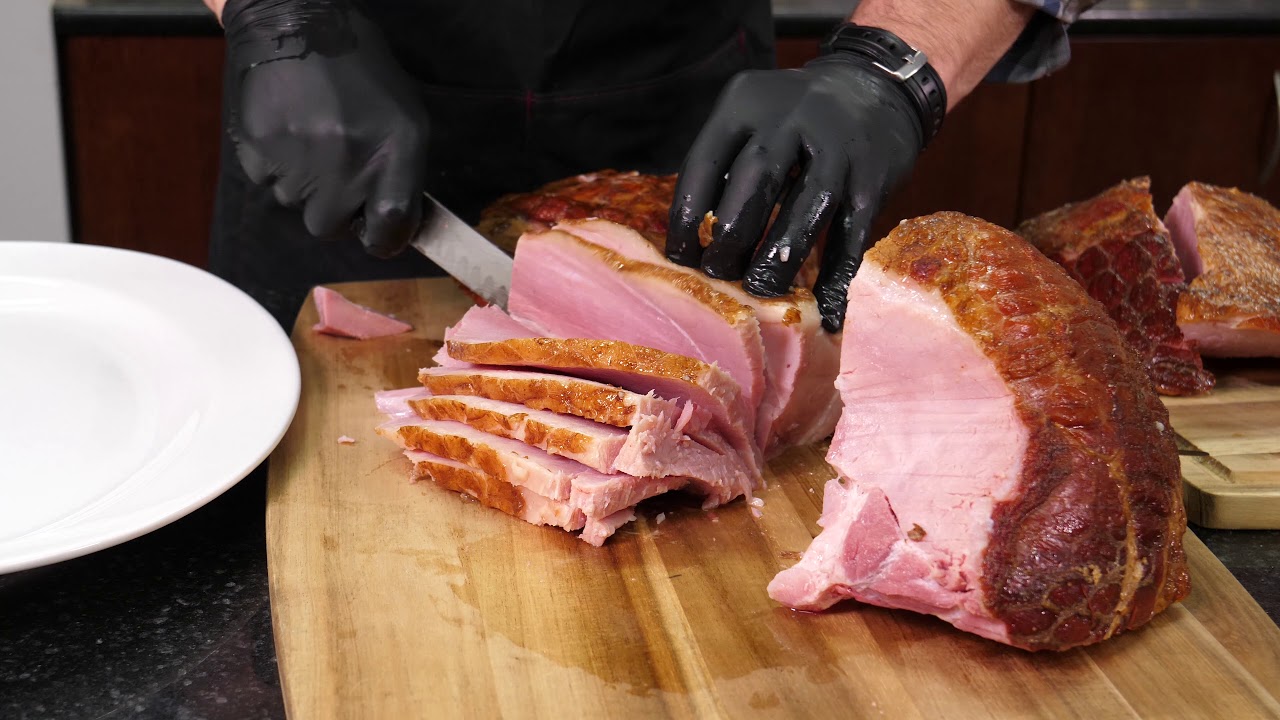
Step 5: Slice the Breast Meat
Now it’s time to slice the breast meat. Start by making a horizontal cut above the wing toward the breastbone. Use your hand to gently pull the breast away from the bone, and use smooth, even strokes to slice the meat. Aim for slices that are about ½ inch thick. Repeat on the other side.
Step 6: Arrange and Serve
Once all the turkey meat is carved, arrange it artfully on a platter. Garnish with fresh herbs for an extra touch of elegance. Serve your perfectly carved turkey with all the delicious Thanksgiving side dishes and enjoy!
Remember, practice makes perfect when it comes to carving the turkey. Don’t be discouraged if your first attempt doesn’t look picture-perfect. With time and experience, you’ll become a pro at carving the Thanksgiving turkey. Happy carving!
Was this page helpful?
Read Next: How To Cut Apples For Dehydrating
Related Articles