Carving a Smithfield Spiral Ham: A Step-by-Step Guide
Carving a Smithfield spiral ham can seem like a daunting task, but with the right technique, it can be a breeze. Whether you’re preparing for a holiday feast or a special occasion, knowing how to carve a spiral ham properly will ensure that you get the most out of this delicious cut of meat. Follow these simple steps to carve your Smithfield spiral ham like a pro:
Step 1: Gather Your Tools
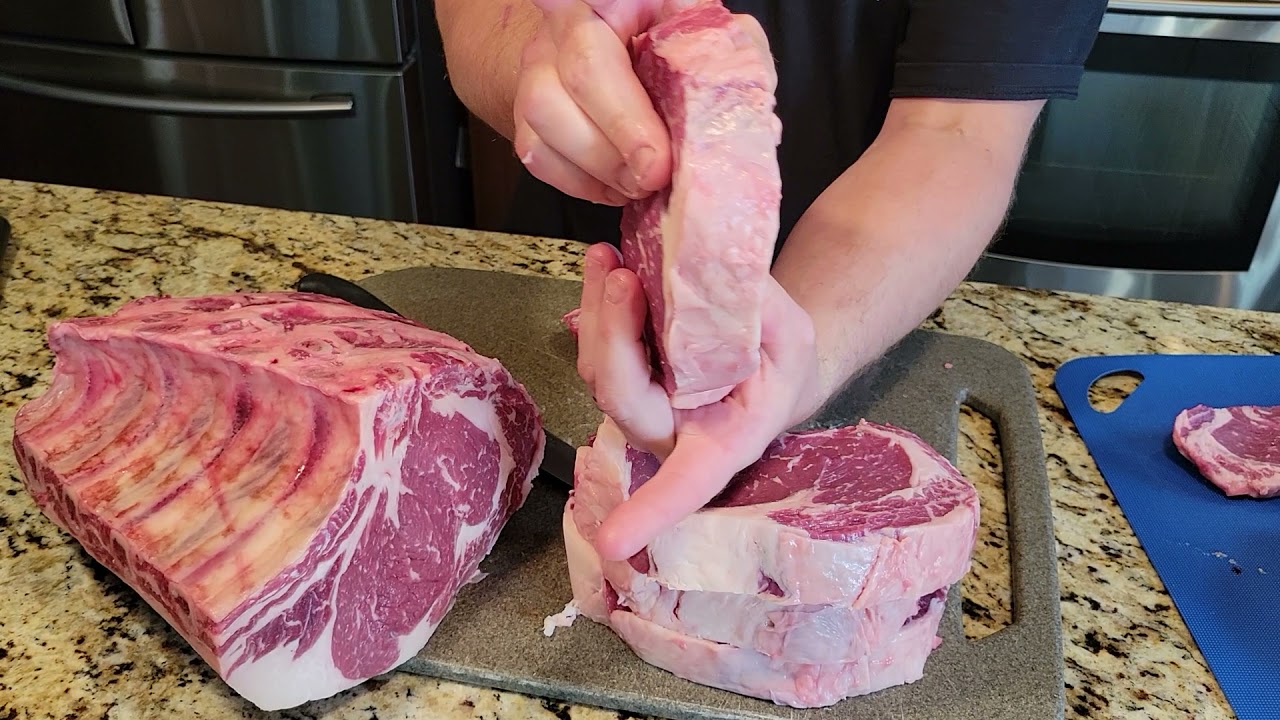
Before you begin carving your Smithfield spiral ham, make sure you have the right tools on hand. You will need a sharp carving knife, a cutting board, and a serving platter. Having these tools ready will make the carving process much easier and safer.
Step 2: Prepare the Ham
Before you start carving, it’s important to prepare the ham for slicing. Place the Smithfield spiral ham on the cutting board with the flat end facing down. If your ham came with a glaze packet, now is the time to apply it according to the package instructions for an extra burst of flavor.
Step 3: Slice the Ham
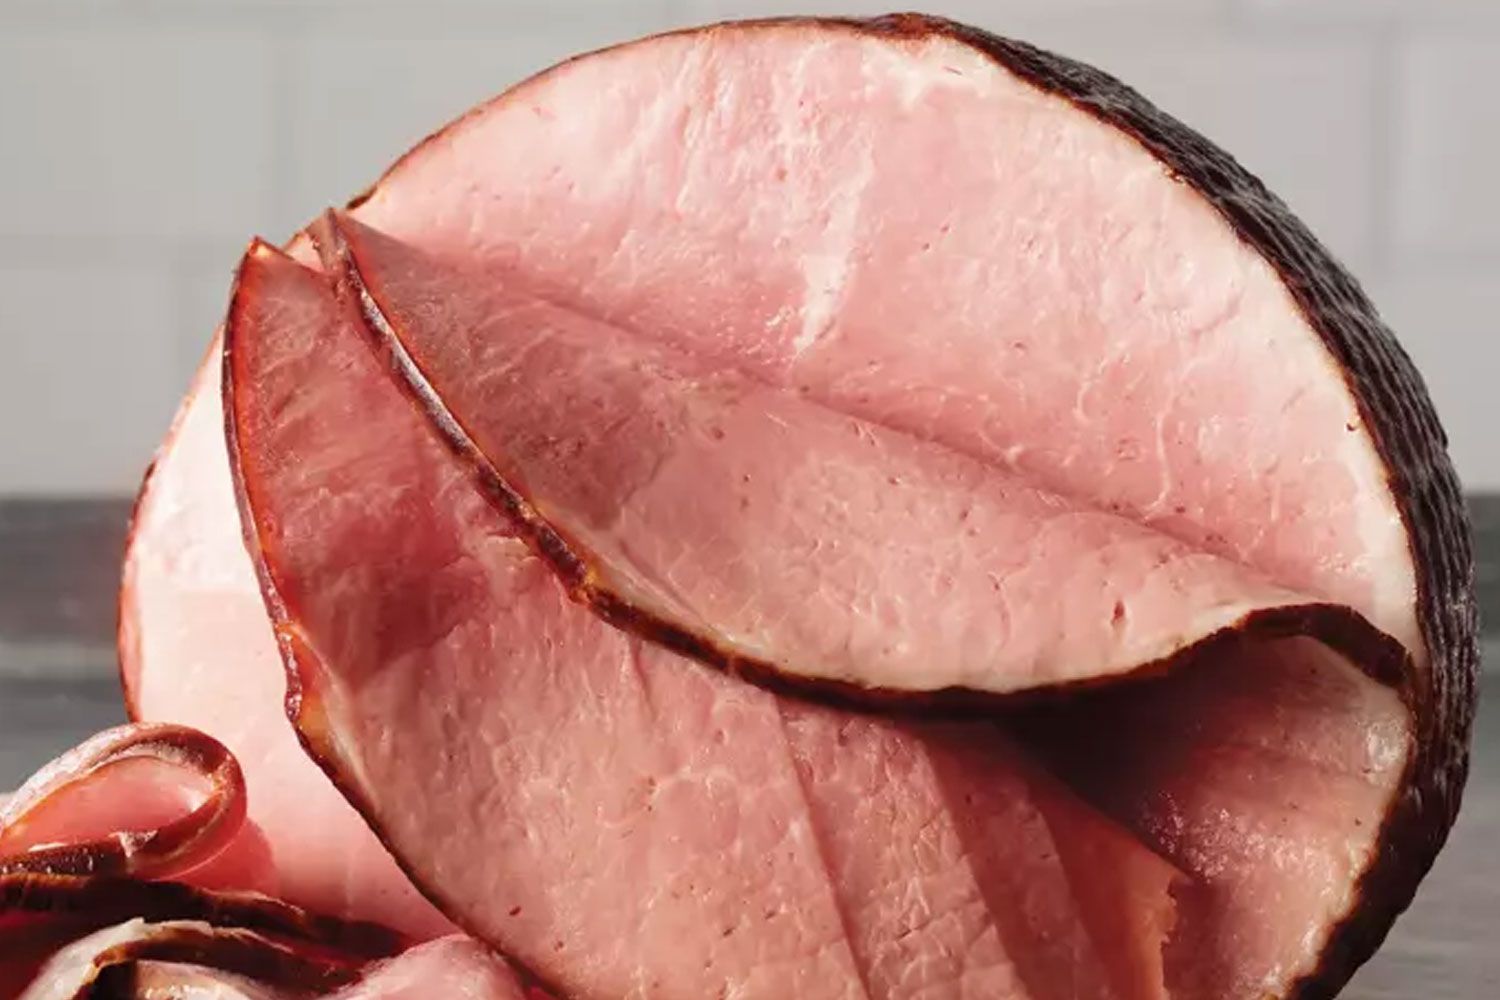
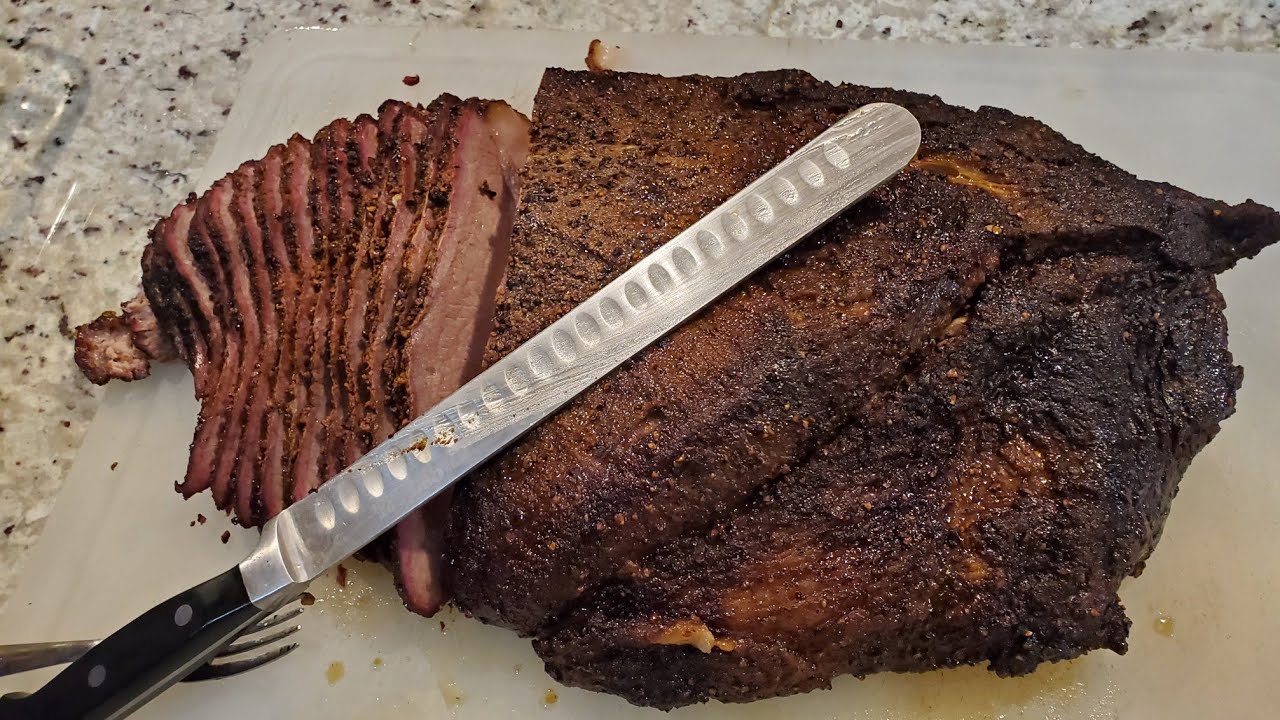
Using a sharp carving knife, make a shallow cut along the natural seams of the ham. Smithfield spiral hams are pre-sliced, so you can use these cuts as a guide. Begin slicing from the top of the ham down to the bone, following the natural lines of the spiral slices. Be sure to slice against the grain to ensure tender, juicy pieces of ham.
Step 4: Remove Slices
As you slice along the natural seams, gently remove each slice of ham and transfer it to the serving platter. Continue slicing and removing the pieces until you reach the bone at the center of the ham.
Step 5: Carve Around the Bone
Once you’ve reached the bone, carefully carve around it to release any remaining slices of ham. Be mindful of the bone as you carve to avoid any accidents. The meat around the bone is often some of the most flavorful, so be sure to carve as much as possible without wasting any of the delicious meat.
Step 6: Serve and Enjoy
Once you’ve finished carving the Smithfield spiral ham, it’s time to serve and enjoy the fruits of your labor. Arrange the slices on a platter and garnish with your favorite herbs or fruits for a beautiful presentation. Whether you’re serving a crowd or enjoying a meal with your family, carving a Smithfield spiral ham is a skill that will impress and delight your guests.
Now that you know how to carve a Smithfield spiral ham, you can confidently prepare this delicious cut of meat for any occasion. With the right tools and technique, carving a spiral ham can be a simple and rewarding experience. So, next time you have a Smithfield spiral ham on the menu, put your newfound carving skills to the test and savor every mouthwatering slice.
Was this page helpful?
Read Next: How To Carve Strawberry
Related Articles