Unleash Your Creativity with Dinosaur Watermelon Carving
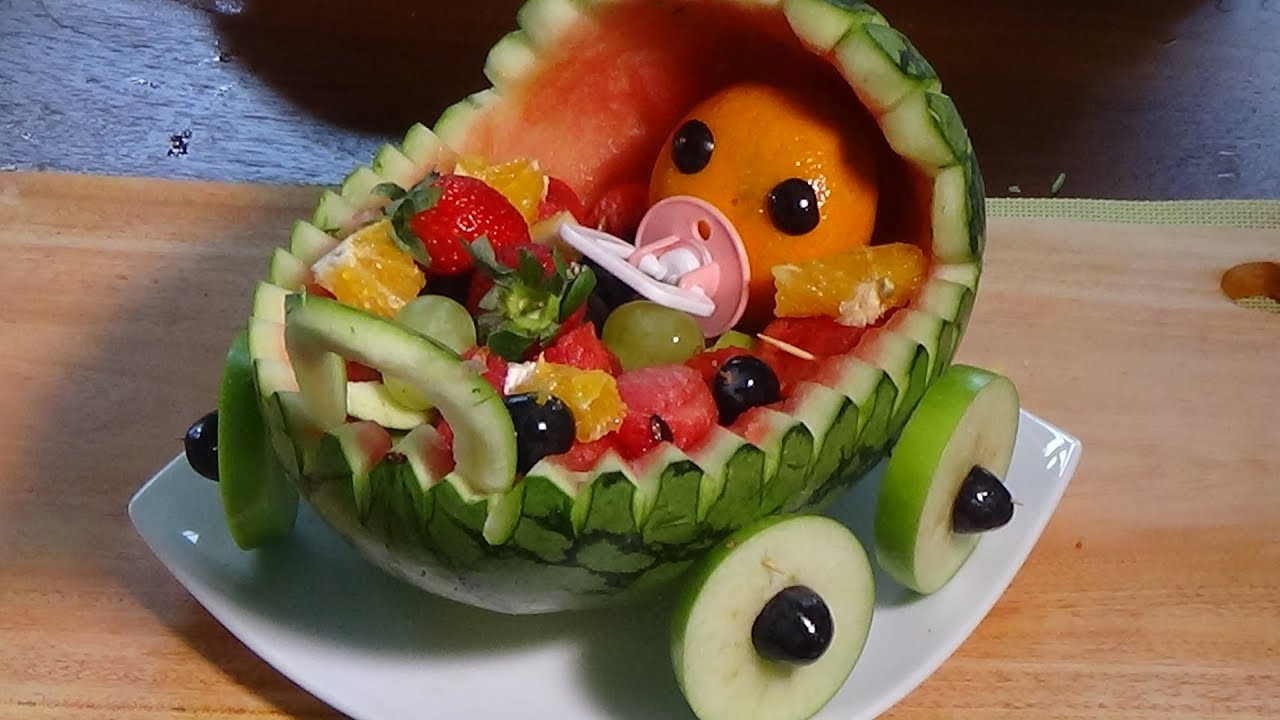
Watermelon carving is a fun and creative way to elevate your fruit platter game, and carving a watermelon into a dinosaur shape is sure to impress your friends and family at your next gathering. Whether you’re hosting a summer barbecue, a birthday party, or just want to add some excitement to snack time, creating a dinosaur watermelon will surely be a hit. In this guide, we’ll walk you through the steps to carve your very own dinosaur watermelon masterpiece.
What You’ll Need
Before you get started, gather the following supplies:
- A ripe, oblong-shaped watermelon
- A sharp chef’s knife
- A smaller paring knife
- A melon baller
- Toothpicks
- Assorted fruits for filling (optional)
Step 1: Choose the Right Watermelon
When selecting a watermelon for carving, look for one that is firm, symmetrical, and free of bruises or blemishes. The oblong shape works best for creating the body of the dinosaur, so keep an eye out for a watermelon that fits this description.
Step 2: Prepare Your Work Surface
Before you start carving, make sure you have a clean and stable surface to work on. You may want to place a non-slip mat or a damp towel underneath the watermelon to prevent it from rolling around as you carve.
Step 3: Carve the Body
Using a sharp chef’s knife, carefully cut off the top third of the watermelon lengthwise. This will serve as the dinosaur’s body. Set aside the top portion to use for the dinosaur’s head later on.
Step 4: Create the Dinosaur’s Head
Take the top portion of the watermelon that you set aside and use the smaller paring knife to carve it into the shape of a dinosaur’s head. You can get creative here, carving out eyes, nostrils, and teeth to give your dinosaur some personality.
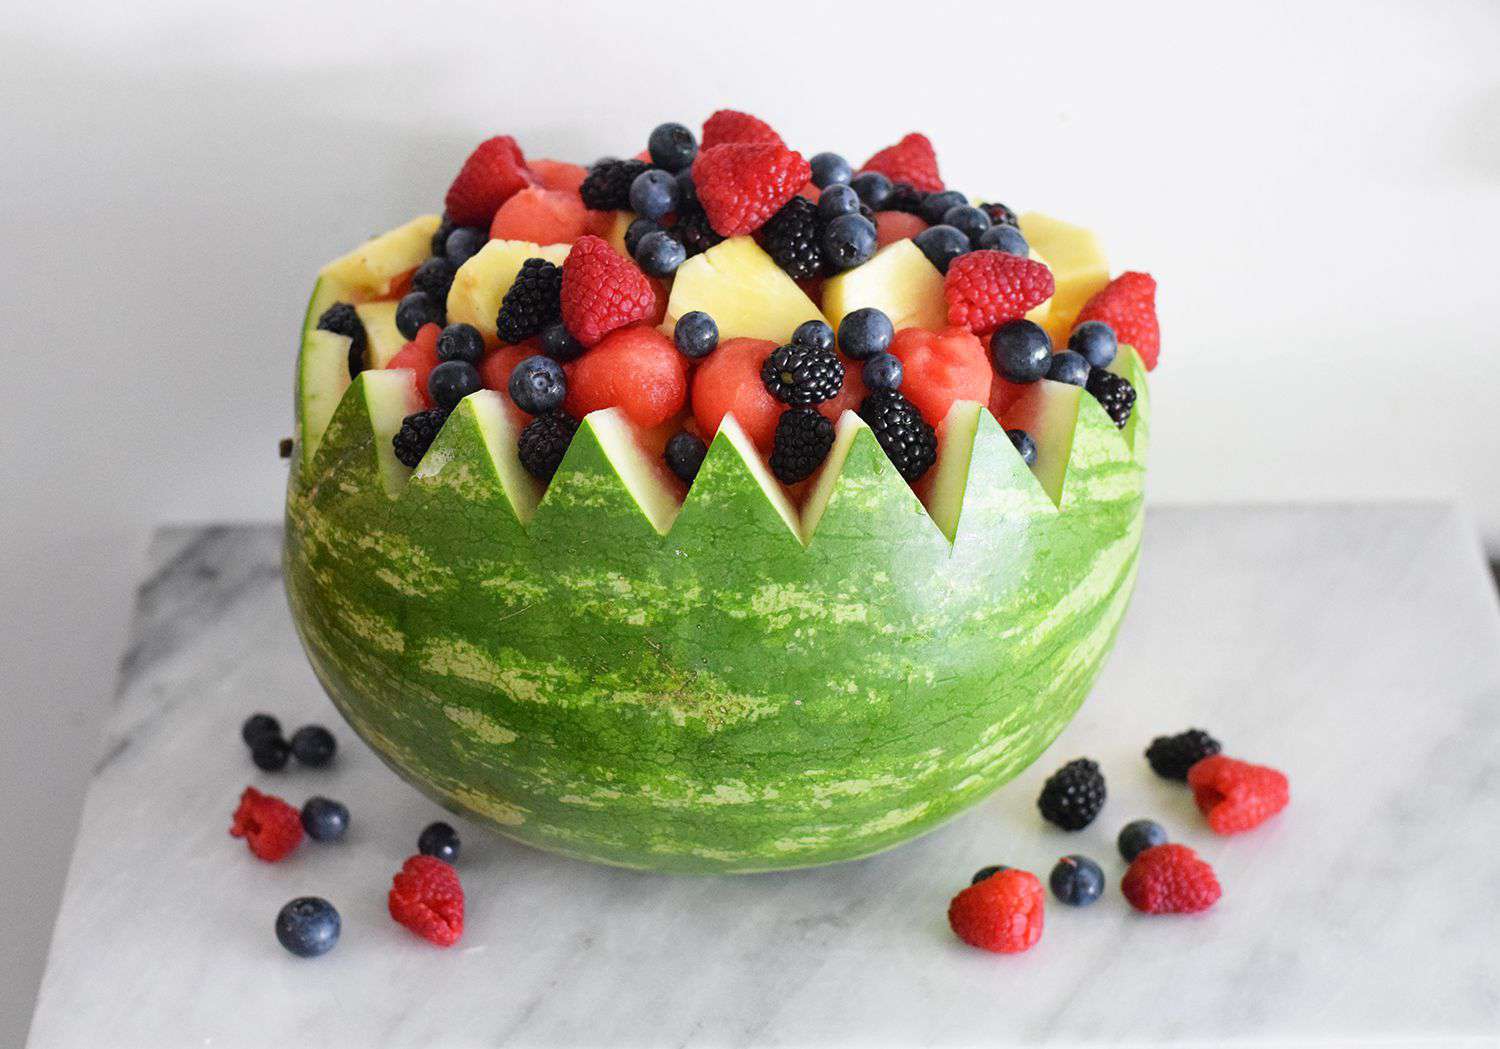
Step 5: Hollow Out the Body
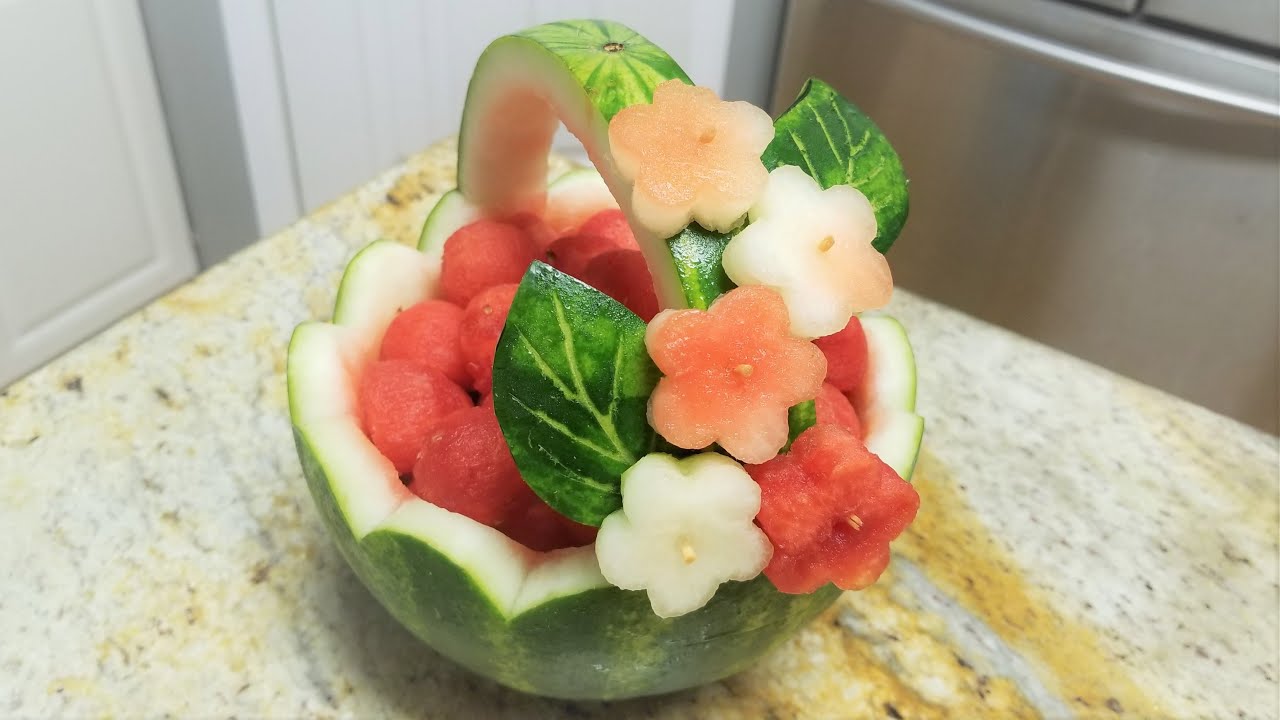
Using a melon baller, scoop out the flesh from the body of the watermelon, being careful not to puncture the rind. Save the watermelon balls for later use, or fill the body with an assortment of colorful fruits for a stunning display.
Step 6: Attach the Head
Secure the dinosaur’s head to the body using toothpicks, making sure it is firmly in place. You can also use toothpicks to attach the head to the body at an angle to give your dinosaur a more lifelike appearance.
Step 7: Add the Finishing Touches
Once your dinosaur watermelon is assembled, take a step back and admire your handiwork. If you’re feeling extra creative, you can use the leftover watermelon rind to carve out additional details like spikes or a tail to complete the dinosaur look.
Now that you’ve mastered the art of carving a dinosaur watermelon, it’s time to put your creation on display. Whether it’s the centerpiece of your party spread or a fun snack for the family, your dinosaur watermelon is sure to be a hit. So grab your knives and get carving – it’s time to unleash your inner fruit artist!
Remember, the most important thing is to have fun and let your creativity shine. Happy carving!
Was this page helpful?
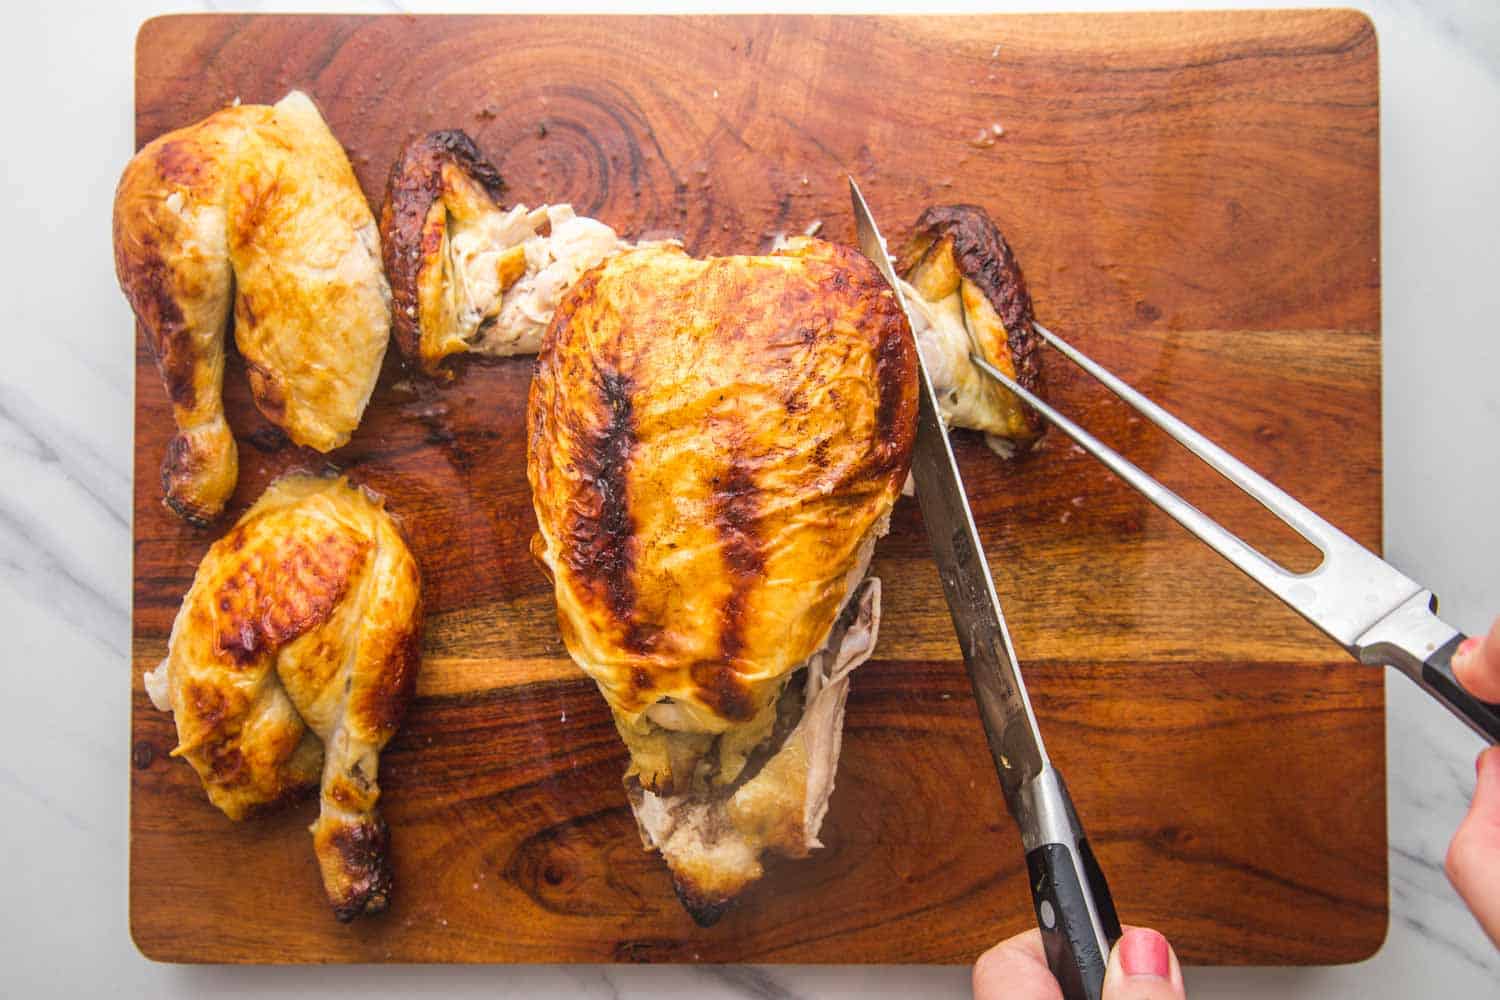
Read Next: How To Carve A Filet Mignon
Related Articles