How to Bake Delicious Sourdough Bread and Keep It Fresh for 3 Days
Welcome to the wonderful world of sourdough bread baking! There’s nothing quite like the satisfaction of creating your own delicious, crusty loaf of sourdough bread. Not only is it a rewarding process, but it also allows you to enjoy the amazing flavor and texture of freshly baked bread right in your own kitchen. In this guide, we’ll take you through the steps of baking a mouthwatering sourdough loaf and share some tips on how to keep it fresh for up to 3 days.
Step 1: Prepare Your Sourdough Starter
Before you can bake your sourdough bread, you’ll need to have a healthy and active sourdough starter. If you don’t already have one, you can easily create your own starter by mixing equal parts of flour and water and allowing it to ferment over several days. Once your starter is bubbly and has a pleasant, tangy aroma, it’s ready to use in your bread recipe.
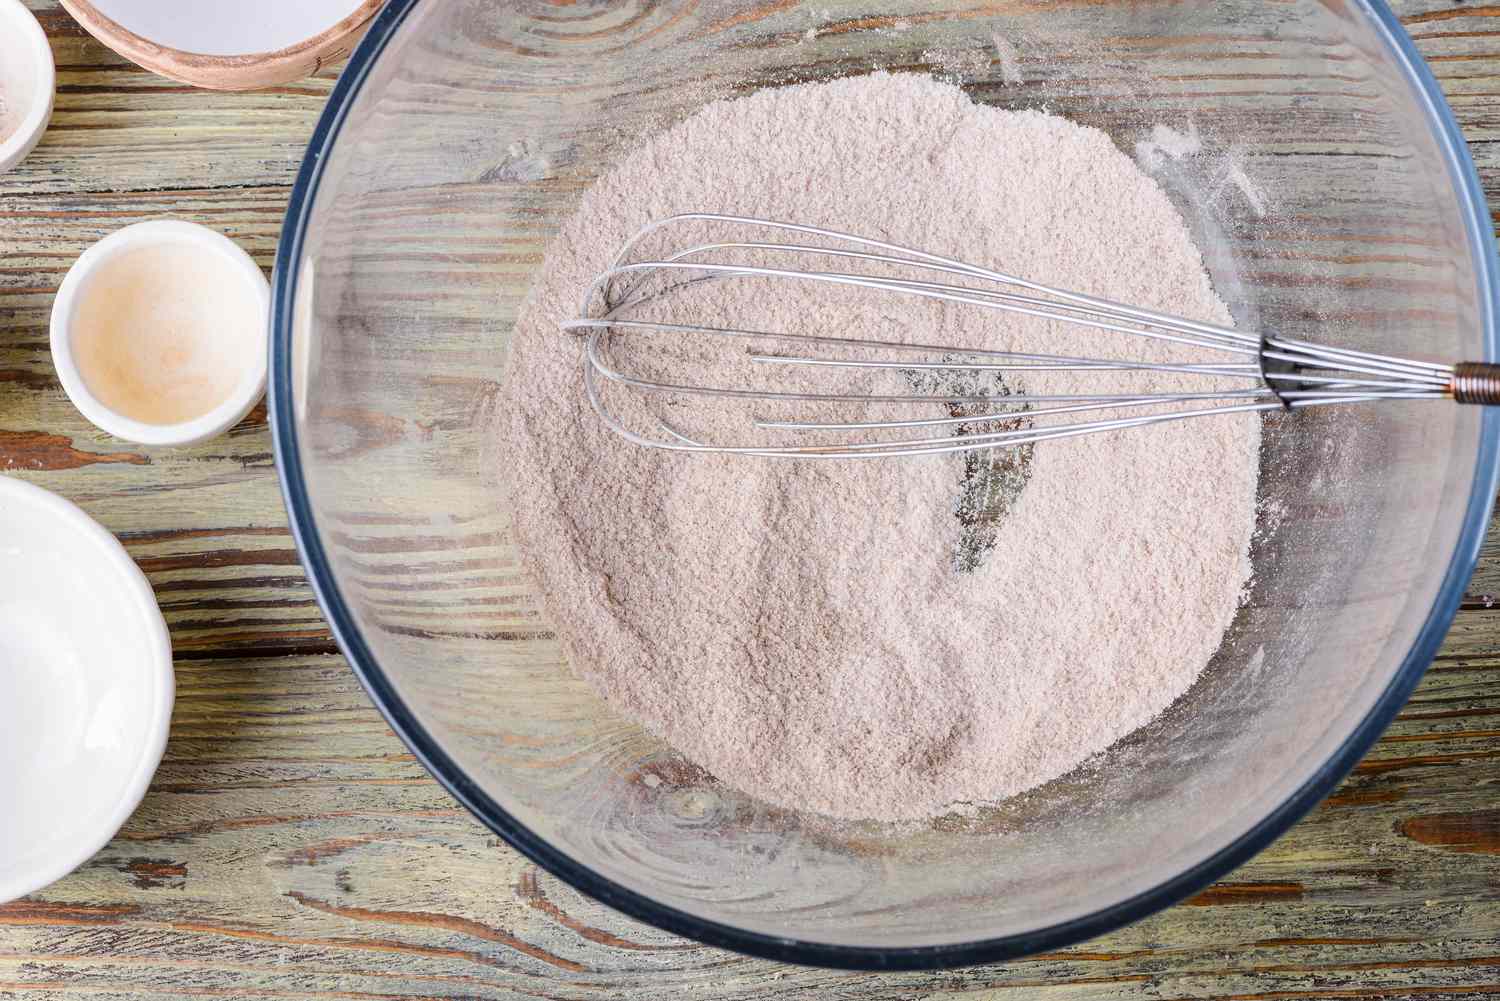
Step 2: Mix and Knead the Dough
Combine your sourdough starter with flour, water, and salt to create the dough. Knead the dough until it becomes smooth and elastic. This process helps to develop the gluten in the dough, which is essential for creating a good structure in the bread.
Step 3: Let the Dough Rise
After kneading the dough, place it in a bowl, cover it with a kitchen towel, and let it rise at room temperature. This fermentation process allows the dough to develop flavor and rise, resulting in a light and airy texture in the finished bread.
Step 4: Shape and Score the Loaf
Once the dough has doubled in size, it’s time to shape it into a loaf. Gently form the dough into the desired shape and score the top with a sharp knife or razor blade. Scoring the dough allows it to expand evenly during baking and creates an attractive pattern on the crust.
Step 5: Bake to Perfection
Preheat your oven and place a Dutch oven or baking stone inside to heat up. Once the oven is hot, carefully transfer the shaped dough into the preheated vessel and bake it with the lid on for the first part of the baking process. This helps to create steam inside the vessel, resulting in a beautifully crisp crust. After some time, remove the lid to allow the crust to brown and develop a rich, golden color.
Preserving Your Sourdough Bread
Now that you’ve baked a mouthwatering loaf of sourdough bread, you’ll want to keep it fresh for as long as possible. Here are some tips for preserving your bread for up to 3 days:
- Cool Completely: Allow your freshly baked bread to cool completely on a wire rack before slicing into it. Cutting into the bread while it’s still warm can cause it to become gummy and lose its freshness more quickly.
- Store Properly: Once cooled, store your sourdough bread in a paper bag or bread box at room temperature. Avoid storing it in plastic, as this can trap moisture and make the crust soggy.
- Reheat When Needed: If your bread starts to become slightly stale after a day or two, you can freshen it up by reheating it in the oven for a few minutes. This helps to revive the crust and bring back some of the bread’s original texture.
By following these simple steps, you can enjoy the delicious flavor and texture of your homemade sourdough bread for up to 3 days after baking. Whether you slice it for sandwiches, toast it for breakfast, or simply enjoy it with a smear of butter, your freshly baked sourdough bread is sure to be a hit with family and friends.
So, roll up your sleeves, gather your ingredients, and get ready to embark on a delightful sourdough bread baking adventure. With a little time and patience, you’ll be rewarded with a beautiful, flavorful loaf that will have everyone asking for your secret recipe!
Was this page helpful?
Related Articles