Delicious Oven-Baked Ribs: No Boiling Required!
There’s nothing quite like sinking your teeth into tender, flavorful ribs. While many recipes call for boiling the ribs before baking, I’m here to show you how to achieve mouthwatering results without the extra step. With a few simple techniques, you can bake ribs in the oven to perfection, without sacrificing any of the delicious flavor. Let’s dive into the step-by-step process of creating delectable oven-baked ribs that will have your family and friends begging for more.
Choosing the Right Ribs
Before we get started, it’s important to select the right type of ribs for baking. Baby back ribs are a popular choice due to their tenderness and quick cooking time. St. Louis-style ribs are another excellent option, known for their rich, meaty flavor. Whichever type you choose, make sure the ribs are fresh and high-quality for the best results.
Preparing the Ribs
Start by removing the membrane from the back of the ribs. This thin layer can prevent the flavors from fully penetrating the meat, so it’s essential to remove it before baking. Simply use a knife to loosen the membrane at one end of the rack, then grip it with a paper towel and peel it off in one smooth motion.
Next, season the ribs generously with your favorite dry rub. Whether you prefer a sweet and smoky flavor or a spicy kick, the choice is yours. Massage the dry rub into the meat, ensuring that every inch of the ribs is coated for maximum flavor.
Slow and Low: The Baking Process
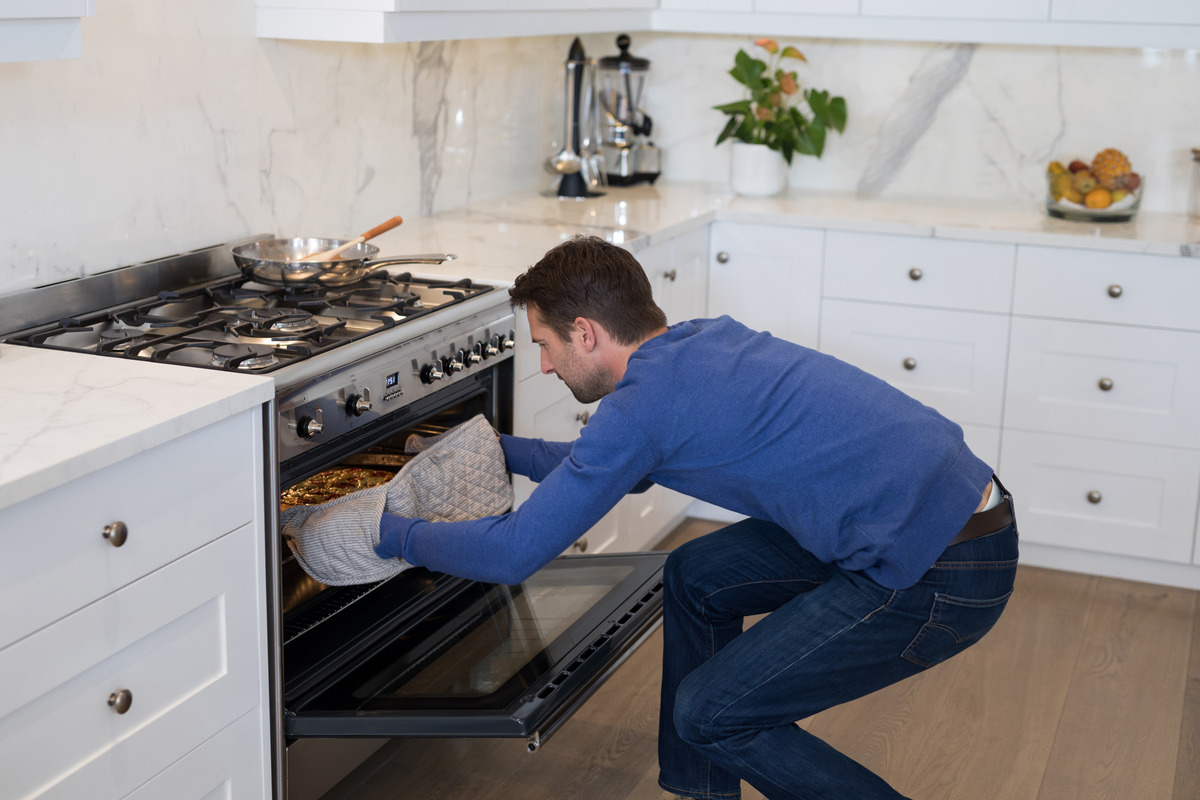
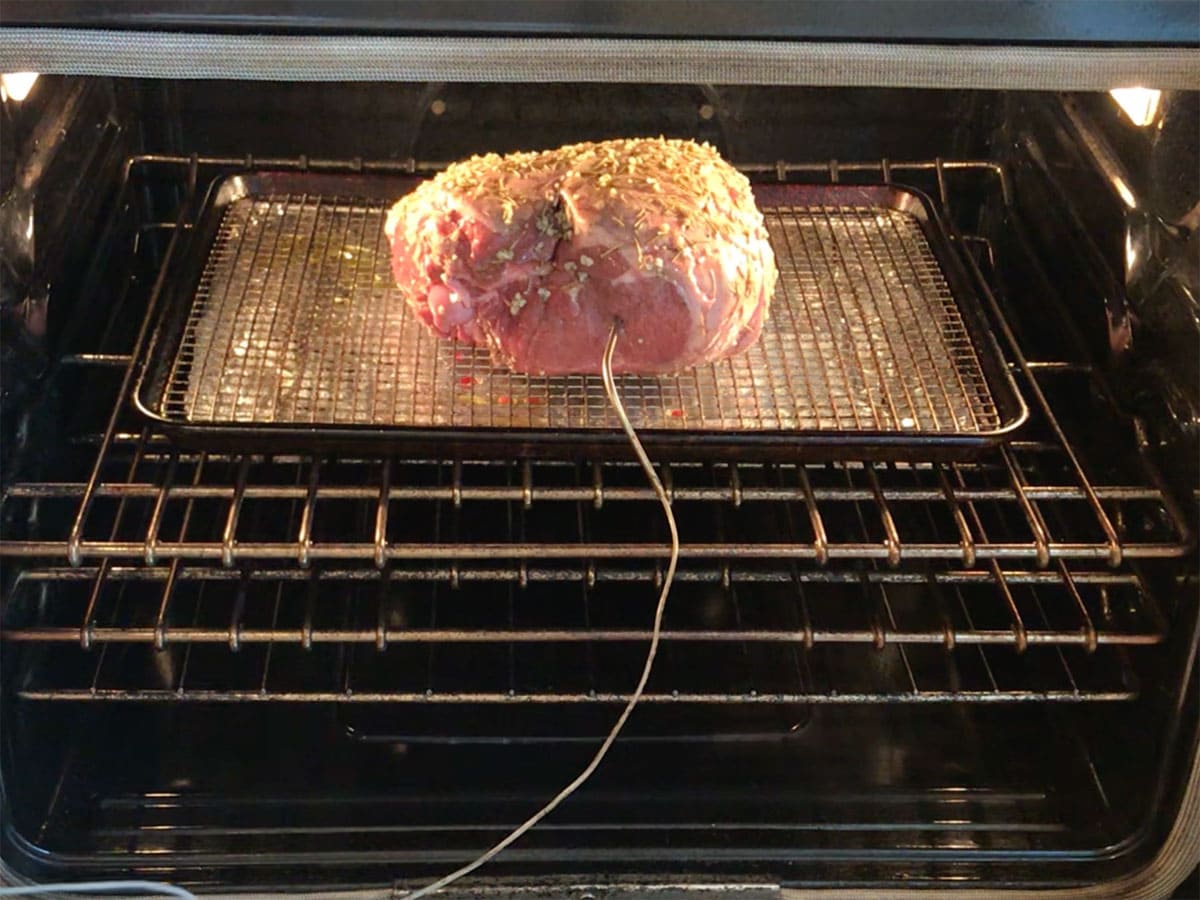
Preheat your oven to 275°F (135°C). While it may be tempting to crank up the heat for a quicker cook time, low and slow is the key to perfectly tender ribs. Place the seasoned ribs on a baking sheet or in a roasting pan, then cover tightly with aluminum foil. This will help trap the moisture inside, resulting in juicy, succulent ribs.
Allow the ribs to bake in the preheated oven for 2.5 to 3 hours. During this time, the low temperature will work its magic, breaking down the connective tissues and rendering the meat incredibly tender. While the aroma fills your kitchen, you can prepare your favorite barbecue sauce for the finishing touch.
Adding the Final Touch
After the initial baking time, carefully remove the foil from the ribs. The meat should be tender and nearly falling off the bone at this point. Using a basting brush, generously coat the ribs with your prepared barbecue sauce. Whether you opt for a classic hickory-smoked sauce or a tangy, vinegar-based glaze, be sure to cover the ribs completely for a mouthwatering finish.
Return the uncovered ribs to the oven and increase the temperature to 375°F (190°C). This final step will caramelize the barbecue sauce, creating a sticky, flavorful glaze that perfectly complements the tender meat. After 15-20 minutes, the ribs will be ready to be taken out of the oven and served to your eager guests.
Serving and Enjoying
Once the ribs have finished baking, allow them to rest for a few minutes before slicing. This will help the juices redistribute throughout the meat, ensuring each bite is as succulent as the last. Serve the ribs alongside your favorite sides, whether it’s creamy coleslaw, buttery cornbread, or a vibrant garden salad.
With this simple yet flavorful method, you can achieve mouthwatering oven-baked ribs without the need for boiling. The slow baking process allows the meat to become tender and juicy, while the barbecue sauce adds a deliciously sticky finish. Whether you’re hosting a backyard barbecue or simply craving a hearty meal, these oven-baked ribs are sure to be a hit with everyone at the table.
So, the next time you’re in the mood for ribs, skip the boiling and give this oven-baked method a try. Your taste buds will thank you!
Was this page helpful?
Read Next: How To Bake Homemade Dog Treats With Oatmeal
Related Articles