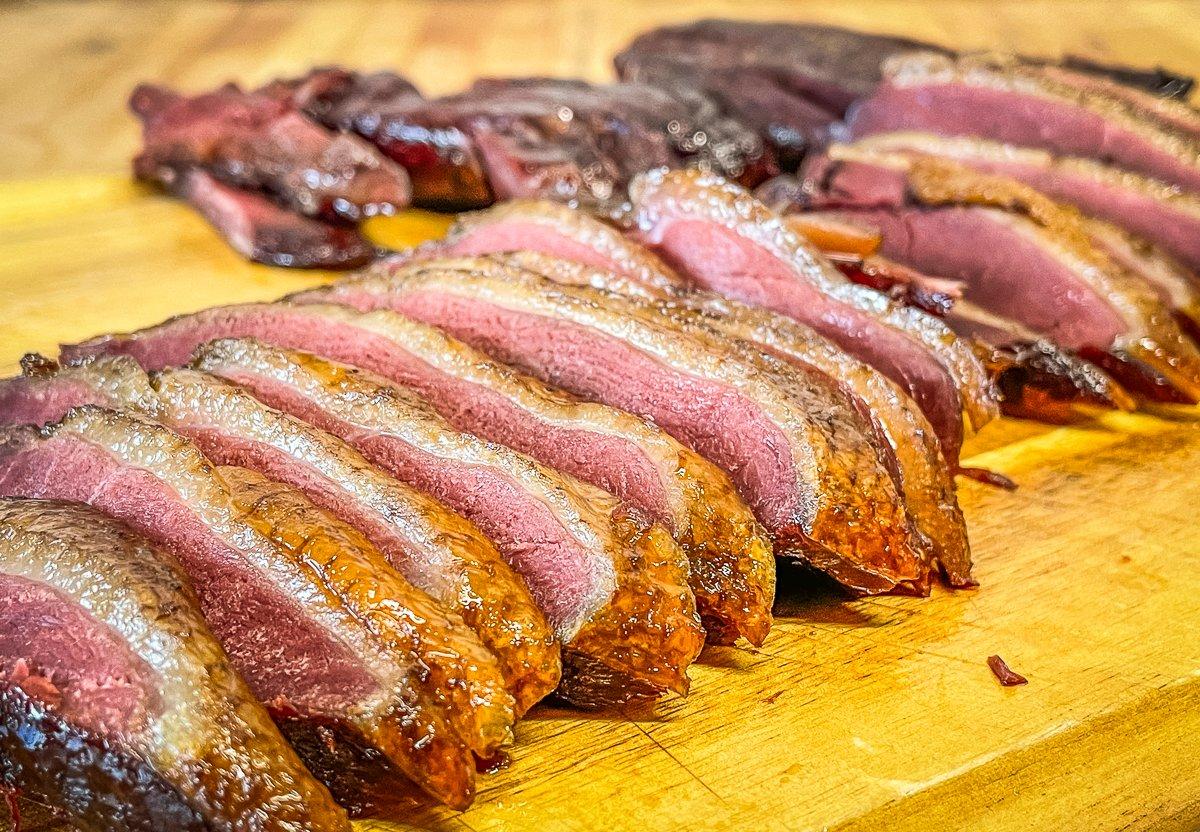
How to Render Duck Fat and Make Crispy Quacklings in One Shot
Are you a fan of flavorful, crispy duck dishes? If so, you’re in for a treat! In this guide, we’ll take you through the process of rendering duck fat and turning it into delicious quacklings. Get ready to impress your taste buds and wow your dinner guests with this culinary masterpiece.
What is Duck Fat and Why Should You Render It?
Duck fat is the rich, golden liquid that comes from cooking down the fat from the duck. It is prized by chefs and home cooks alike for its unique flavor and ability to elevate any dish. Rendering duck fat is the process of melting it down to separate the fat from any other impurities, leaving you with a pure, flavorful fat that can be used for cooking, frying, and more.
Step 1: Source High-Quality Duck Fat
The first step to making crispy quacklings is to source high-quality duck fat. Look for fresh duck fat or check with your local butcher or gourmet grocery store. Alternatively, if you have a whole duck, you can save the fat from it to render later.
Step 2: Prepare the Duck Fat for Rendering
Before rendering the duck fat, it’s essential to prepare it properly. Start by cutting the fat into small, uniform pieces. This will help it melt evenly and prevent any clumping. You can also use a meat grinder or food processor to speed up the process.
Step 3: Slowly Heat the Duck Fat
Place the cut duck fat in a heavy-bottomed pan or skillet. Turn the heat to low, and let the fat gradually melt. Slow and low is the key here to avoid scorching the fat or causing it to develop off-flavors. Stir occasionally to ensure even melting.
Step 4: Skim Off Impurities
While the fat is rendering, you may notice some impurities rising to the surface. Use a spoon or a heatproof spatula to gently skim off these impurities. This will result in a cleaner and purer final product.
Step 5: Strain and Store the Rendered Duck Fat
Once the duck fat has fully melted and there are no more impurities, remove it from the heat and strain it through a fine-mesh sieve or cheesecloth. This will remove any remaining solids, leaving you with a clear and smooth duck fat. Store the rendered duck fat in a clean, airtight container and refrigerate for future use.
Step 6: Turn the Rendered Duck Fat into Crispy Quacklings
Now that you have beautifully rendered duck fat, it’s time to turn it into crispy quacklings. Quacklings are essentially the duck fat equivalent of pork cracklings – crispy, golden morsels of pure delight.
Here’s how to make them:
- Preheat your oven to 400°F (200°C).
- Take small pieces of the rendered duck fat and spread them evenly on a baking sheet. Make sure the pieces are not touching each other.
- Bake in the preheated oven for about 10-15 minutes, or until the quacklings have turned a beautiful golden brown and have crisped up.
- Remove from the oven and let them cool for a few minutes before enjoying.
Quacklings make a delightful snack on their own or can be used as a crunchy topping for salads, soups, or roasted vegetables.
Final Thoughts
Now that you know how to render duck fat and make crispy quacklings, you can take your duck dishes to a whole new level. The process may take a little time and effort, but the end result is well worth it. So, roll up your sleeves, get some high-quality duck fat, and prepare to indulge in the deliciousness of homemade quacklings!
Just remember to store any remaining rendered duck fat properly and use it to enhance the flavor of your favorite dishes. Happy cooking!
Was this page helpful?
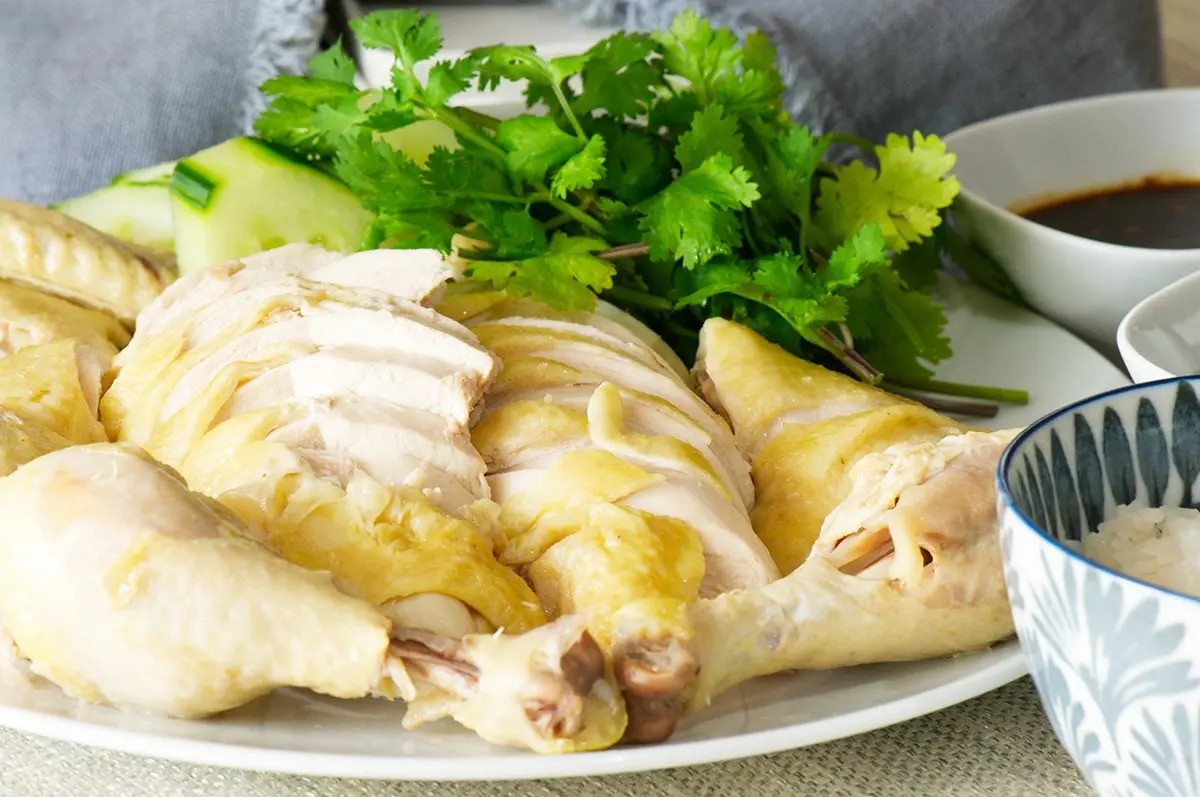
Read Next: How To Break Down A Chicken
Related Articles