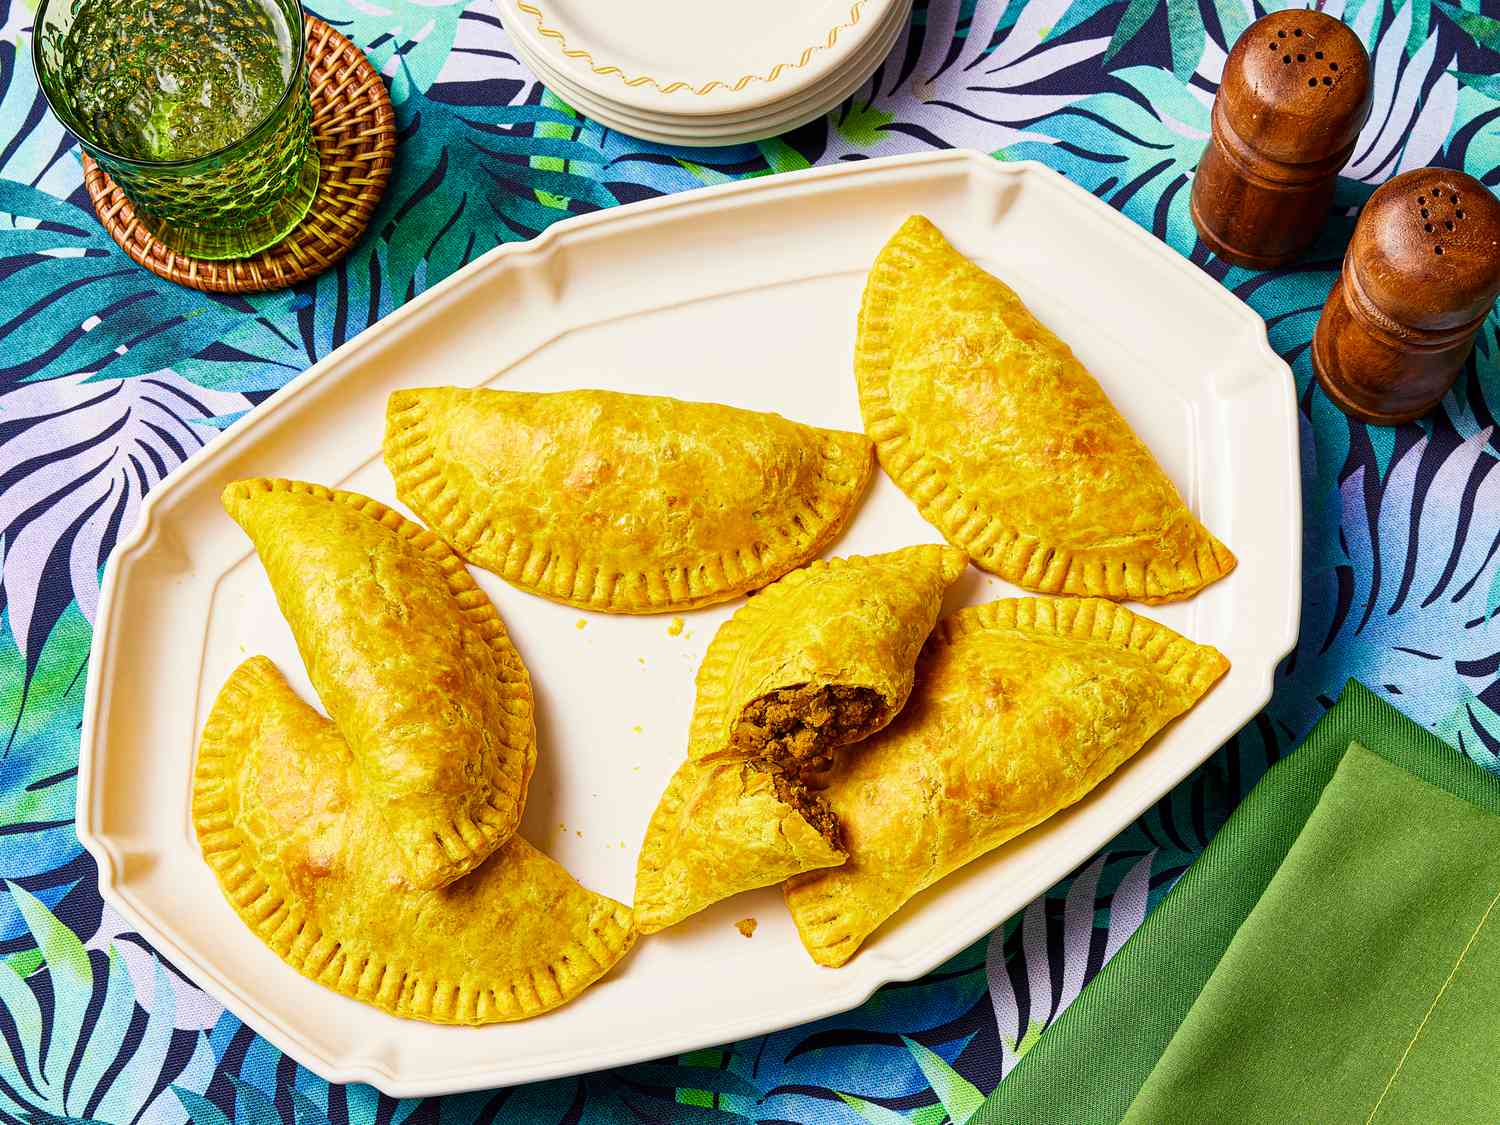
Mastering the Art of Kneading Pastry Dough
There’s something truly magical about the process of kneading pastry dough. It’s a skill that has been passed down through generations, and it’s an essential step in creating delicious baked goods. Whether you’re making pie crusts, croissants, or any other pastry, the way you knead the dough can make all the difference in the final product. In this guide, we’ll take you through the steps to master the art of kneading pastry dough.
Understanding the Importance of Kneading
Before we dive into the technique, let’s talk about why kneading is so crucial. Kneading pastry dough serves several important purposes:
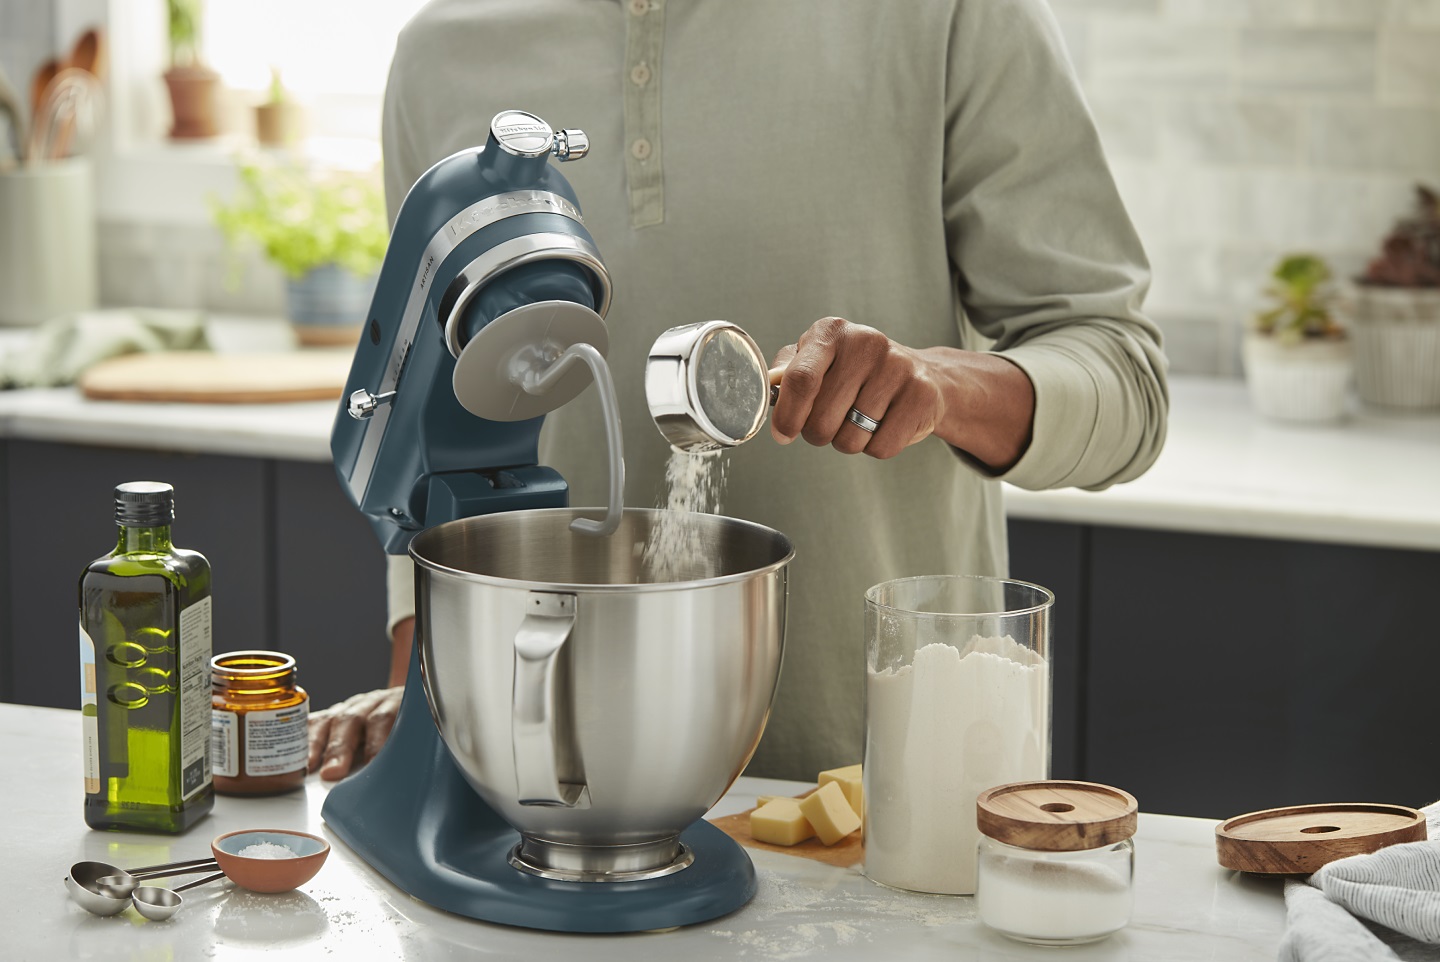
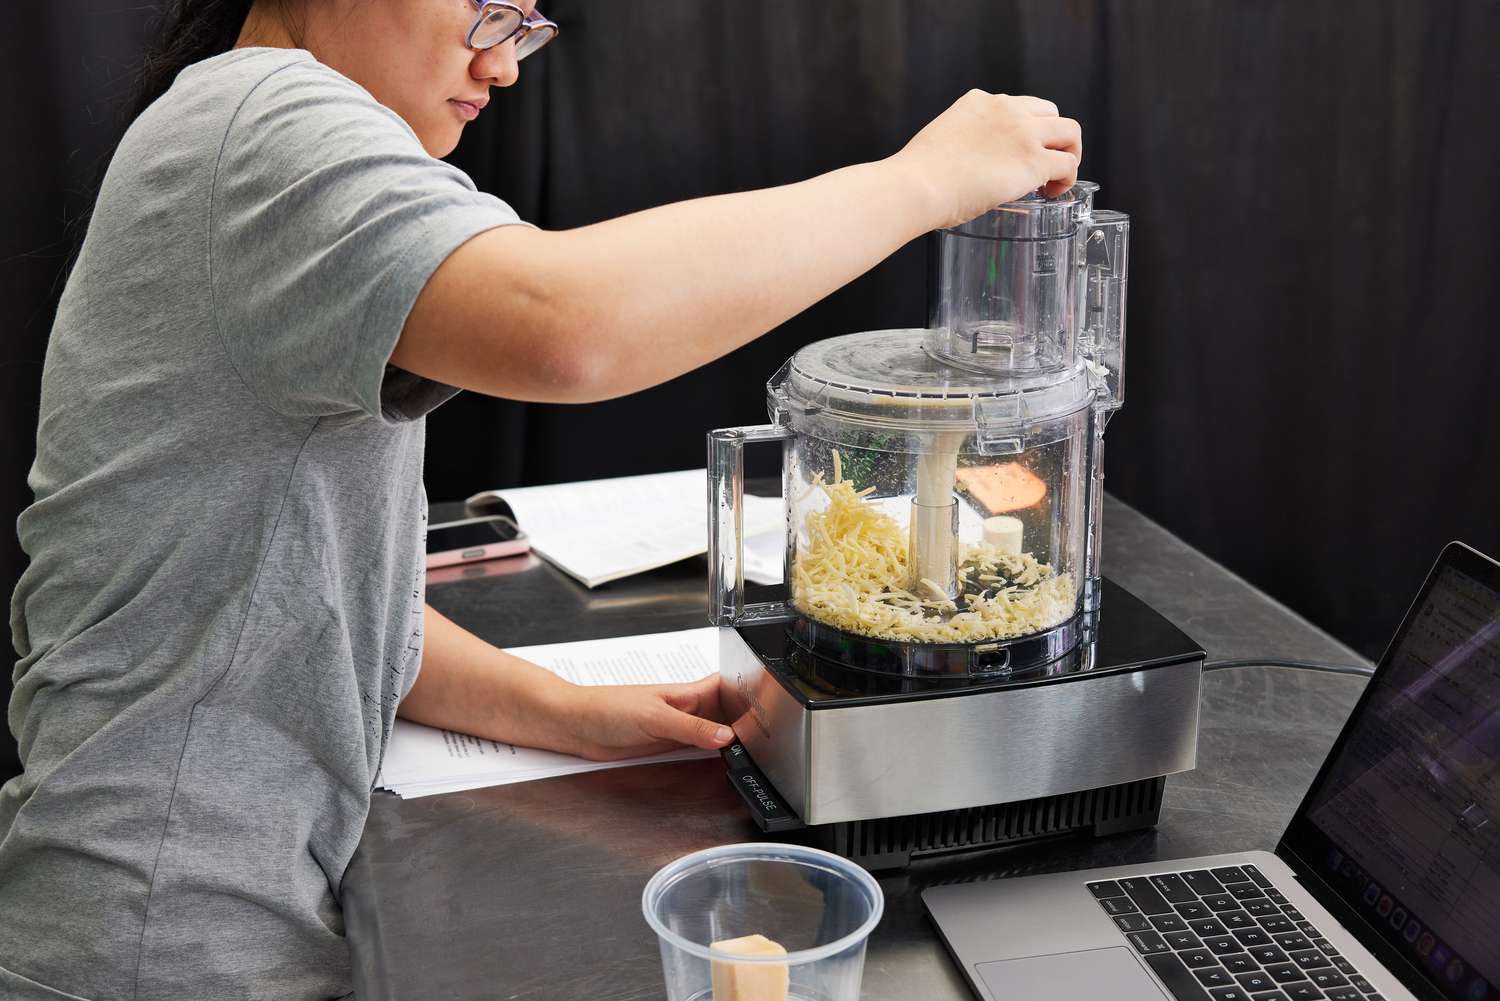
- Distribution of Ingredients: Kneading helps distribute the fat, flour, and liquid evenly, creating a cohesive dough.
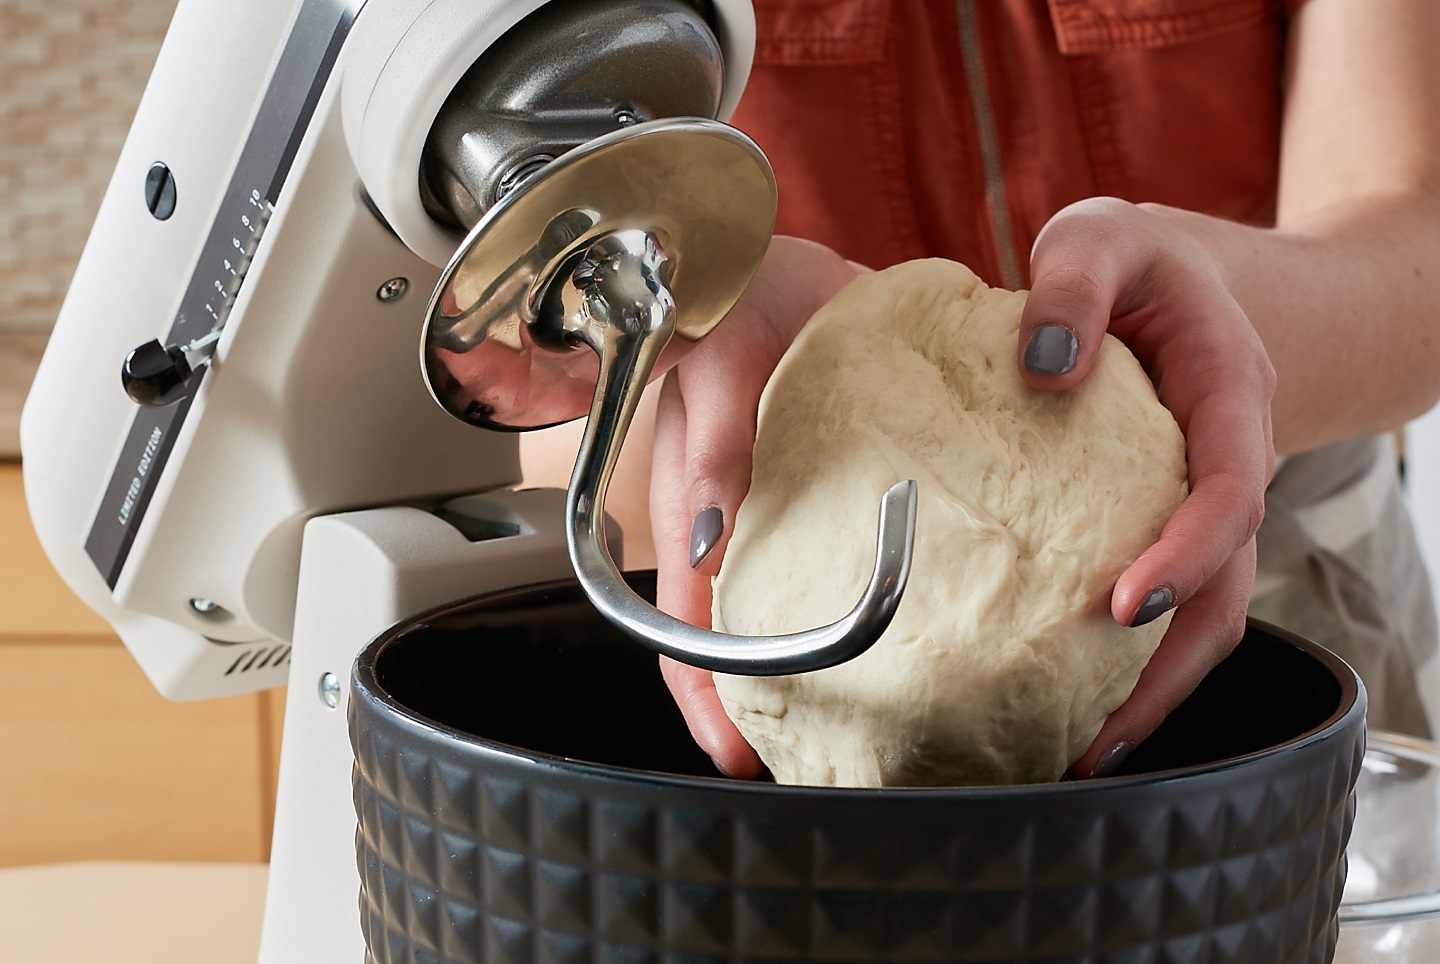
- Development of Gluten: The act of kneading activates the gluten in the flour, giving the pastry structure and elasticity.
- Aeration: Kneading incorporates air into the dough, resulting in a lighter, flakier texture in the final baked product.
Step-by-Step Guide to Kneading Pastry Dough
Now that we understand why kneading is important, let’s walk through the process step by step:
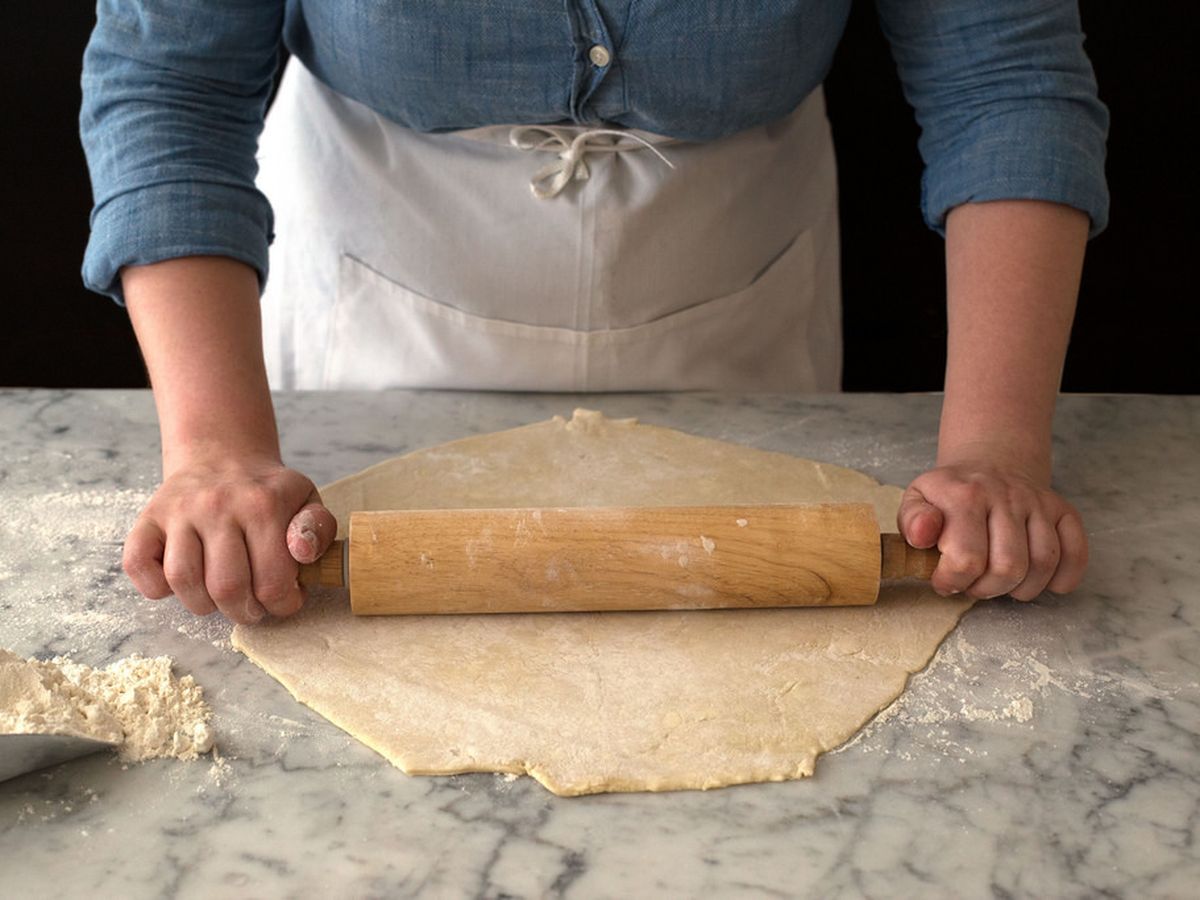
- Prepare Your Work Surface: Clear a clean, flat surface for kneading. Dust it lightly with flour to prevent the dough from sticking.
- Gather Your Dough: Place the pastry dough on the floured surface. If the dough has been chilled, let it sit at room temperature for a few minutes to soften slightly.
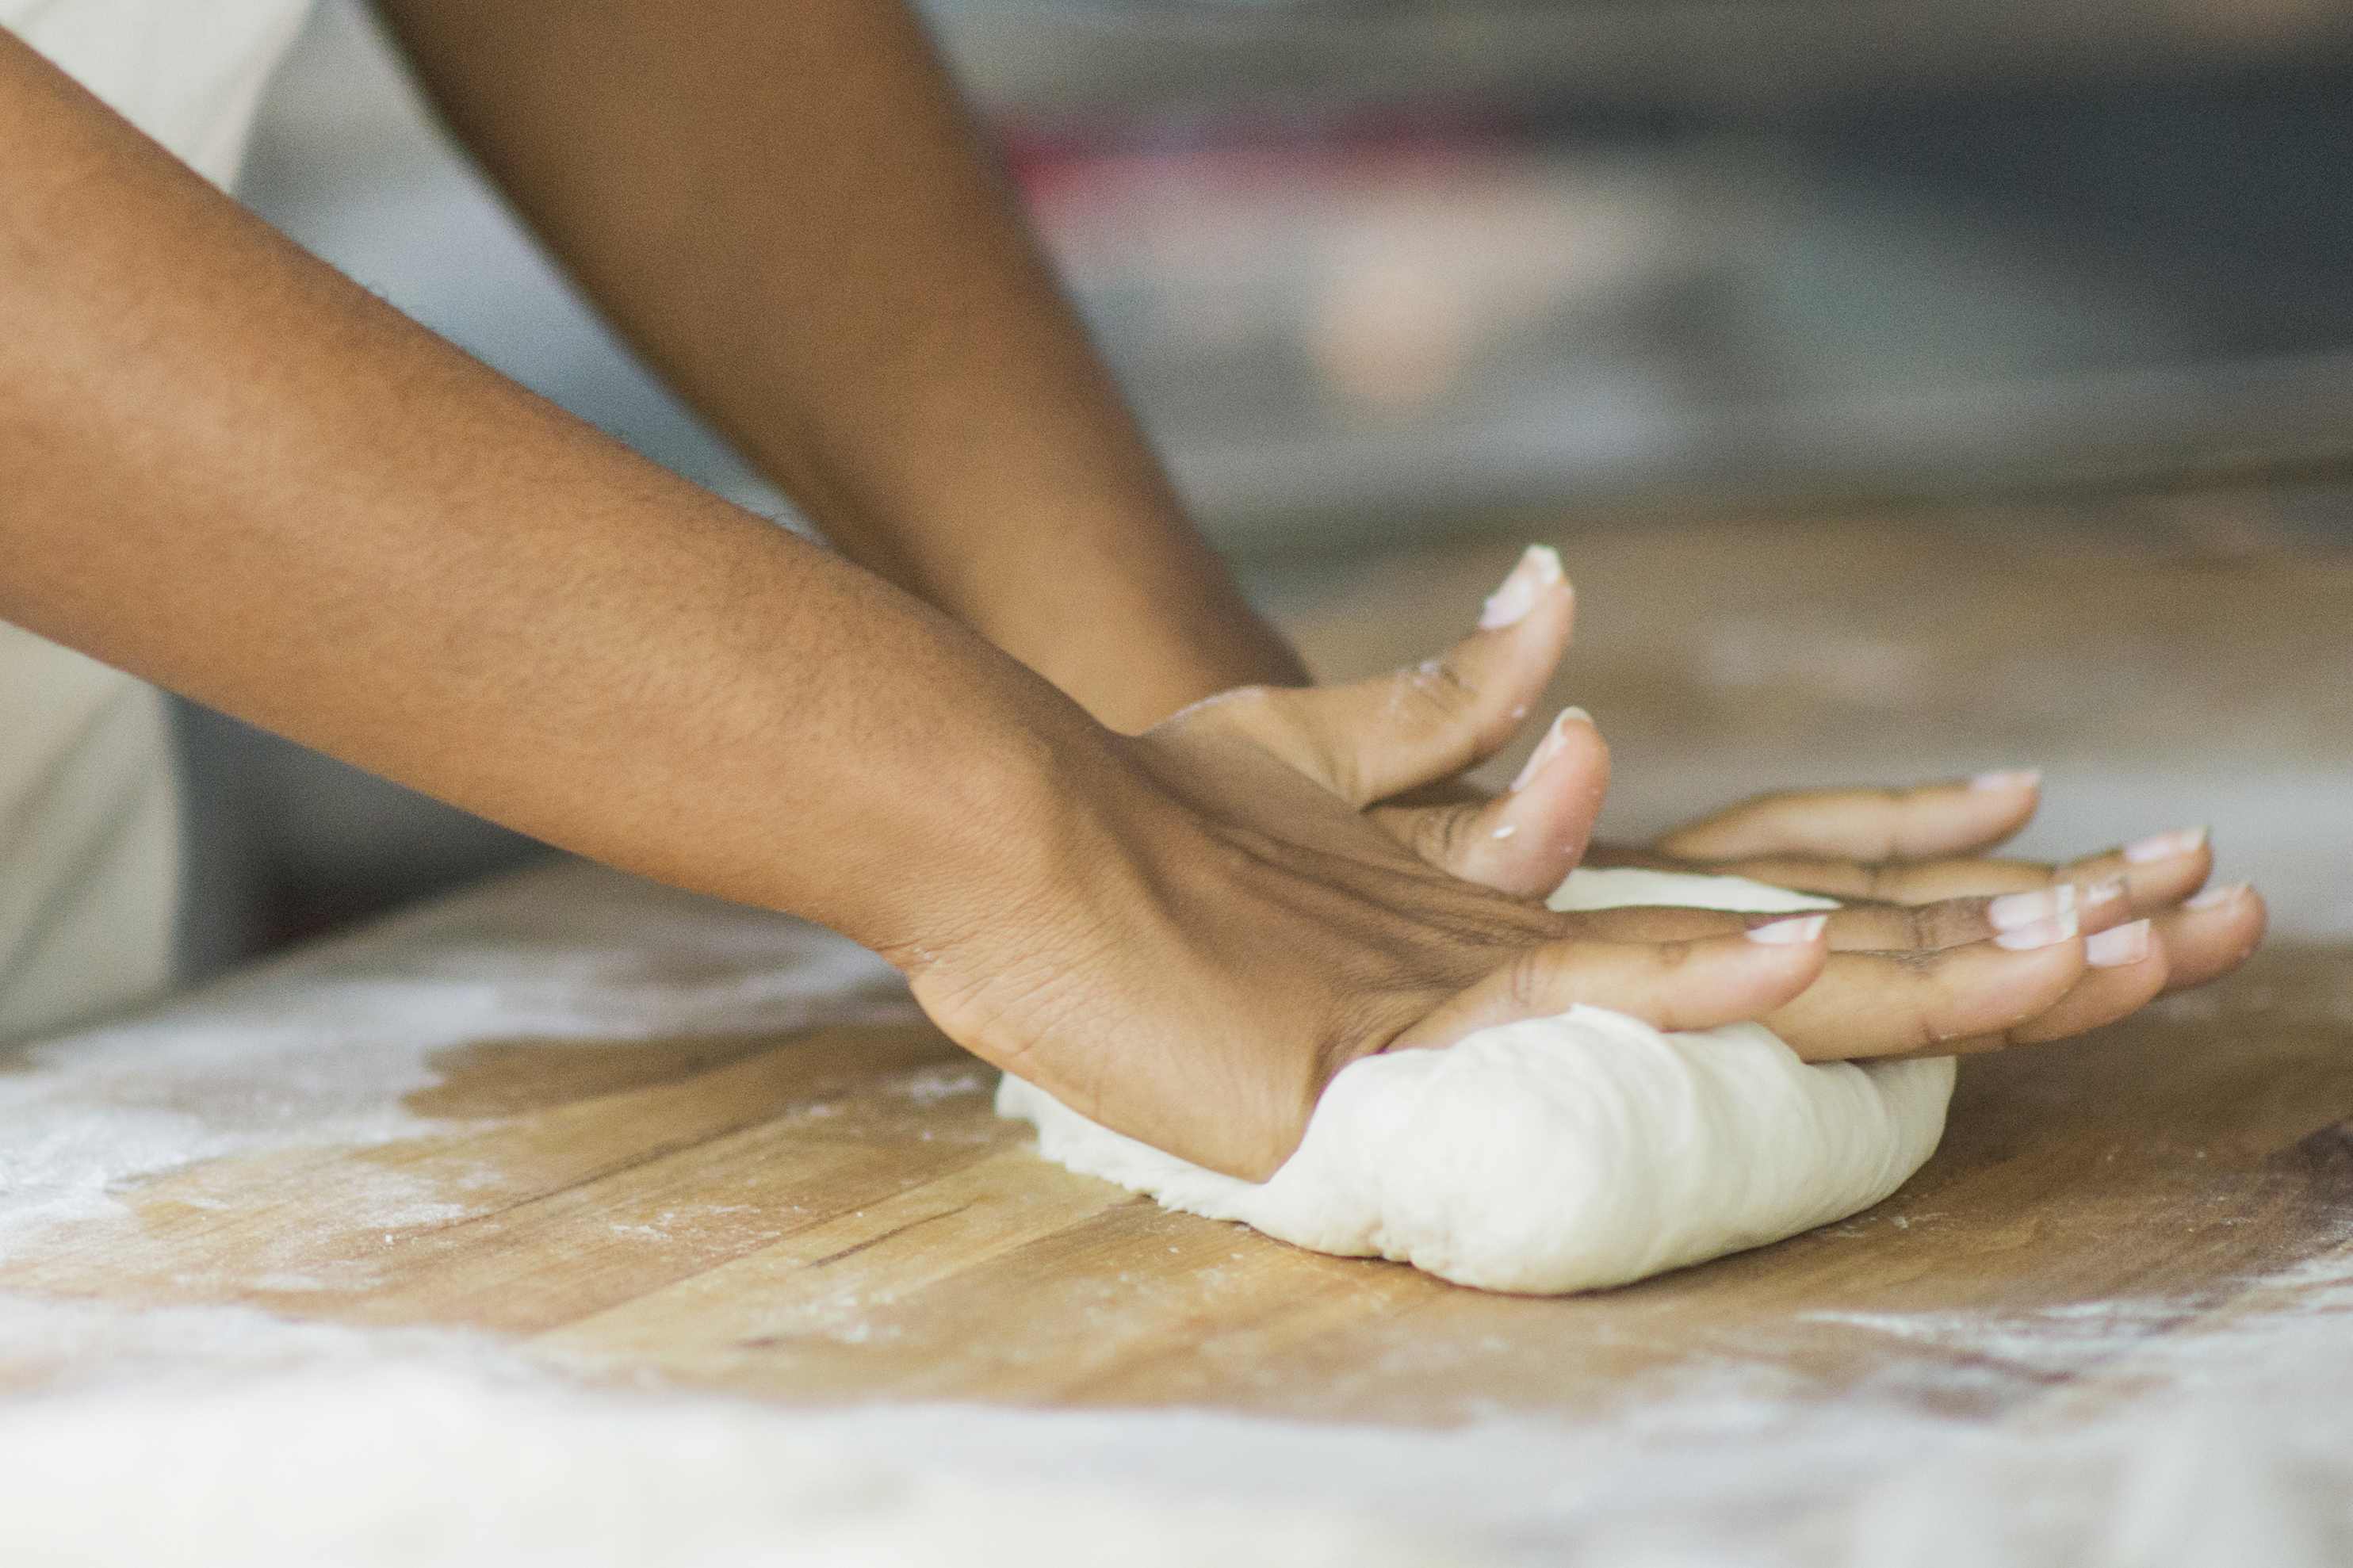
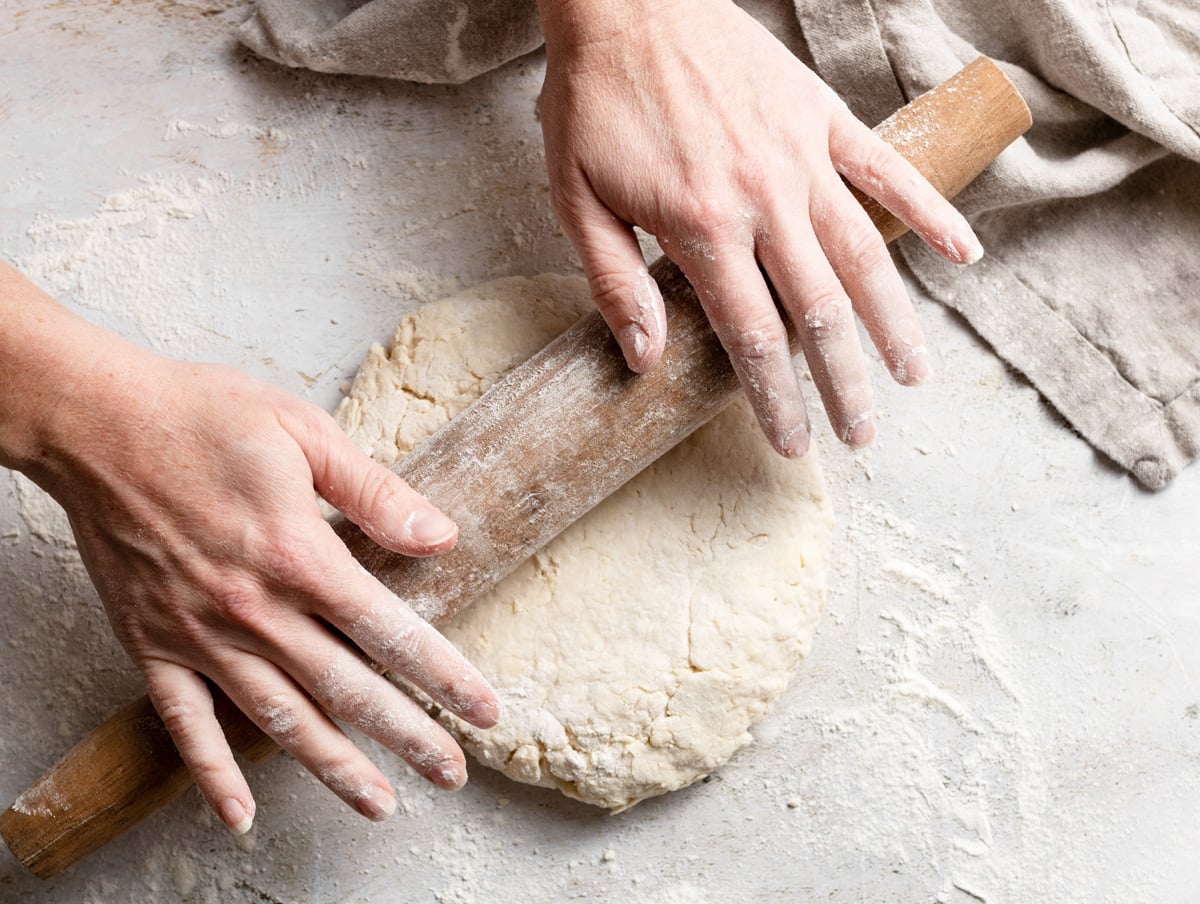
- Begin Kneading: Using the heel of your hand, gently press the dough away from you. Fold the dough in half and rotate it a quarter turn. Repeat this process.
- Apply Even Pressure: As you knead, apply even pressure with the heel of your hand. Aim for a smooth, rhythmic motion.
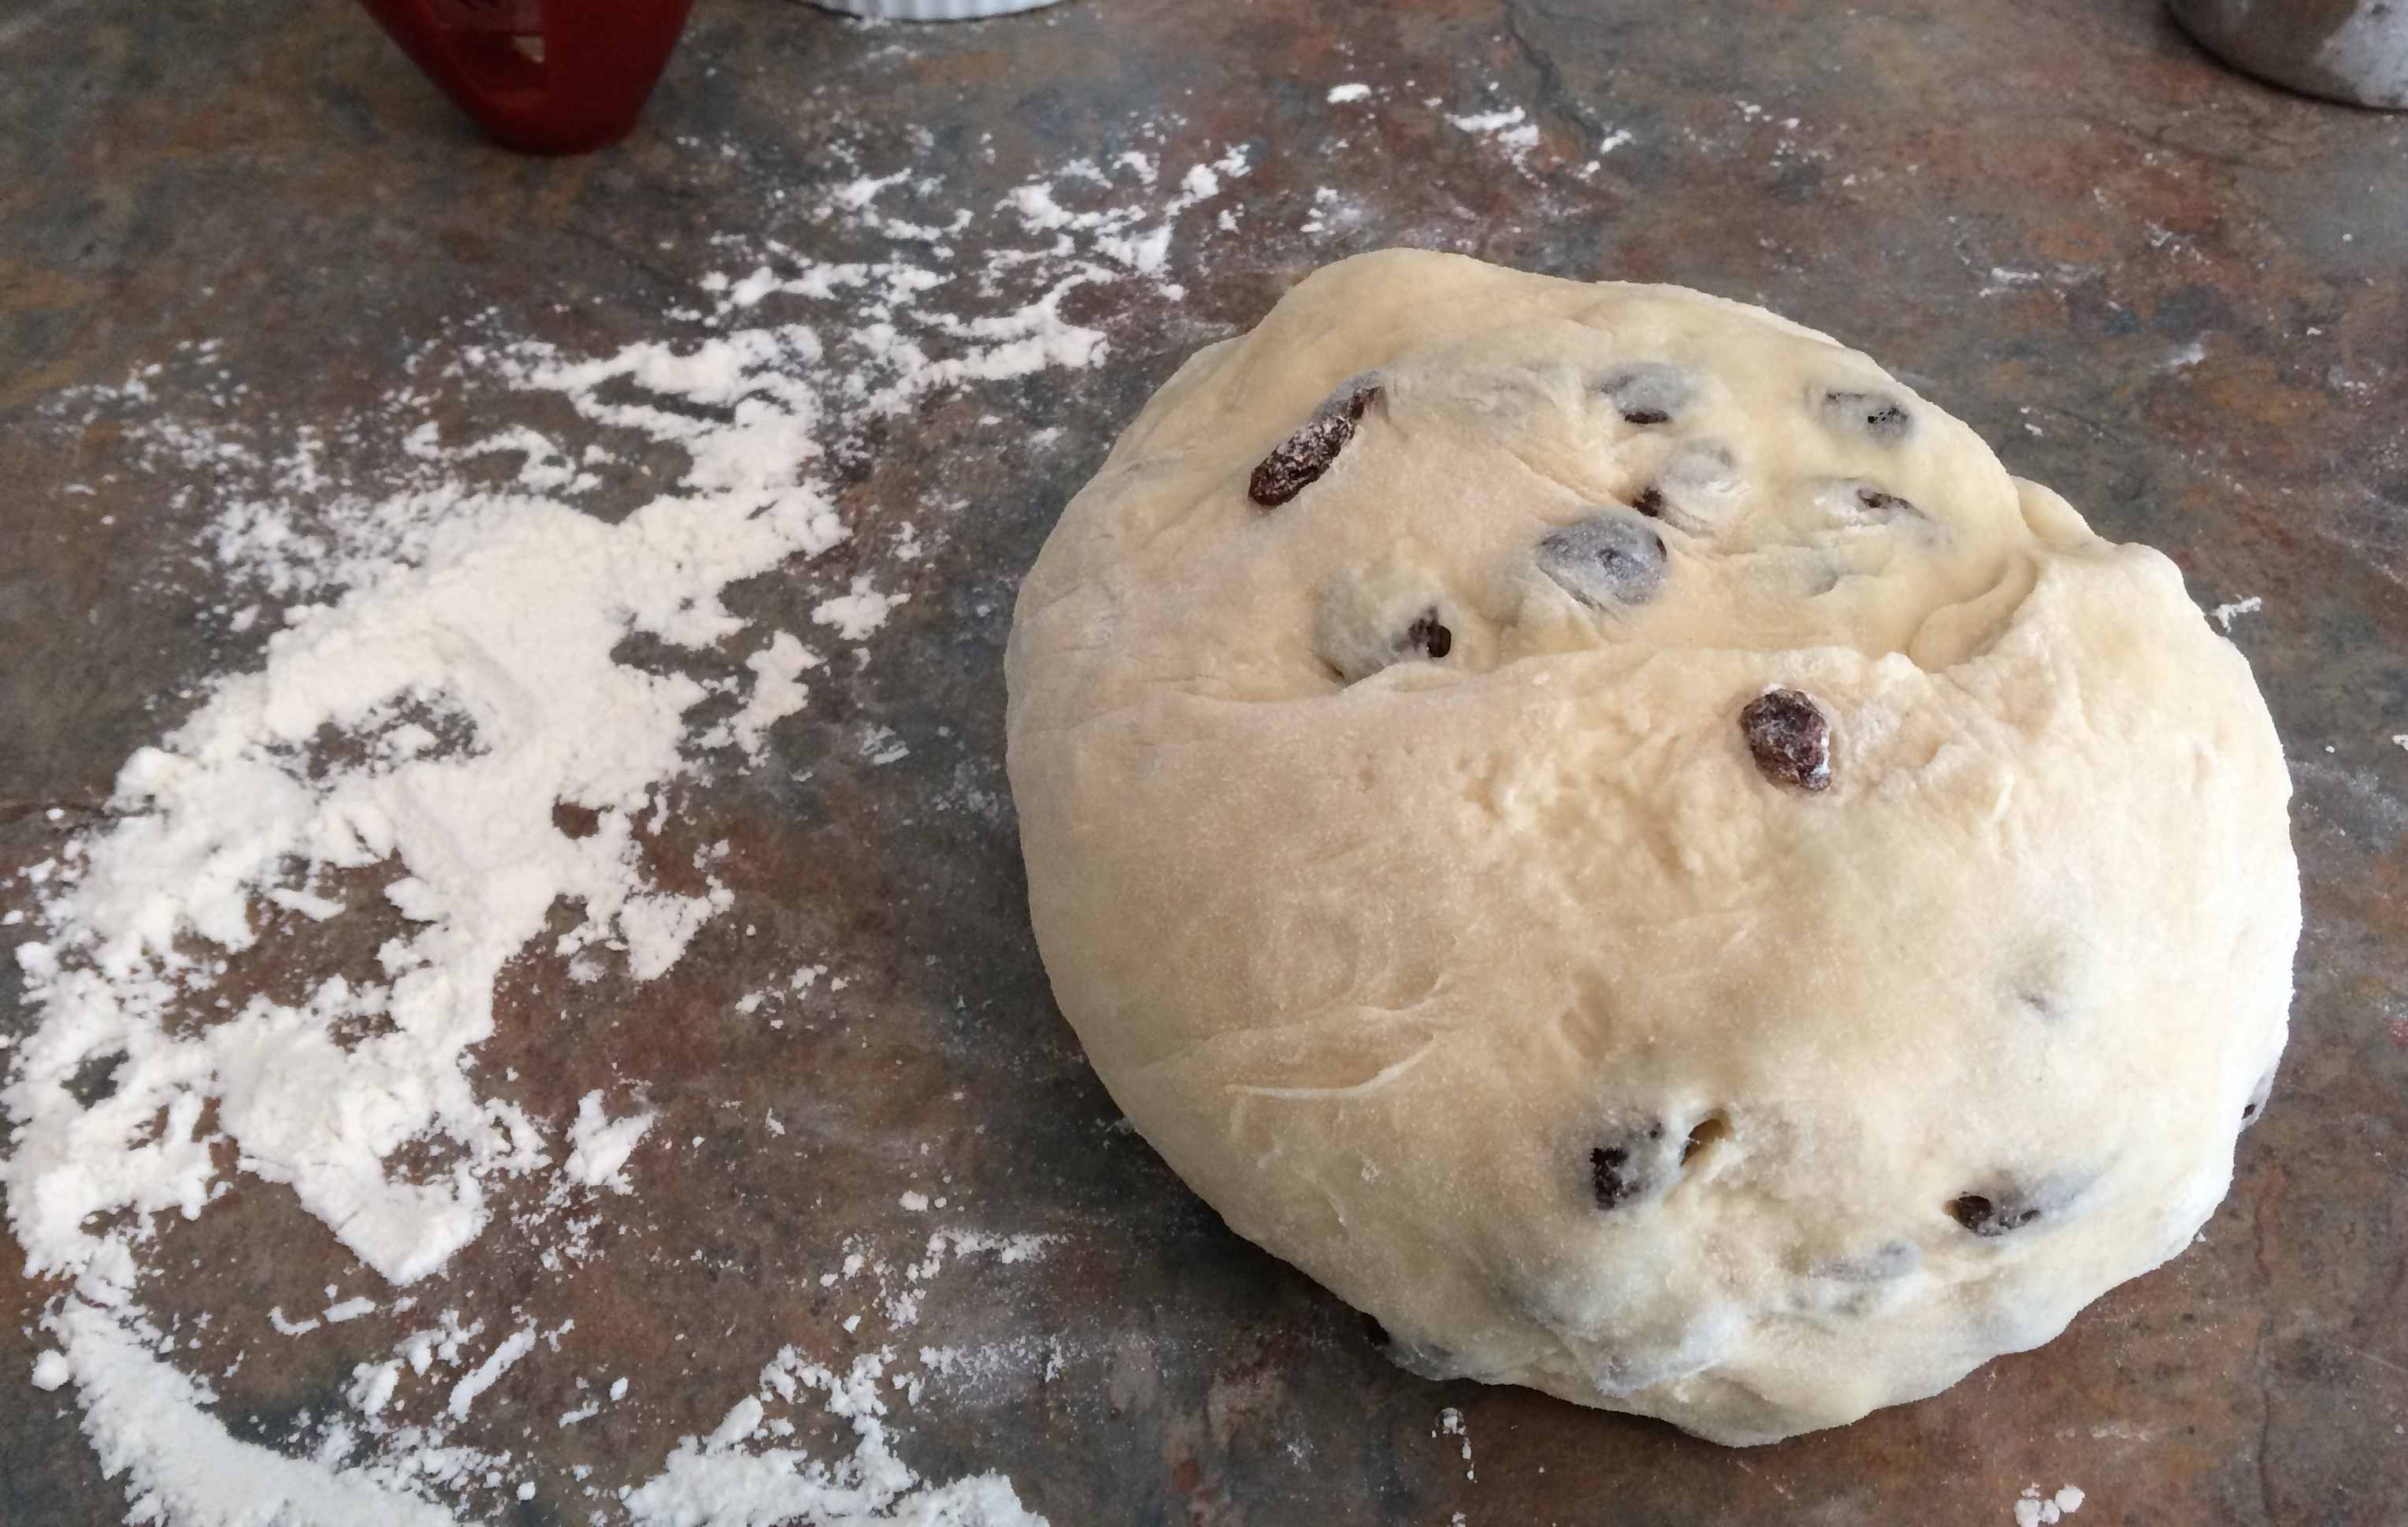
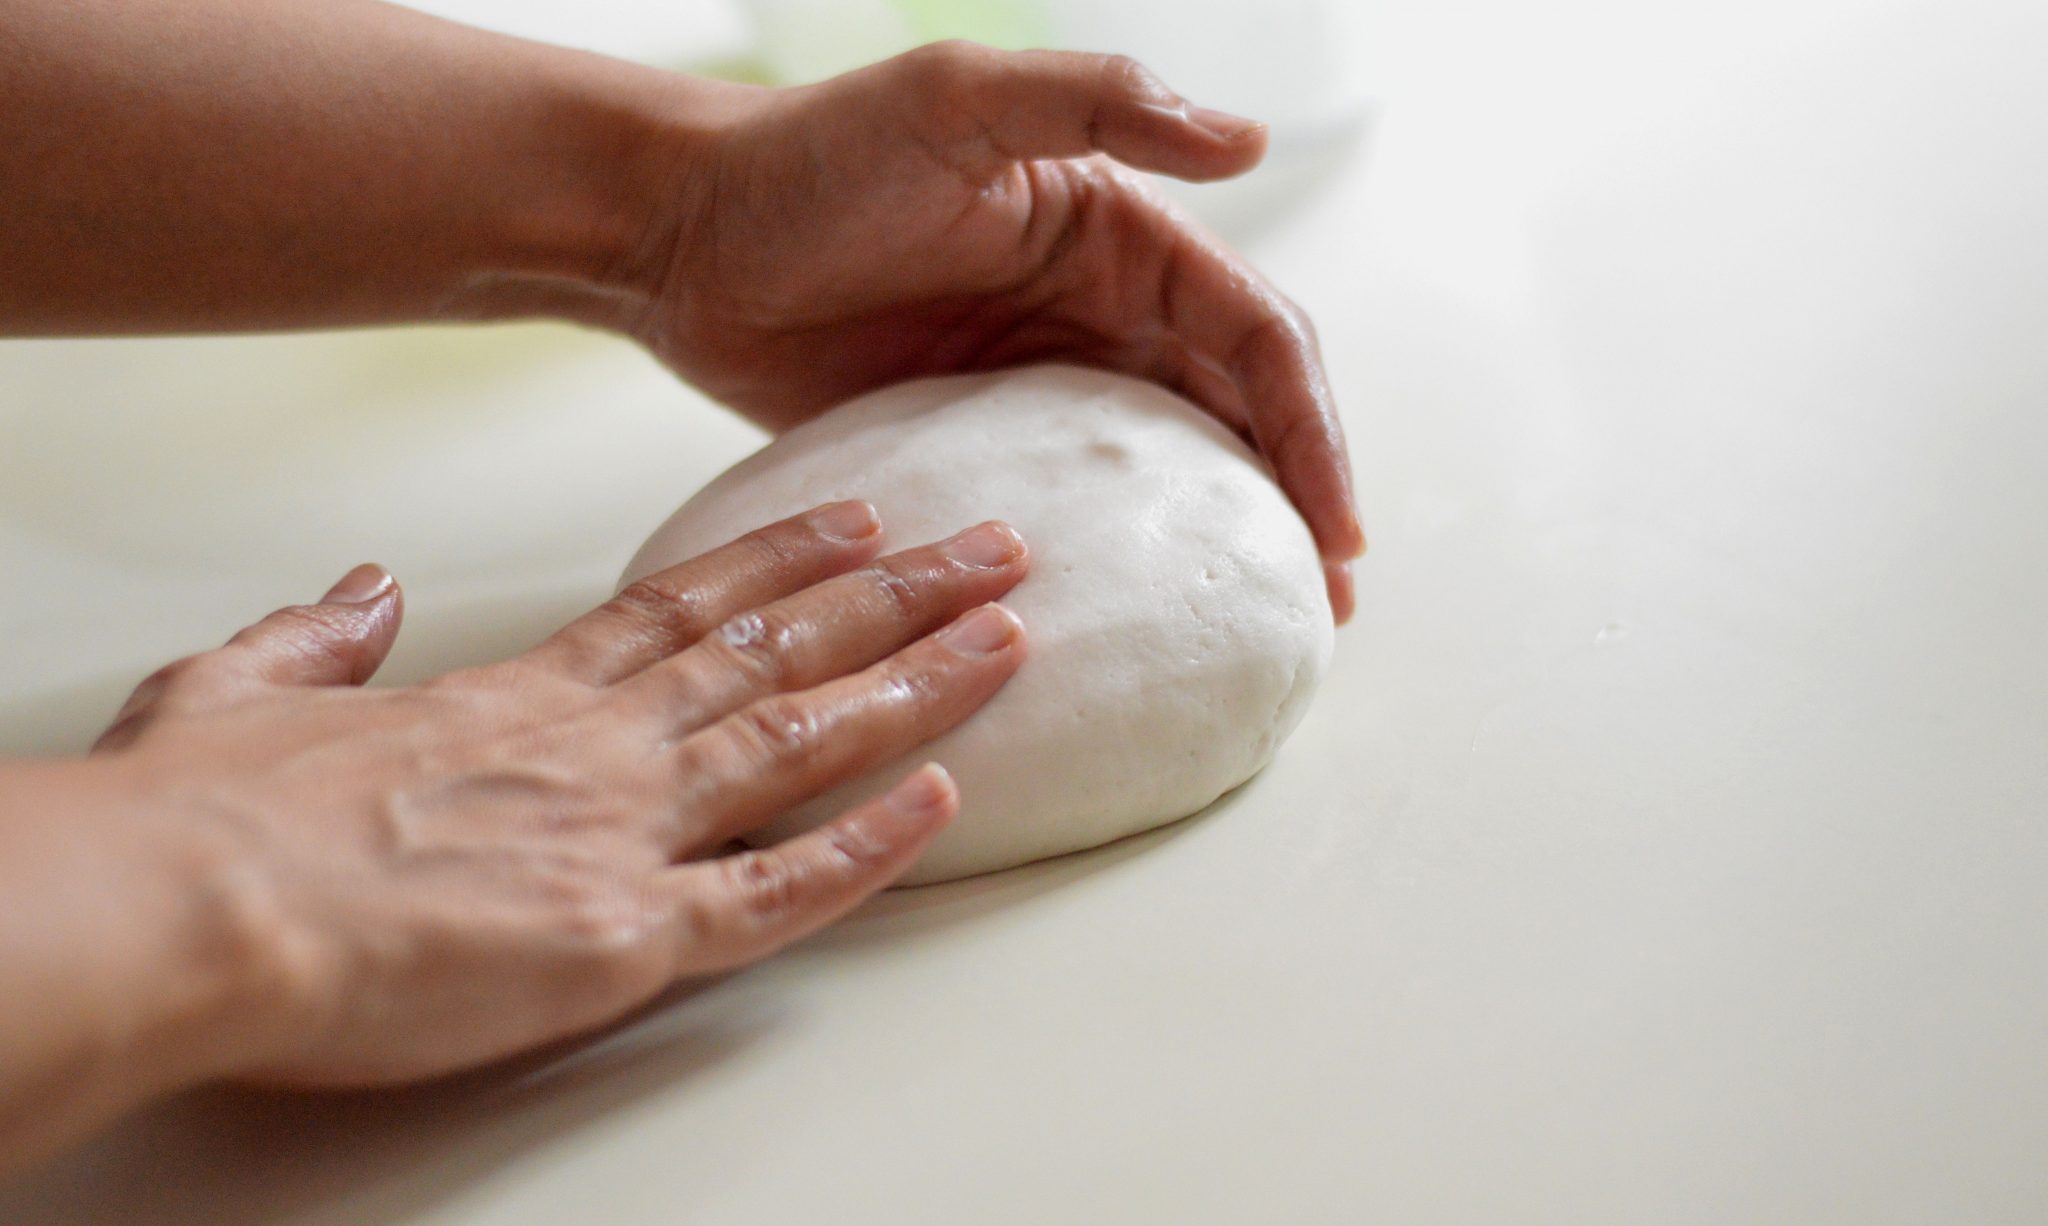
- Check the Consistency: Periodically stop kneading to check the consistency of the dough. It should be smooth, slightly elastic, and cohesive.
- Adjust as Needed: If the dough feels too dry, you can sprinkle a small amount of water. If it’s too sticky, dust it lightly with flour. Continue kneading until you reach the desired consistency.
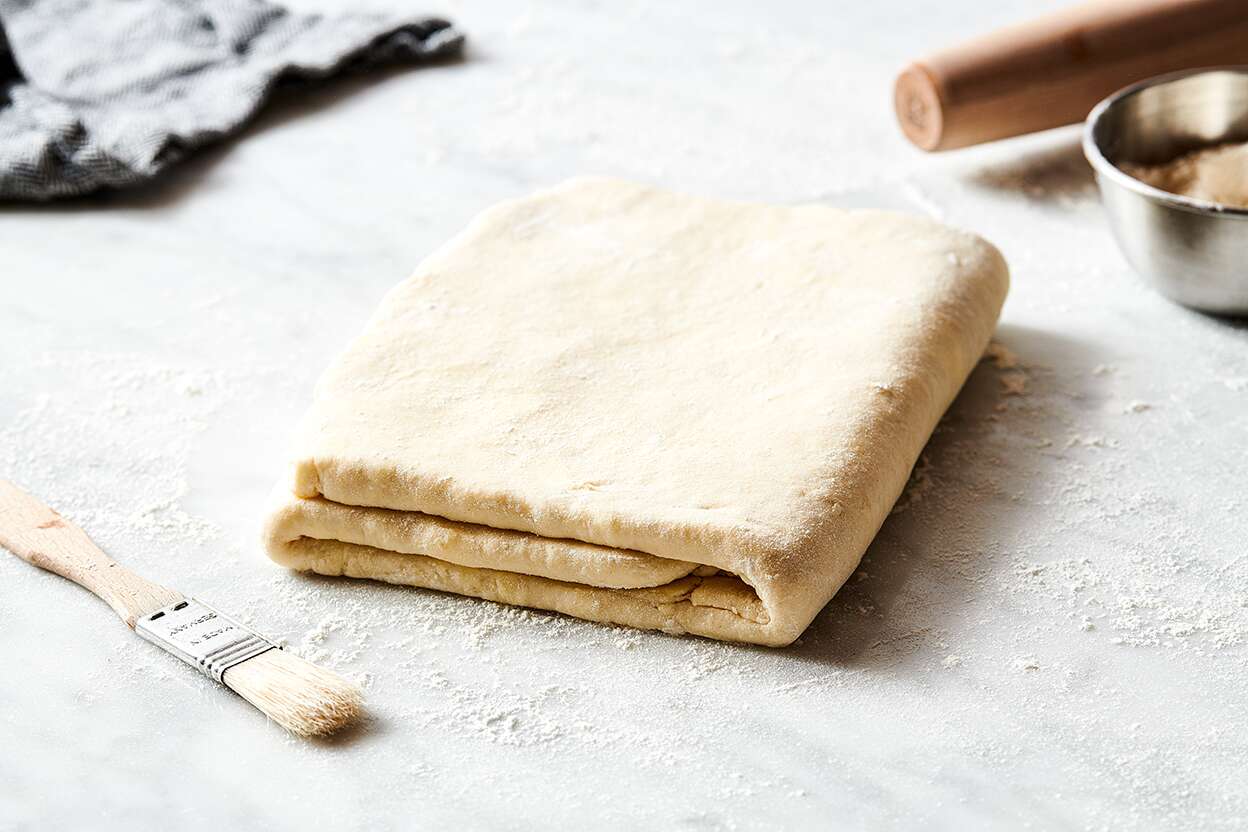
- Rest the Dough: Once the dough is properly kneaded, shape it into a ball and let it rest for the specified time in your recipe. This allows the gluten to relax and makes the dough easier to roll out.
Practice Makes Perfect
Like any culinary skill, mastering the art of kneading pastry dough takes practice. Don’t be discouraged if your first attempts aren’t perfect. With time and experience, you’ll develop a feel for the dough and be able to adjust your technique accordingly.
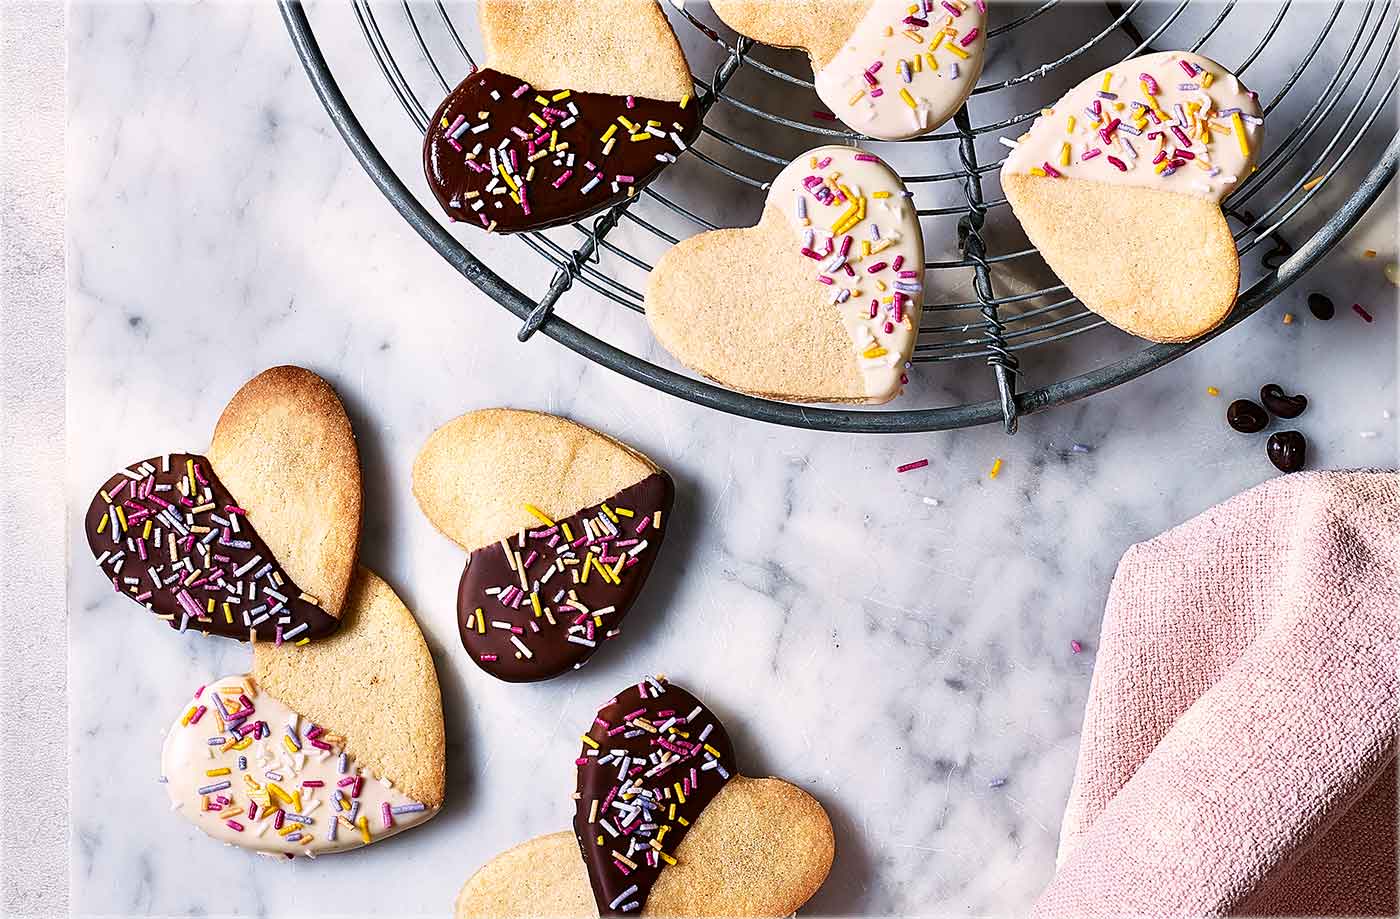
Remember, the key to successful kneading is patience and attention to detail. Pay attention to the texture and consistency of the dough, and don’t rush the process. Your efforts will be rewarded with beautifully flaky, tender pastries that will impress anyone who takes a bite.
So, roll up your sleeves, dust off your work surface, and get ready to knead your way to pastry perfection!
Was this page helpful?
Related Articles