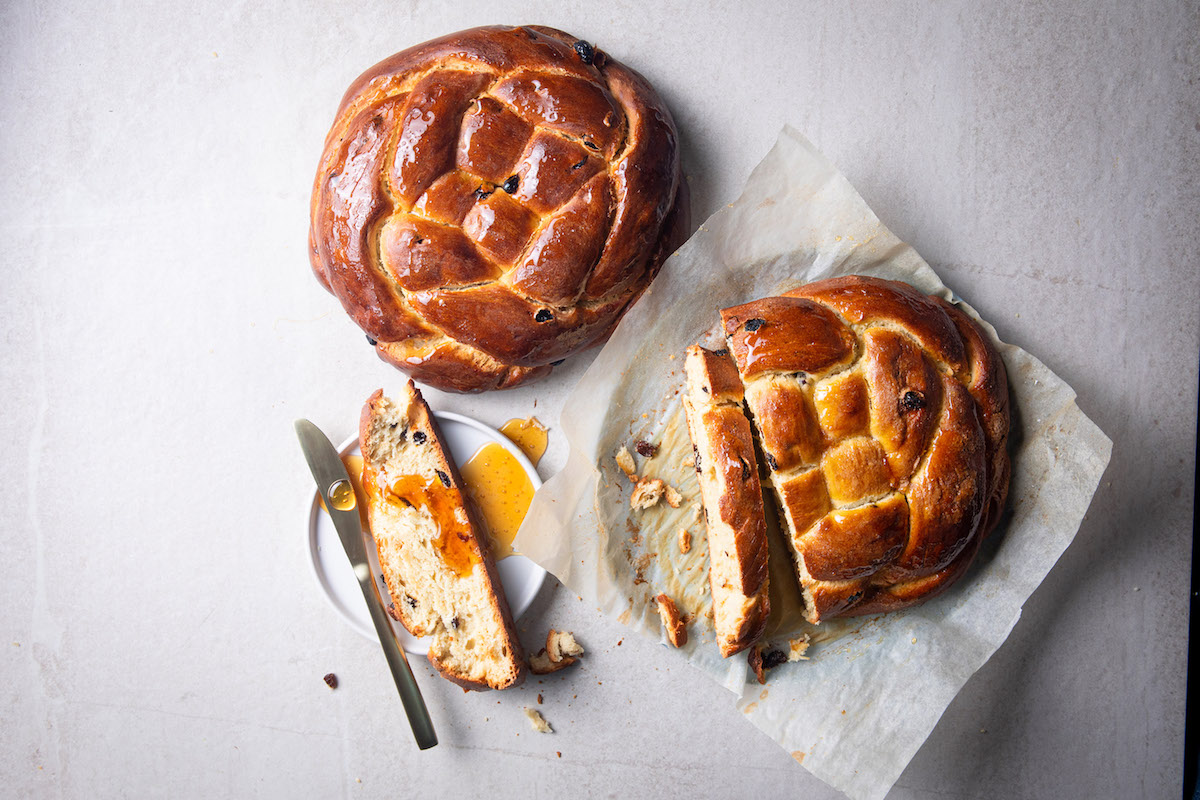
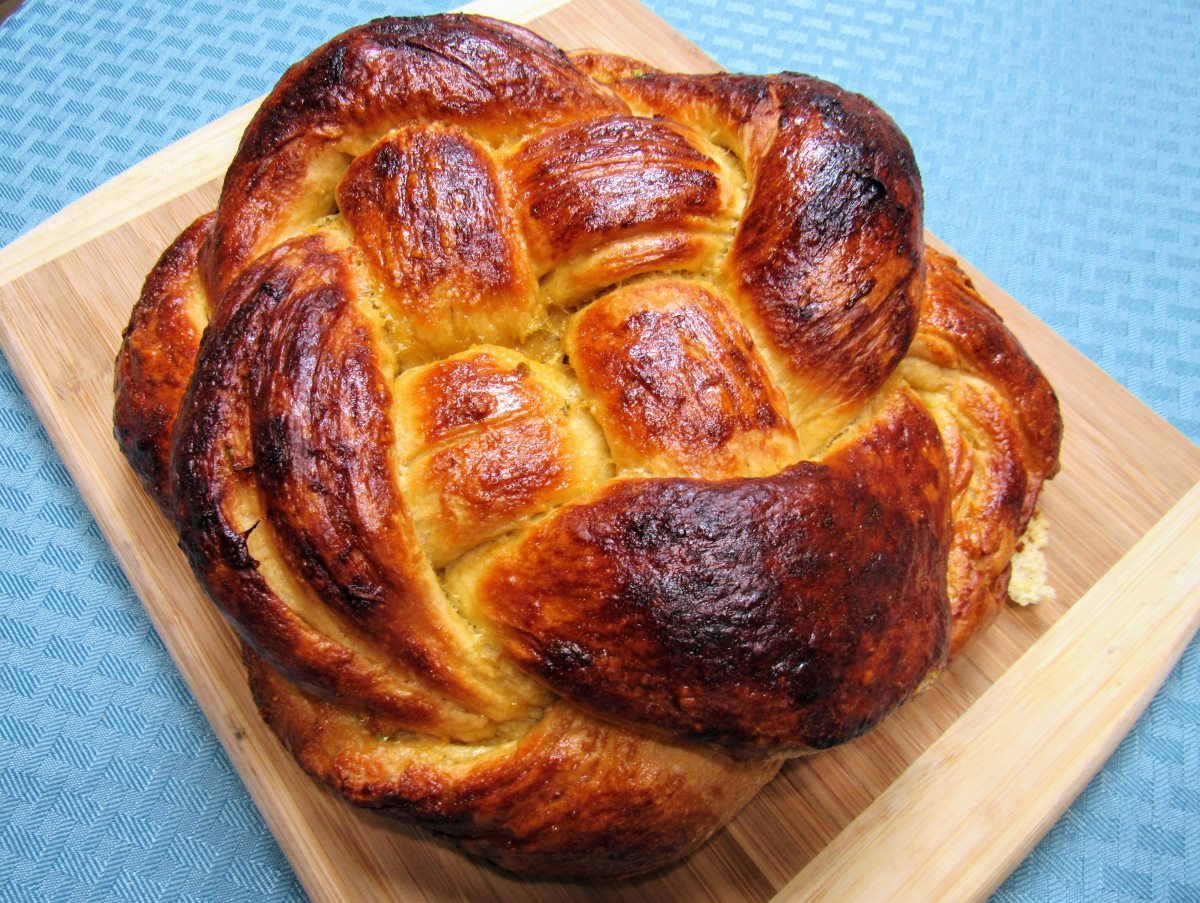
Mastering the Art of Kneading Challah Dough
Challah, a traditional Jewish bread, is not only delicious but also holds deep cultural significance. Making your own challah at home can be a rewarding experience, and one of the most important steps in the process is kneading the dough. Kneading helps develop the gluten in the dough, giving the challah its characteristic texture and structure. If you’re new to bread making, don’t worry! Kneading challah dough is a simple and enjoyable process that anyone can learn.
What You’ll Need
Before you begin, gather the following ingredients and tools:
- 4 cups of all-purpose flour
- 1/4 cup of granulated sugar
- 1 packet of active dry yeast
- 1/2 cup of warm water
- 2 eggs
- 1/4 cup of vegetable oil
- 1 teaspoon of salt
- A large mixing bowl
- A clean work surface for kneading
The Kneading Process
Now that you have everything you need, it’s time to start kneading the dough. Follow these simple steps:
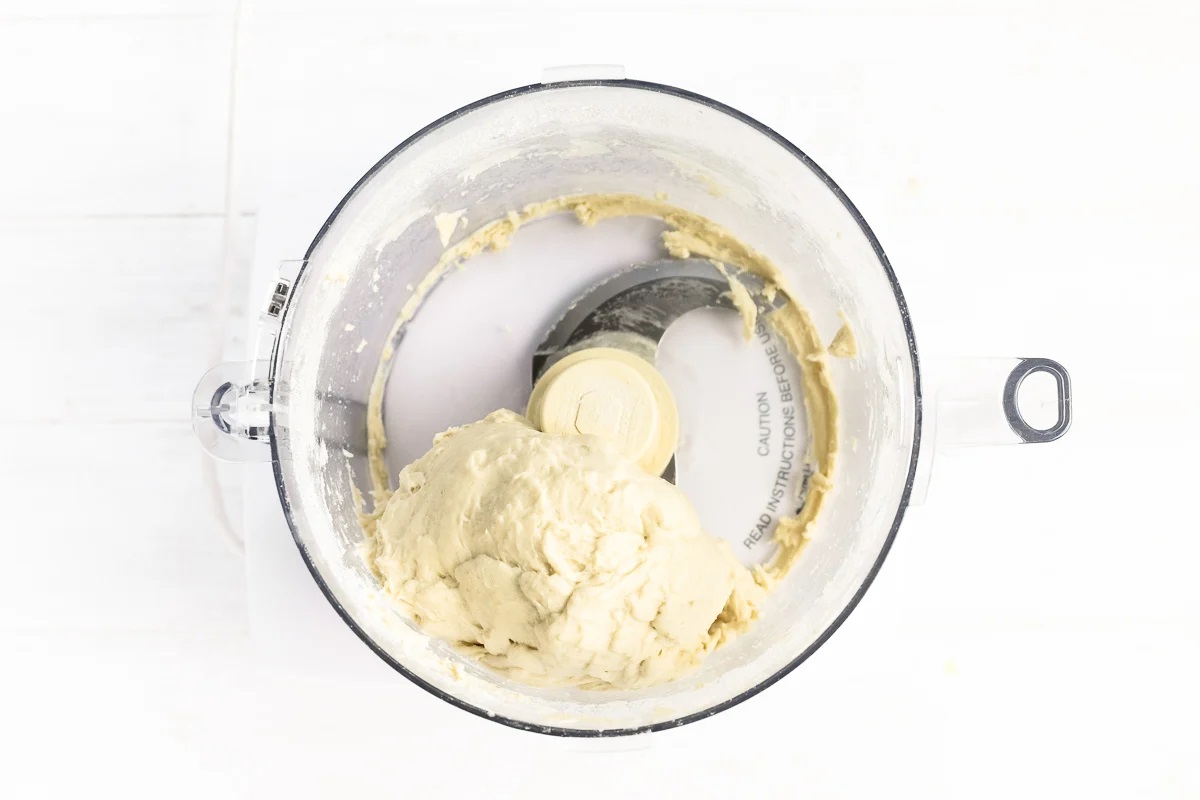
- Mix the Ingredients: In a large mixing bowl, combine the warm water, sugar, and yeast. Let it sit for a few minutes until it becomes frothy. Then, add the eggs, oil, and salt. Gradually mix in the flour until a dough begins to form.
- Knead the Dough: Lightly flour your work surface and turn the dough out onto it. Begin kneading the dough by pressing it away from you with the heels of your hands, then folding it back over itself. Continue this motion for 8-10 minutes, or until the dough is smooth and elastic.
- Rest the Dough: Once the dough is properly kneaded, place it back in the mixing bowl and cover it with a clean kitchen towel. Let it rest in a warm, draft-free area for about 1 hour, or until it has doubled in size.
Tips for Success
Kneading challah dough is a skill that improves with practice. Here are a few tips to help you master the art:
- Be Patient: Kneading takes time, so don’t rush the process. Enjoy the rhythm of kneading and allow the dough to transform under your hands.
- Use Flour Sparingly: While it’s important to prevent the dough from sticking, adding too much flour can make the challah dense. Use just enough flour to keep the dough from sticking to your hands and work surface.
- Trust Your Instincts: Pay attention to the texture of the dough. It should feel smooth, slightly tacky, and elastic when properly kneaded.
Conclusion
Kneading challah dough is a fundamental step in the bread-making process, and with a little practice, anyone can become proficient at it. The next time you prepare to bake challah, remember to approach the kneading process with patience and confidence. Enjoy the therapeutic nature of kneading and take pride in creating a beautiful loaf of homemade challah.
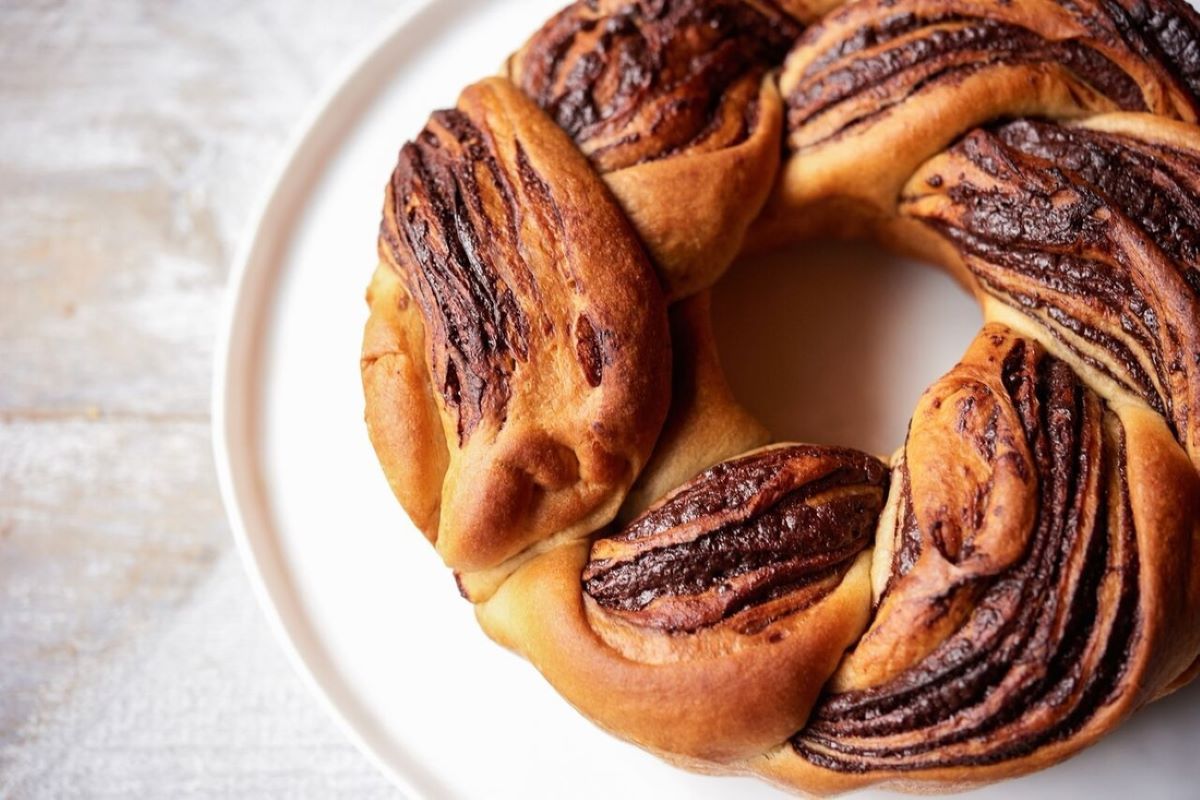
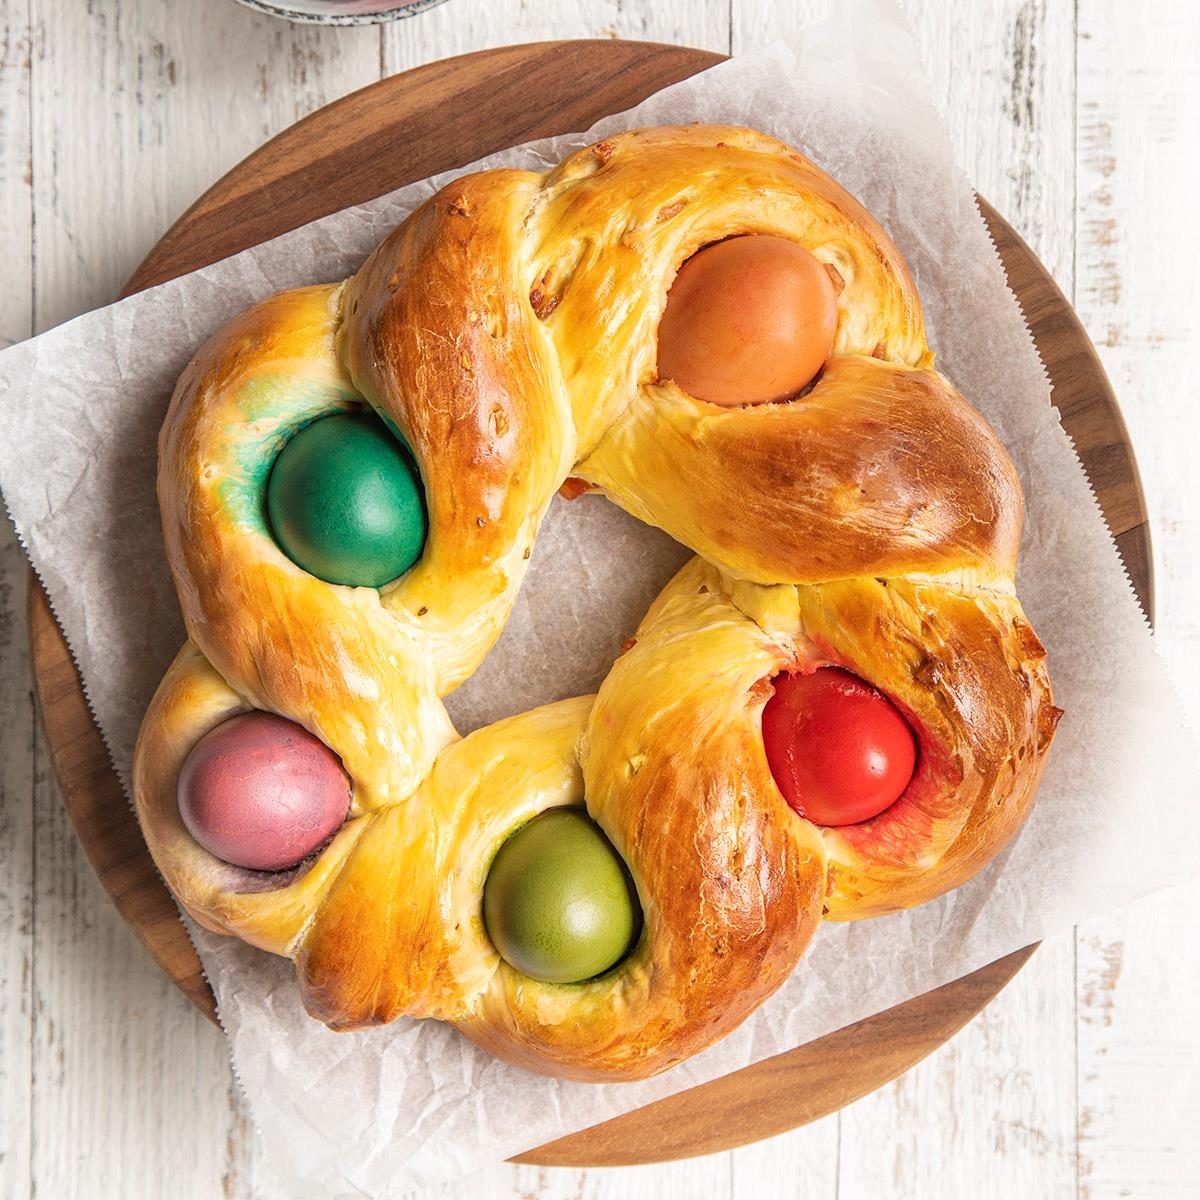
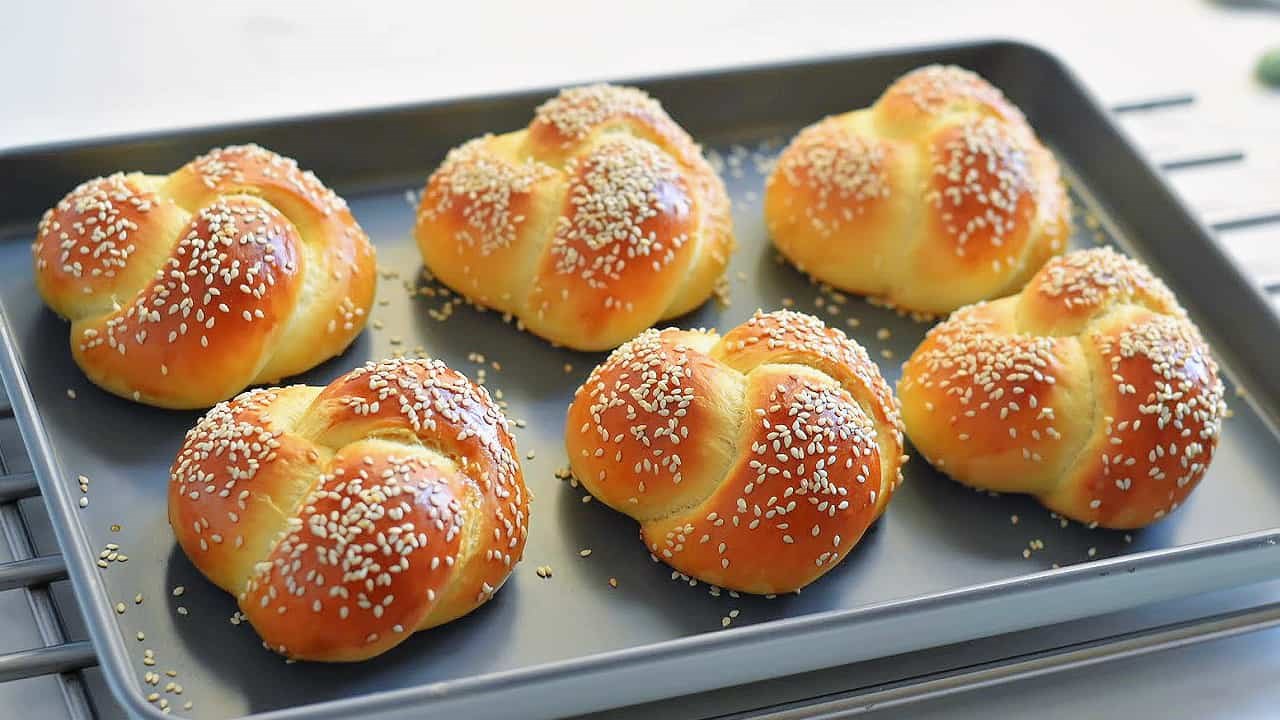
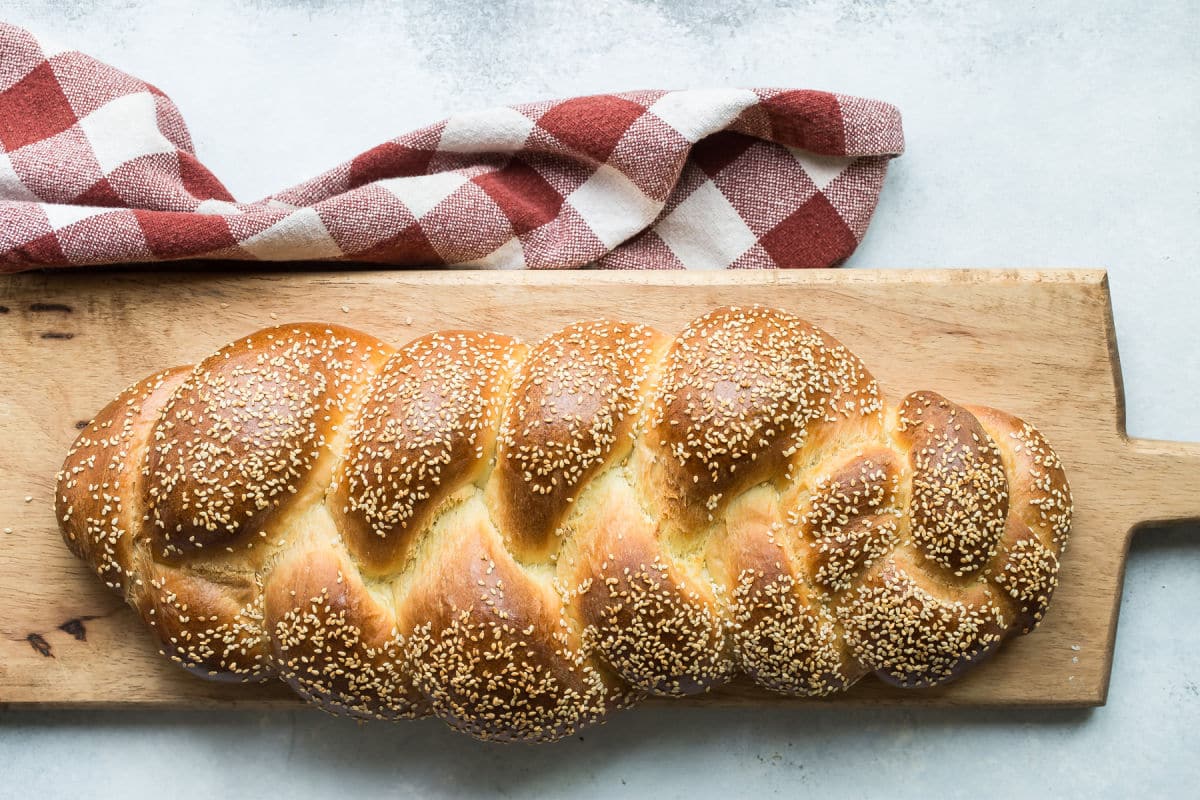
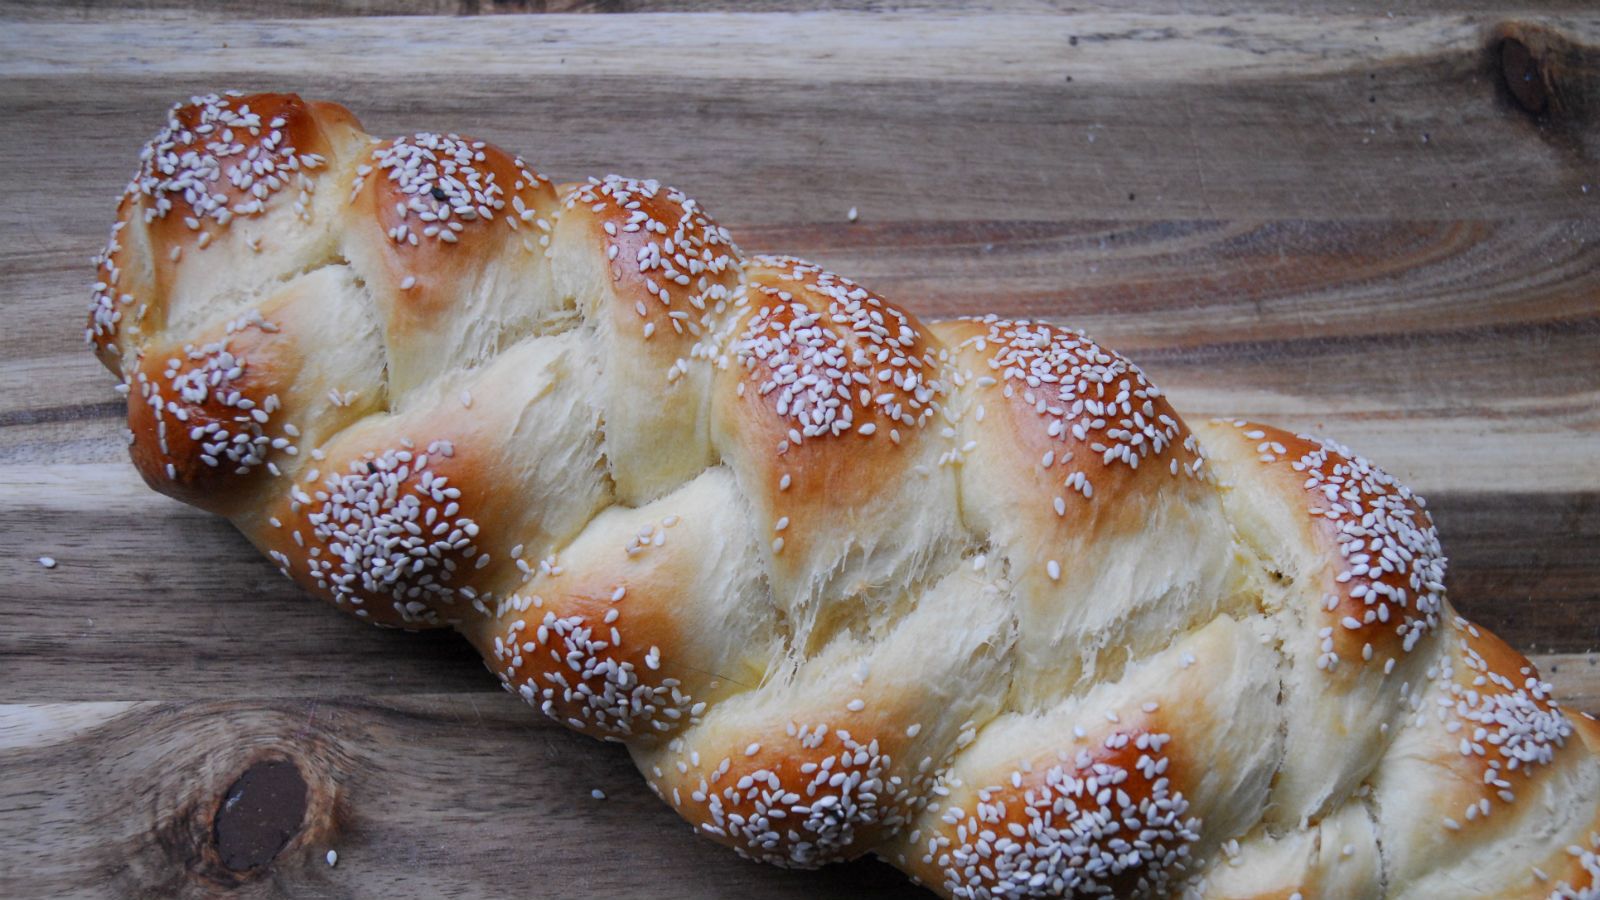
Now that you’ve mastered the art of kneading challah dough, it’s time to let your creativity shine by shaping the dough into intricate braids and designs. Embrace the tradition and symbolism of challah as you continue to hone your bread-making skills.
Was this page helpful?
Related Articles