Mastering the Art of Maple Bar Glazing
Maple bars are a beloved treat for many, and a perfectly glazed maple bar can take the experience to a whole new level. Whether you’re a seasoned baker or just starting out, mastering the art of glazing a maple bar is a skill worth learning. In this guide, we’ll walk you through the steps to achieve a delectable glaze that will elevate your maple bars to a whole new level of deliciousness.
Ingredients You’ll Need:
- Maple Bars
- Confectioner’s Sugar
- Maple Extract
- Milk or Water
Step 1: Prepare the Glaze
Start by sifting confectioner’s sugar into a mixing bowl. Add a few drops of maple extract for that authentic maple flavor. Gradually add milk or water and whisk until the glaze reaches a smooth and pourable consistency. Be mindful of the amount of liquid you add to achieve the desired thickness.
Step 2: Glaze the Maple Bars
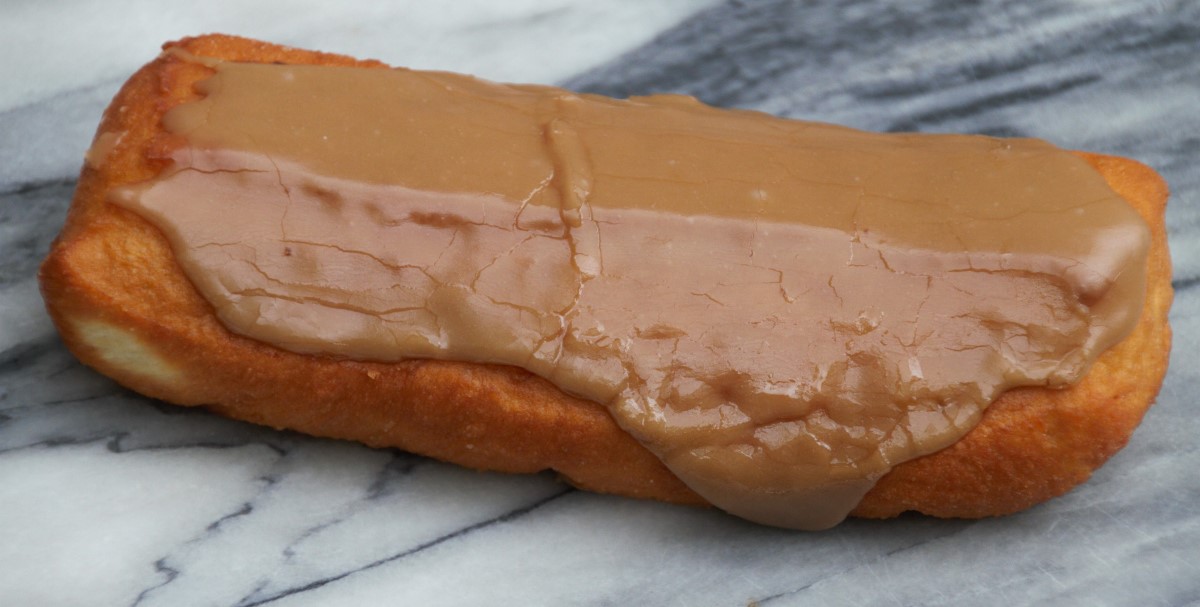
Place your freshly baked maple bars on a wire rack with a baking sheet underneath to catch any drips. Using a spoon or spatula, generously spread the prepared glaze over the top of each maple bar. Allow the excess glaze to drip off the sides for a beautifully coated finish.
Step 3: Let the Glaze Set
After glazing, allow the maple bars to sit for a few minutes to let the glaze set. This will ensure that the glaze adheres to the bars, creating a delightful coating that adds a hint of sweetness to every bite.
Step 4: Indulge and Enjoy!
Once the glaze has set, your maple bars are ready to be enjoyed. Whether you’re savoring them with a cup of coffee for breakfast or as a delightful dessert, the perfectly glazed maple bars are sure to satisfy your sweet cravings.
Mastering the art of glazing a maple bar takes practice, but with the right technique and a delicious glaze recipe, you’ll be able to create irresistible maple bars that will impress your friends and family. So, roll up your sleeves, gather your ingredients, and get ready to elevate your baking skills with the perfect maple bar glaze!
Was this page helpful?
Related Articles