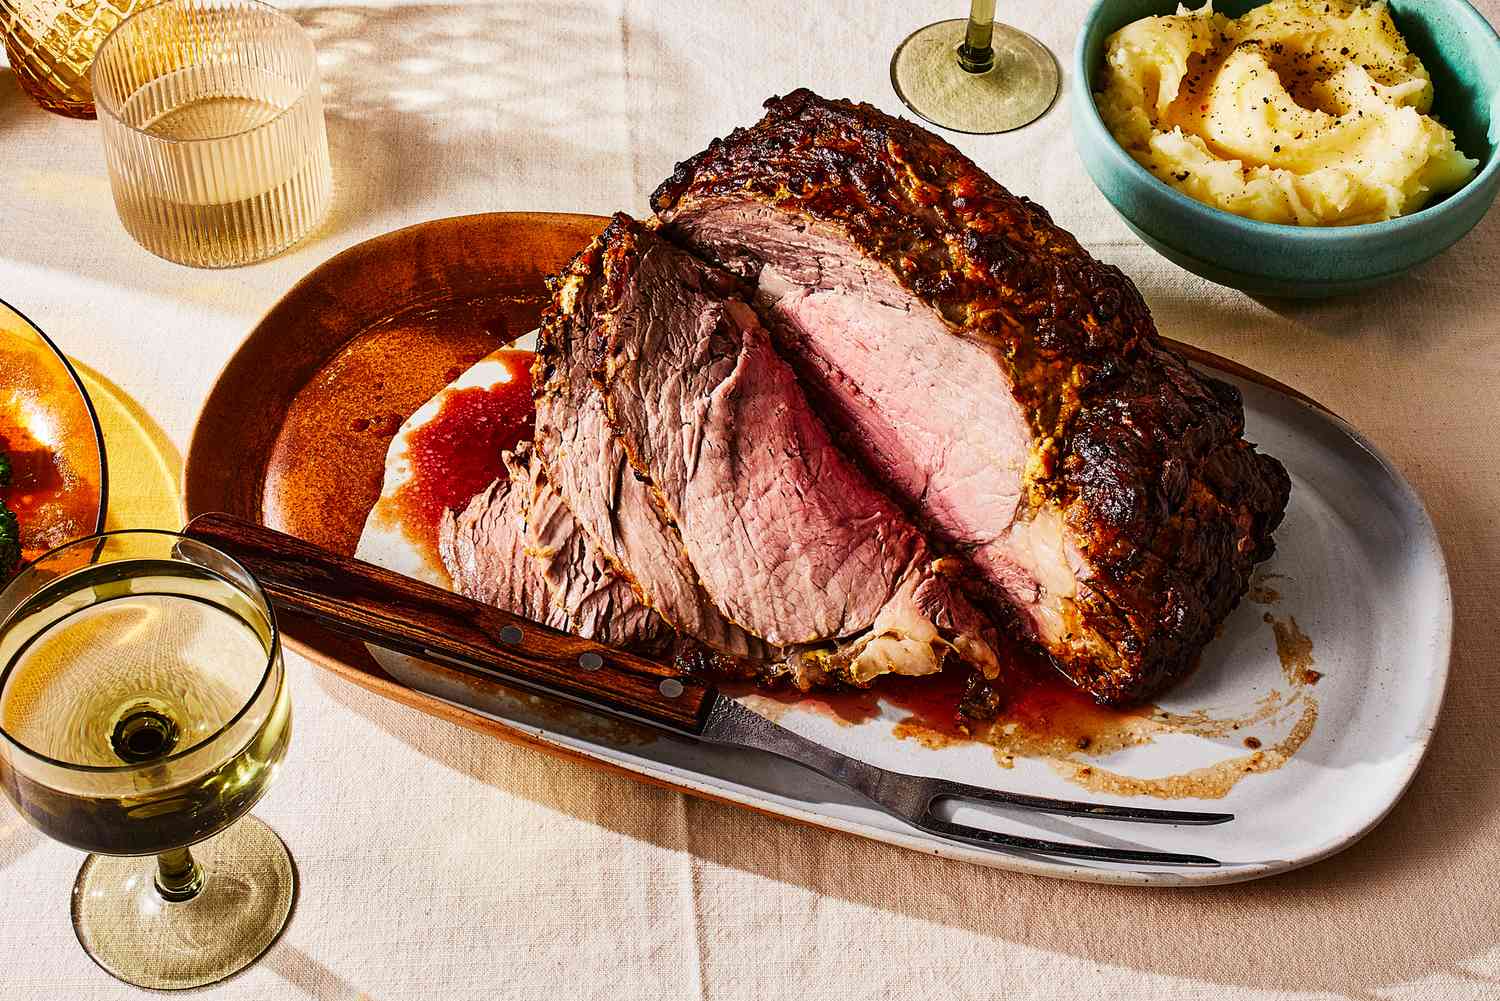
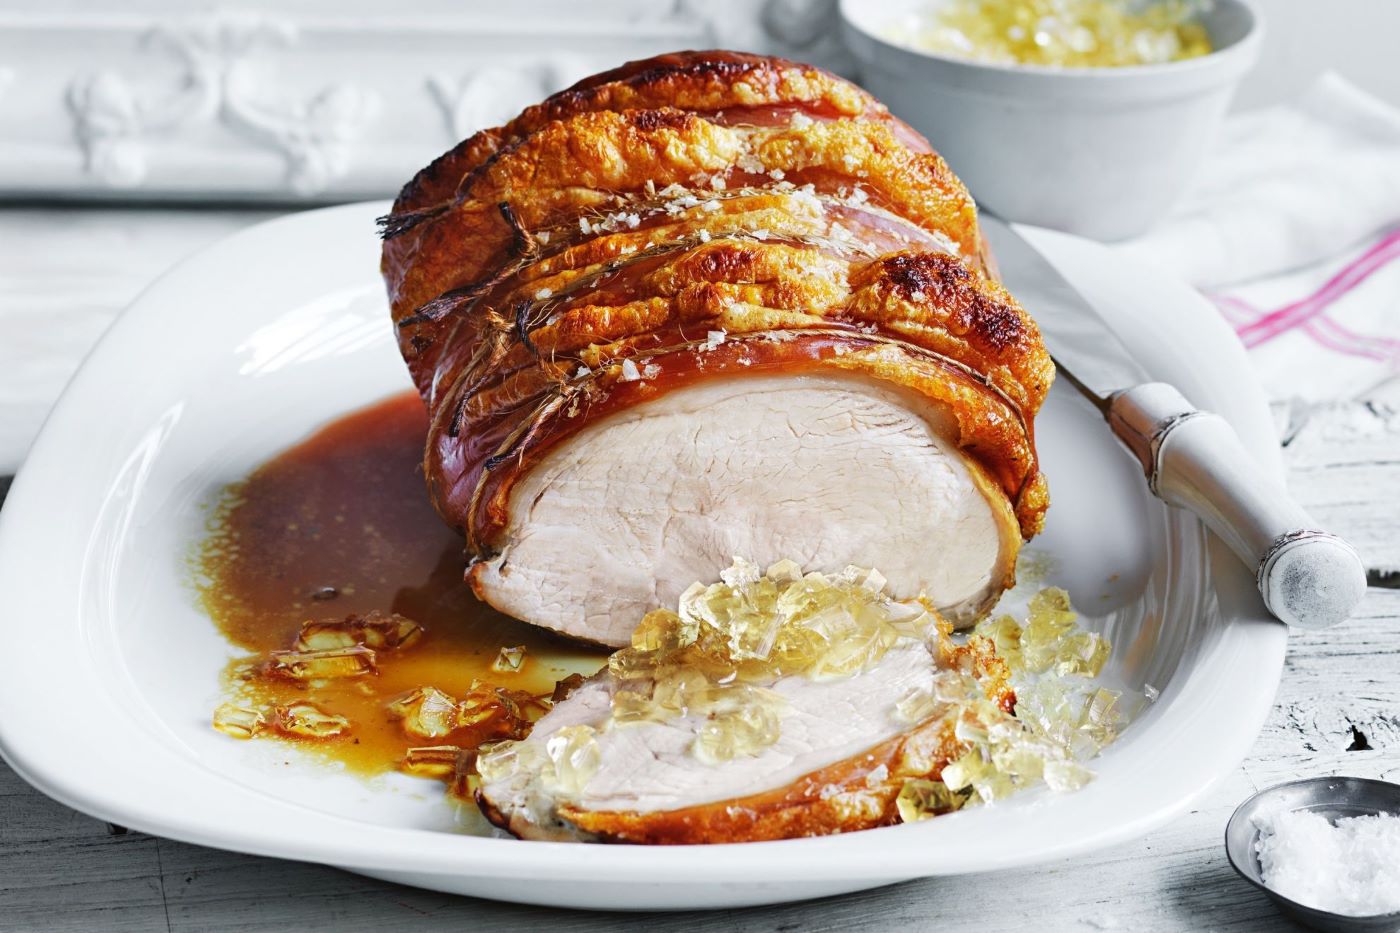
How To Cut Up Turkey: A Step-by-Step Guide
Thanksgiving is just around the corner, and that means it’s turkey time! Whether you’re hosting a big family gathering or simply love a delicious roast turkey, knowing how to properly cut up a turkey is an essential skill. In this step-by-step guide, we will walk you through the process, ensuring that you carve your turkey like a pro. Let’s get started!
What You’ll Need:
- Roasted turkey
- Sharp carving knife
- Carving fork
- Cutting board with a groove for catching juices
- Platter or serving dish for the carved turkey pieces
Step 1: Let the Turkey Rest
Before you start carving, it’s important to let the turkey rest for about 20 minutes. This allows the juices to redistribute, resulting in a moist and flavorful bird. Use this time to set your table, prepare side dishes, or enjoy a glass of wine with your guests.
Step 2: Remove the Legs and Thighs
Begin by holding the turkey steady with a carving fork. Use a sharp carving knife to make a horizontal cut between the breast and the leg. Once the joint is exposed, use the tip of the knife to gently separate the leg from the body. Repeat the process on the other side. Place the legs and thighs on a platter.
Step 3: Separate the Wings
Hold the turkey steady with the carving fork and use the knife to make a cut between the breast and the wing. Apply gentle pressure to detach the wing from the body. Repeat the process on the other side. Place the wings on the platter with the legs and thighs.
Step 4: Slice the Breast Meat
Position the turkey breast-side up on the cutting board. Begin by making a diagonal cut along the breastbone, starting from the top part of the breast. Use even, downward slices to separate the breast meat from the bone, following the natural contour of the breast. Repeat the process on the other side. Arrange the sliced breast meat on the platter.
Step 5: Carve the Drumsticks
Hold a drumstick firmly with the carving fork. Make a horizontal cut near the joint and then cut vertically to remove the meat. Repeat the process with the other drumstick. Arrange the carved drumstick meat on the platter alongside the other turkey pieces.
Step 6: Serve and Enjoy!
Transfer the beautifully carved turkey pieces to a serving platter or directly to individual plates. Garnish with fresh herbs, cranberry sauce, or any other favorite accompaniments. Now, sit back, relax, and savor the fruits of your labor. You have successfully cut up your turkey!
Remember, practice makes perfect, so don’t be discouraged if your first attempt isn’t flawless. With time and experience, you’ll become a turkey-cutting pro. Now, go ahead and impress your guests with your newfound turkey carving skills this Thanksgiving!
That’s it! We hope this step-by-step guide on how to cut up a turkey has been helpful. Feel free to share your thoughts and experiences in the comments below. Happy carving and happy Thanksgiving!
Was this page helpful?
Read Next: How To Cut Bones Out Of Chicken Thighs
Related Articles