Carving a Boston Butt: A Step-by-Step Guide
Carving a Boston Butt can seem like a daunting task, but with the right technique, it can be a breeze. Whether you’re preparing a delicious pulled pork sandwich or serving up a hearty meal for your family, knowing how to properly carve a Boston Butt is essential. Follow these simple steps to carve your Boston Butt like a pro.
Step 1: Gather Your Tools
Before you begin carving your Boston Butt, make sure you have the right tools on hand. You’ll need a sharp carving knife, a cutting board, and a pair of sturdy kitchen tongs. Having these tools ready will make the carving process much easier and safer.
Step 2: Let It Rest
Once your Boston Butt has finished cooking, it’s important to let it rest for at least 15-20 minutes before you start carving. This allows the juices to redistribute, ensuring that your meat stays moist and flavorful.
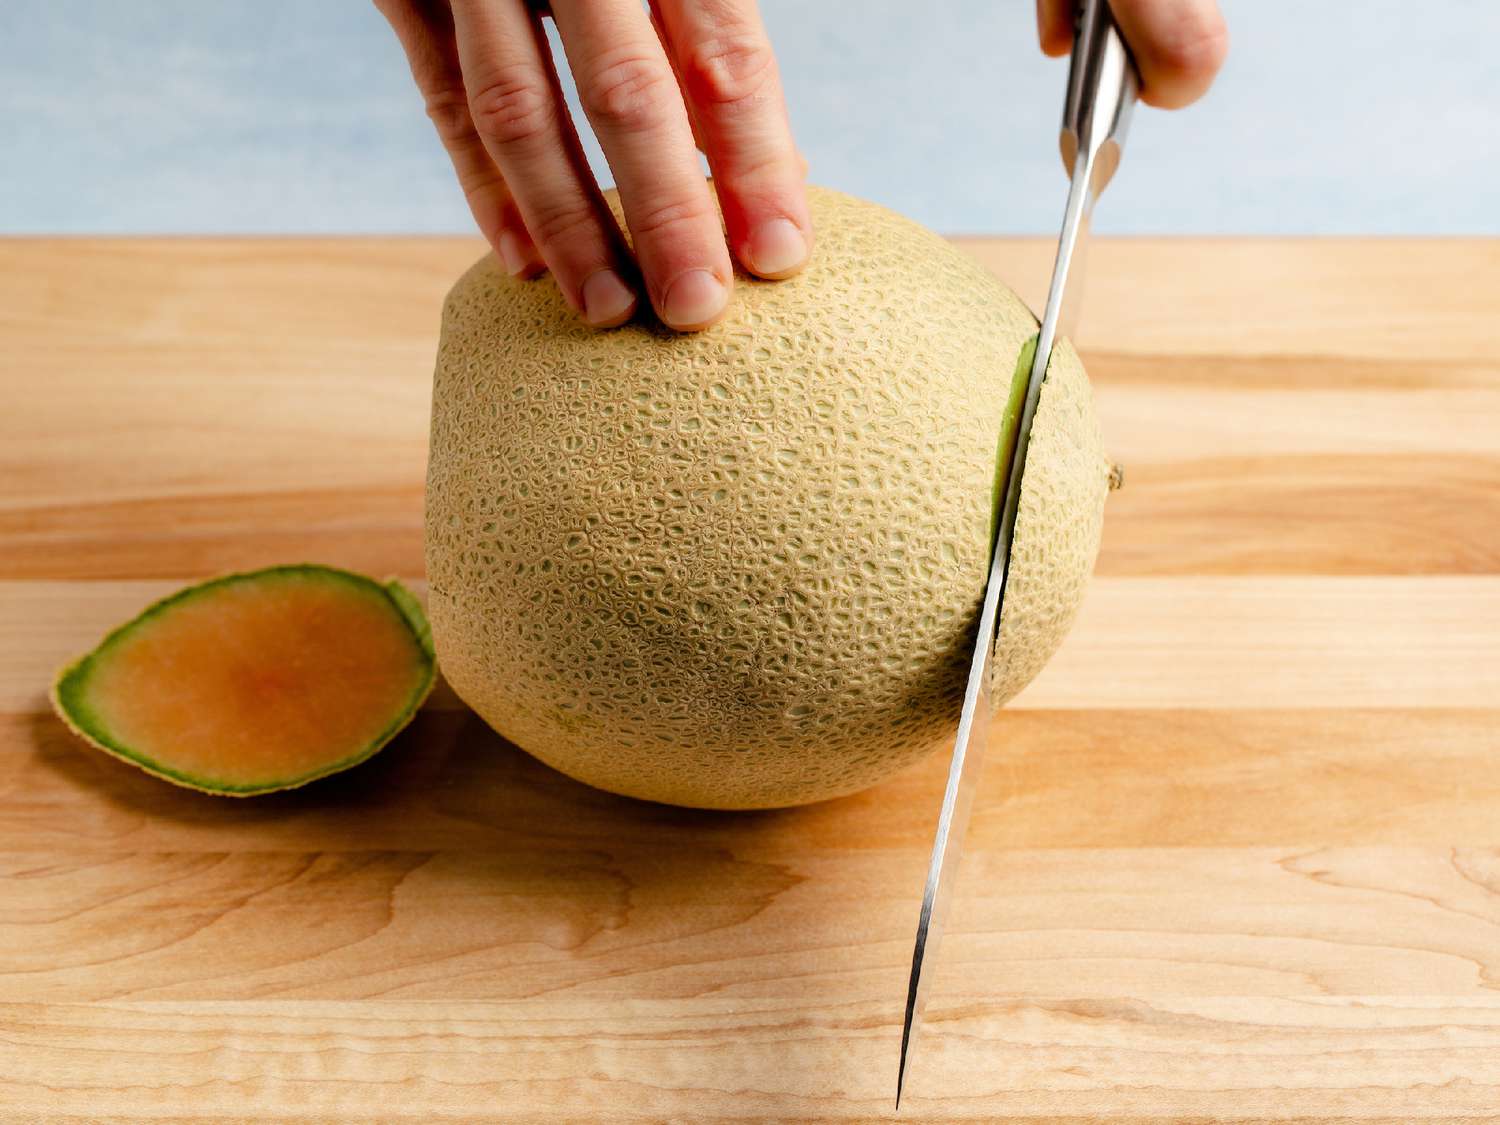
Step 3: Find the Grain
Before you start carving, take a moment to identify the direction of the grain in the meat. The grain refers to the natural lines and fibers in the meat, and it’s important to carve against the grain to ensure tender, easy-to-eat slices.
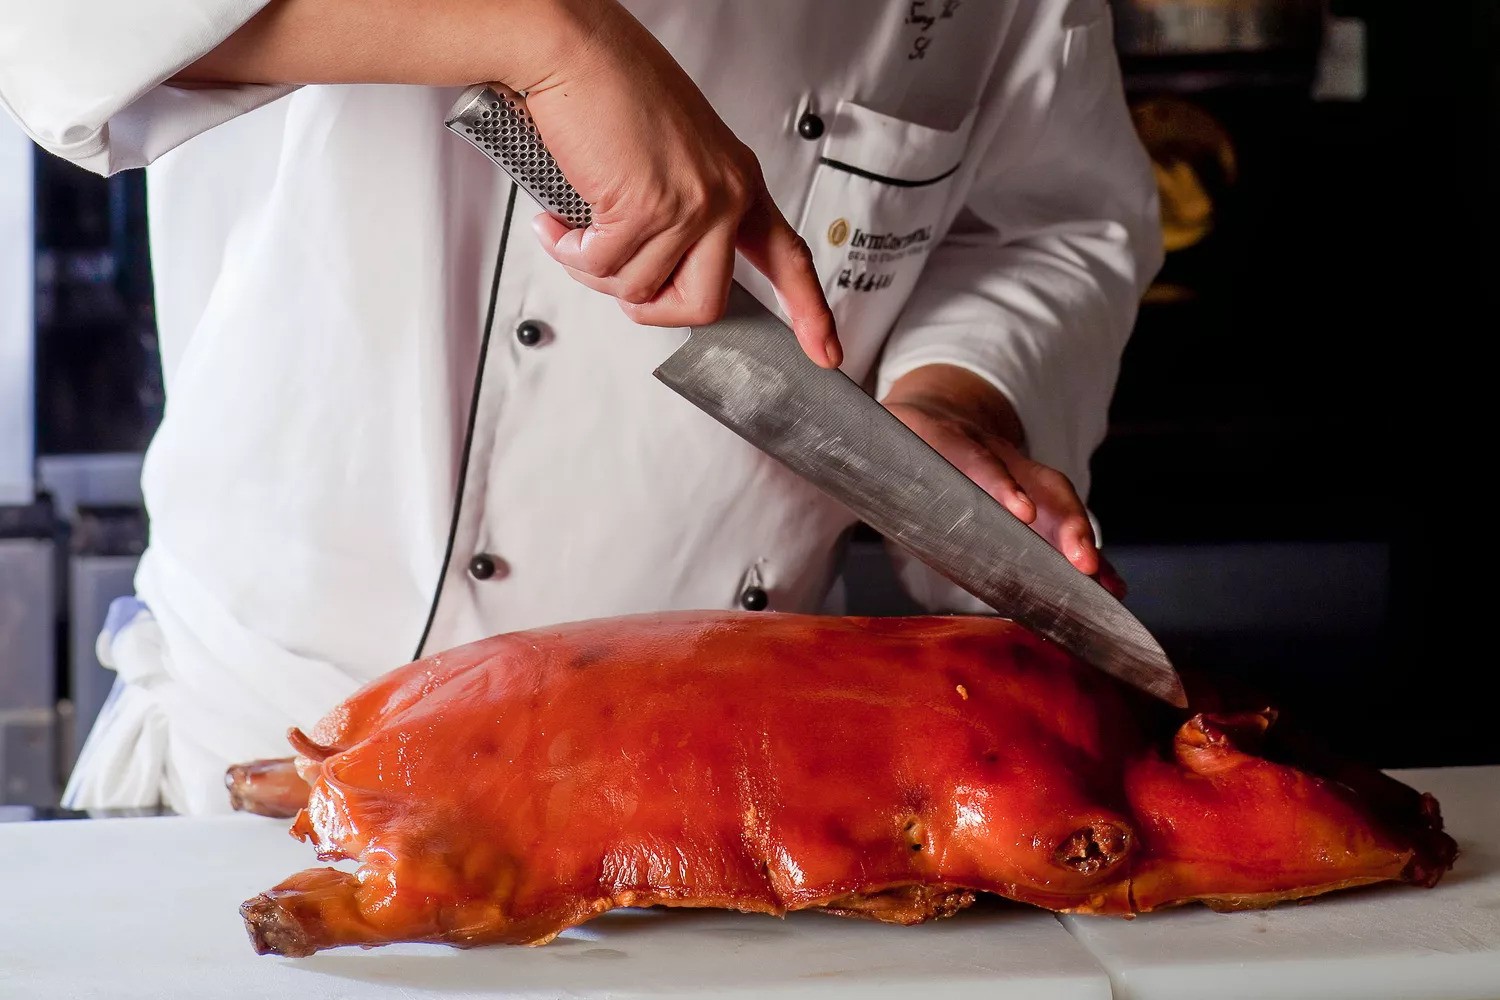
Step 4: Start Carving
Using your carving knife, begin slicing the Boston Butt against the grain. Aim for slices that are about 1/4 to 1/2 inch thick. As you carve, use the kitchen tongs to hold the meat steady and make the process easier.
Step 5: Shred the Meat
If you’re planning to make pulled pork, you can also shred the meat using two forks. Simply pull the meat apart in opposite directions to create tender, bite-sized pieces that are perfect for sandwiches or tacos.
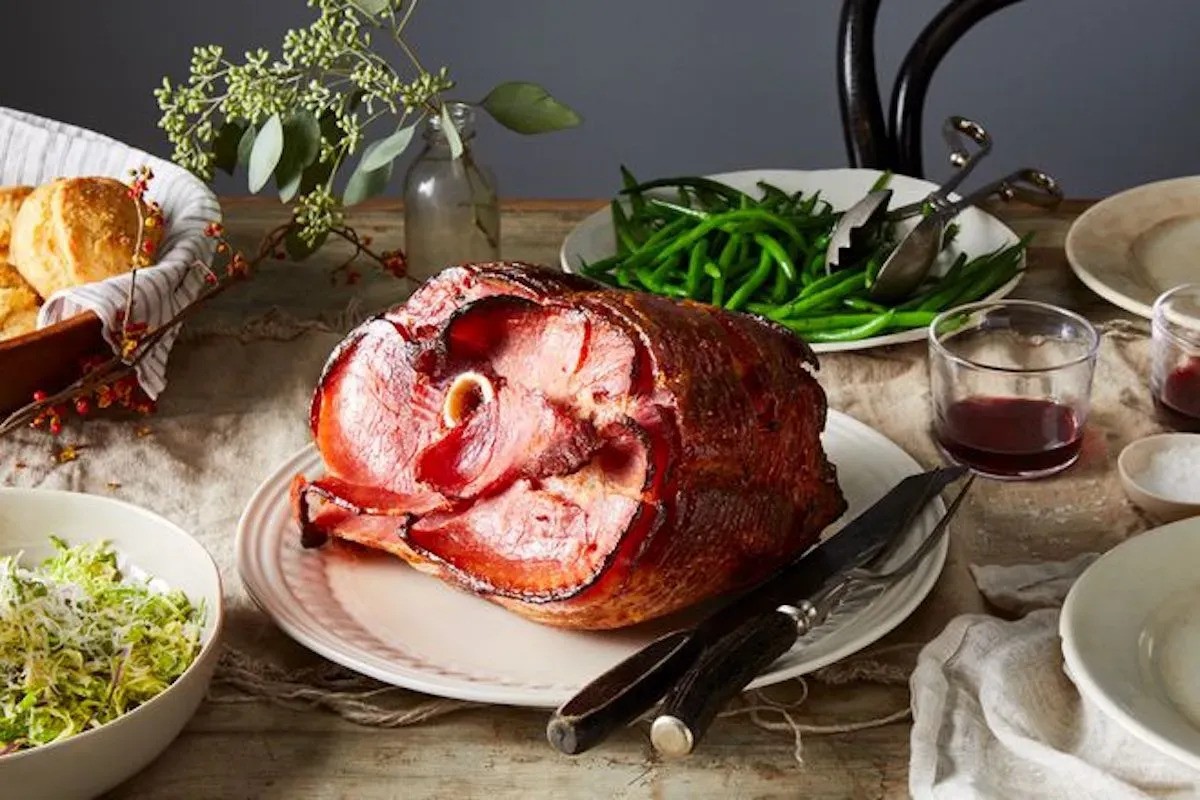
Step 6: Serve and Enjoy
Once you’ve finished carving or shredding the Boston Butt, it’s time to serve and enjoy your delicious creation. Whether you’re serving it as a main dish or using it to make mouthwatering sandwiches, your perfectly carved Boston Butt is sure to be a hit.
Carving a Boston Butt doesn’t have to be intimidating. With the right tools and technique, you can easily carve this flavorful cut of meat and create a memorable meal for yourself and your loved ones. So, the next time you’re cooking up a Boston Butt, remember these simple steps and carve it like a pro!
Was this page helpful?
Read Next: How To Carve A Bottom Round Rump Roast
Related Articles