Broiling Bread in Your KitchenAid Oven
Broiling bread in your KitchenAid oven is a great way to achieve that perfect crispy, golden crust while keeping the inside soft and fluffy. Whether you’re making garlic bread, bruschetta, or simply toasting slices for a delicious snack, broiling is a quick and efficient method to achieve the results you desire.
Preparing Your Bread
Before you start broiling your bread, it’s essential to prepare it properly. Here are the steps to follow:
- Choose the Right Bread: Opt for a sturdy bread such as a baguette, ciabatta, or sourdough, as these hold up well to the broiling process.
- Slice the Bread: Cut the bread into even slices to ensure that they broil evenly.
- Optional Toppings: If you’re making garlic bread or bruschetta, now is the time to add your desired toppings such as garlic, olive oil, or herbs.
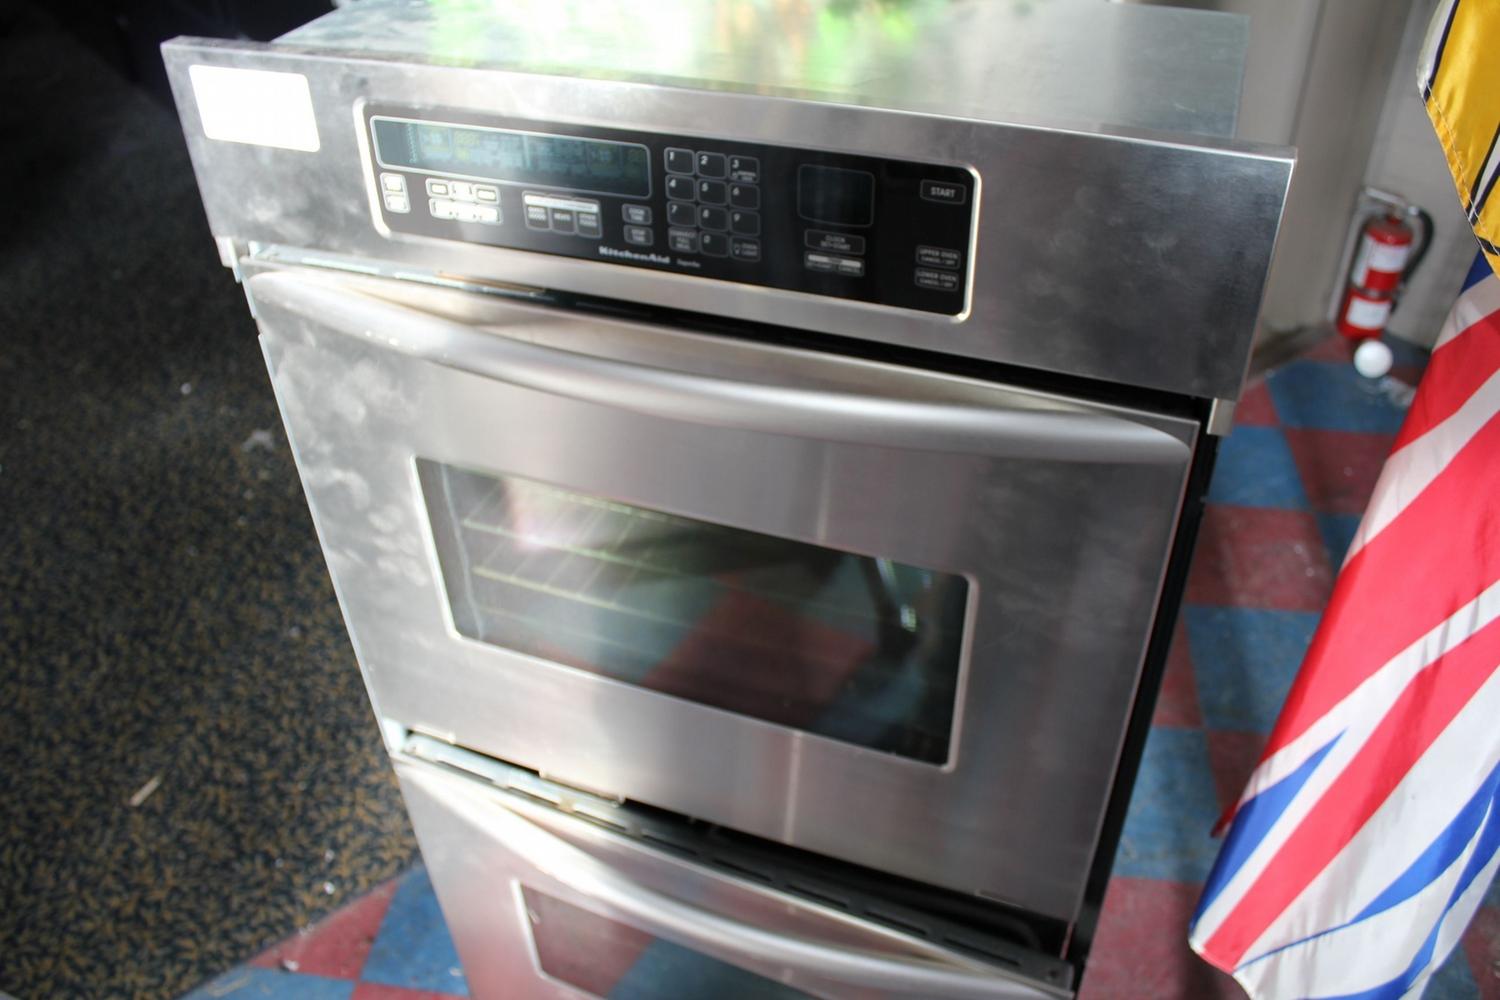
Setting Up Your KitchenAid Oven
Now that your bread is prepped and ready, it’s time to set up your KitchenAid oven for broiling:
- Preheat the Broil Setting: Turn your KitchenAid oven to the broil setting and allow it to preheat for a few minutes. This ensures that the oven is at the optimal temperature for broiling.
- Adjust the Rack: Place the oven rack in the top position. This allows the bread to be closer to the broiling element, resulting in a quicker and more even browning.
Broiling Your Bread
With your oven preheated and the bread ready, it’s time to start the broiling process:
- Arrange the Bread: Place the prepared bread slices on a baking sheet or directly on the oven rack. Make sure to space them apart to allow for even browning.
- Monitor Closely: Keep a close eye on the bread as it broils. The broiling process is quick, and it’s easy for the bread to go from golden to burnt if left unattended.
- Flip if Necessary: Depending on your desired level of browning, you may need to flip the bread slices halfway through the broiling process to ensure even color on both sides.
Finishing Touches
Once your bread is perfectly broiled, it’s time to add any final touches:
- Cooling Time: Allow the broiled bread to cool for a few minutes before serving. This allows the crust to crisp up further and prevents any potential burns from the hot bread.
- Serve and Enjoy: Whether you’re serving the bread as a side dish, appetizer, or snack, it’s now ready to be enjoyed!
Broiling bread in your KitchenAid oven is a simple yet effective way to achieve that desirable crispy texture and golden color. With the right preparation and attention to detail, you can elevate your bread dishes to a new level of deliciousness.
Was this page helpful?
Kaiden
Dancer
Related Articles