Whipping Shea Butter to Cream: A Step-by-Step Guide
Shea butter is a versatile and nourishing natural ingredient that can be whipped into a luxurious cream. Whether you want to create your own skincare products or simply enjoy the process of making something from scratch, whipping shea butter to cream is a rewarding and enjoyable activity. Here’s a step-by-step guide to help you achieve the perfect whipped shea butter cream.
Ingredients You’ll Need:
- Raw shea butter
- Carrier oil (such as jojoba oil or coconut oil)
- Essential oils (optional, for fragrance)
- Mixing bowl
- Hand mixer or stand mixer
- Measuring spoons
- Storage container
Step 1: Prepare Your Shea Butter
Start by measuring out the amount of raw shea butter you’ll need for your recipe. If the shea butter is very firm, you can soften it by placing it in a microwave-safe bowl and heating it in short bursts in the microwave until it softens slightly. Be careful not to melt the shea butter completely, as it should still be solid but slightly softened for easier whipping.
Step 2: Add Carrier Oil
Once the shea butter is slightly softened, add a small amount of carrier oil to the bowl. The carrier oil will help to make the shea butter easier to whip and will also add extra moisturizing properties to the finished cream. For every cup of shea butter, add around 1/4 cup of carrier oil. You can adjust this ratio based on your personal preference and the consistency you want to achieve.
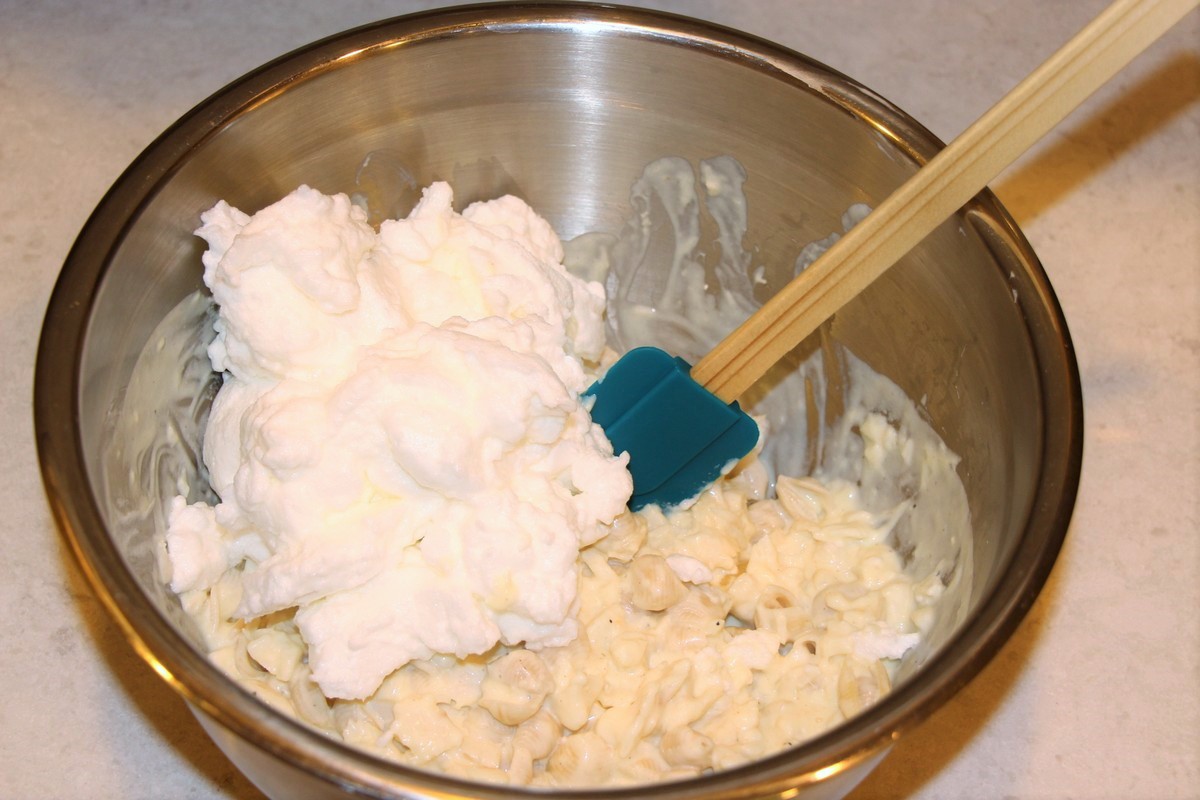
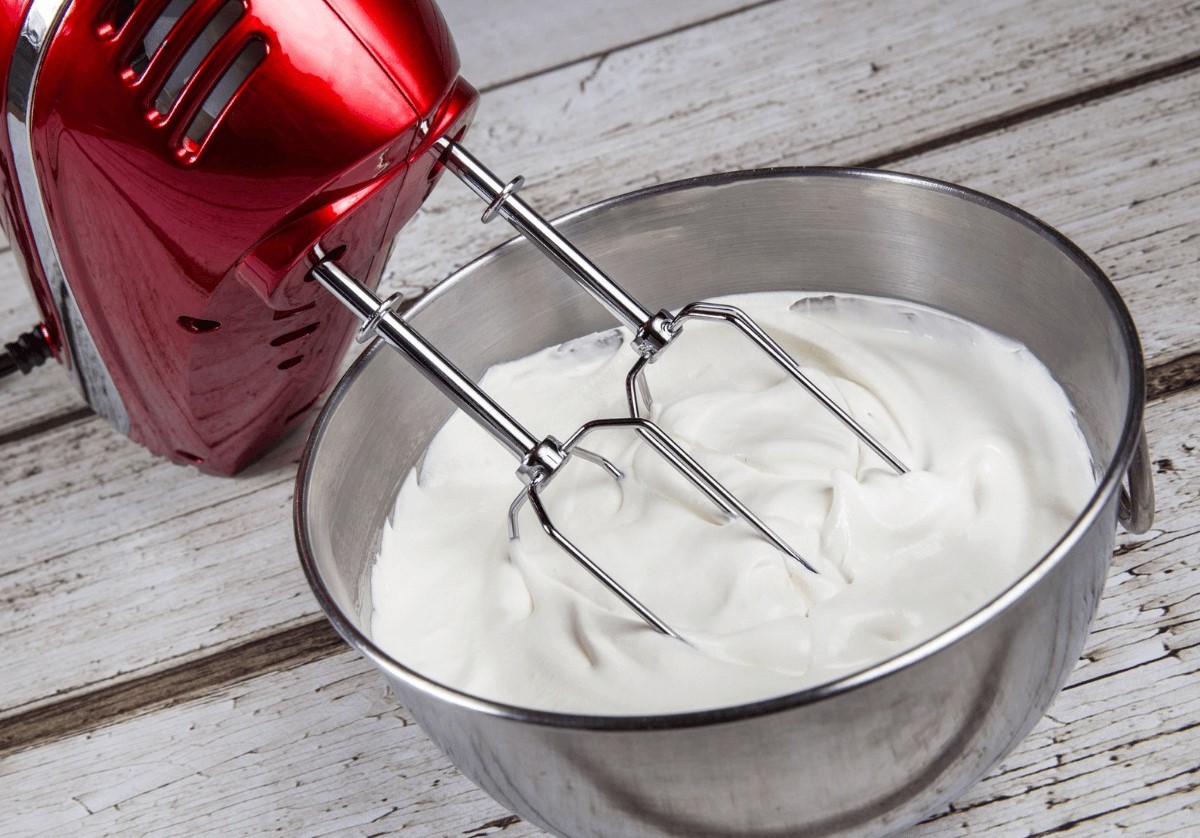
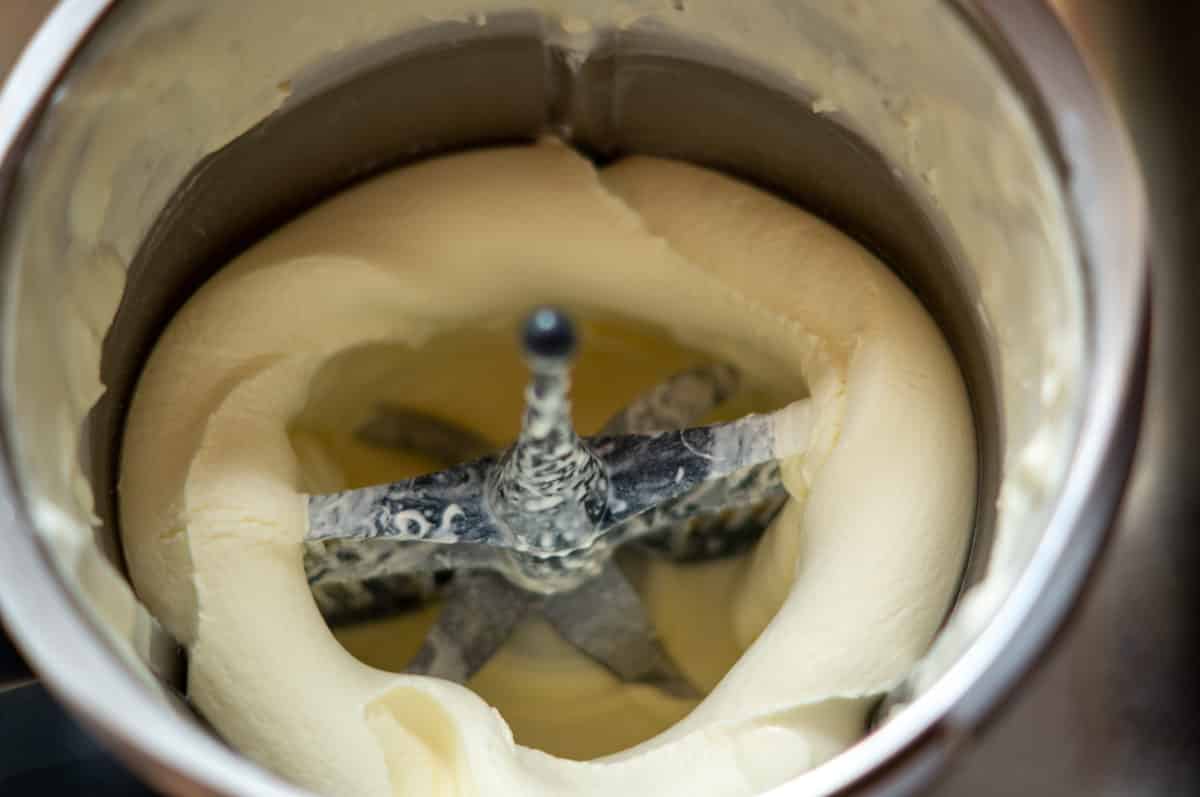
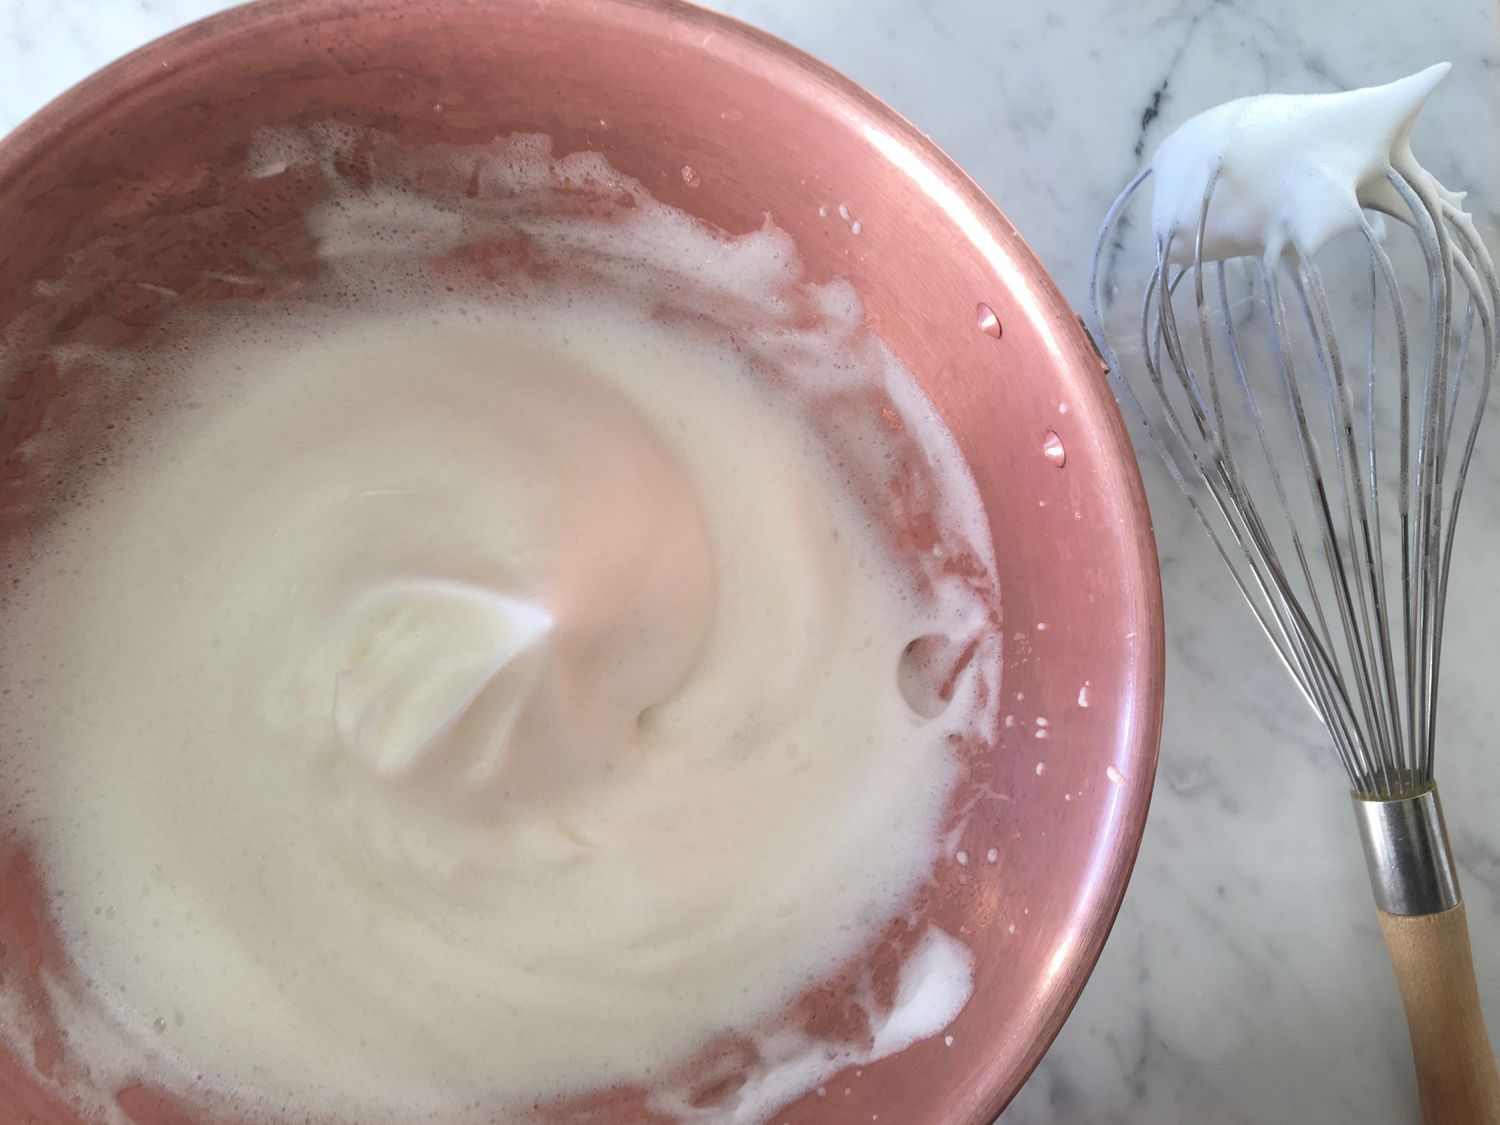
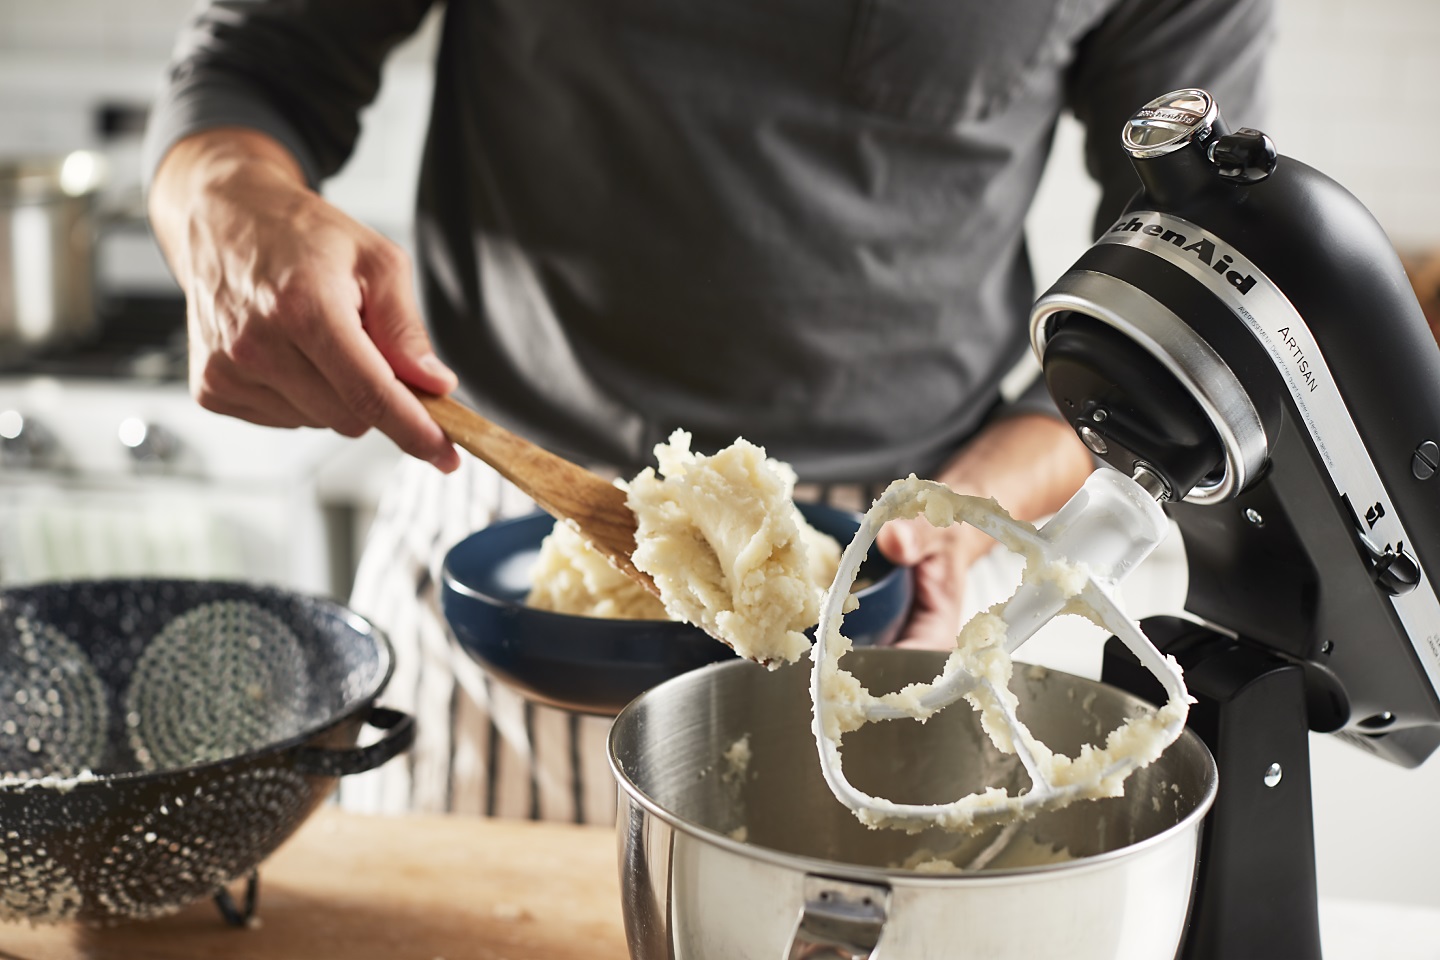
Step 3: Whip the Mixture
Using a hand mixer or stand mixer, start whipping the shea butter and carrier oil together. Begin at a low speed to avoid splattering, then increase the speed as the ingredients start to combine. Continue whipping for several minutes until the mixture becomes light and fluffy. If you’re using a stand mixer, you may need to stop and scrape down the sides of the bowl to ensure that all the ingredients are fully incorporated.
Step 4: Add Essential Oils (Optional)
If you’d like to add fragrance to your whipped shea butter cream, this is the time to do so. Add a few drops of your favorite essential oils to the whipped mixture and continue to whip for another minute to ensure that the fragrance is evenly distributed.
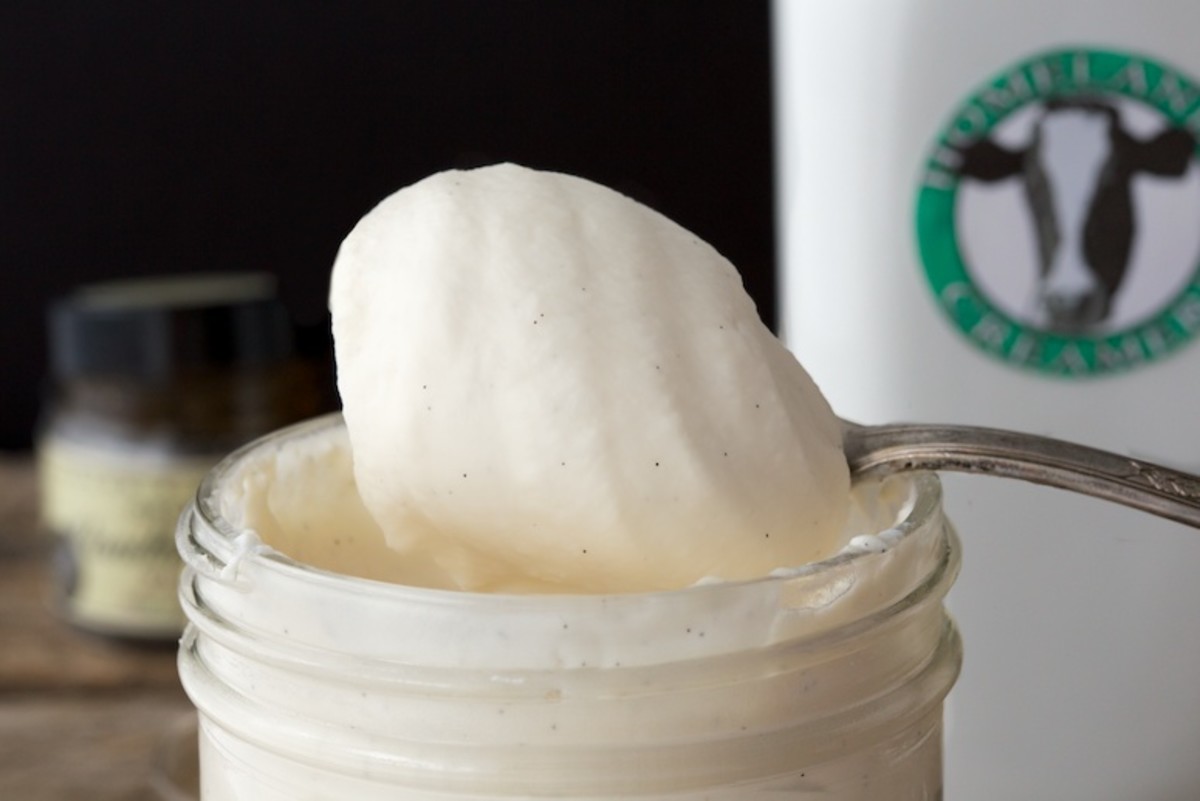
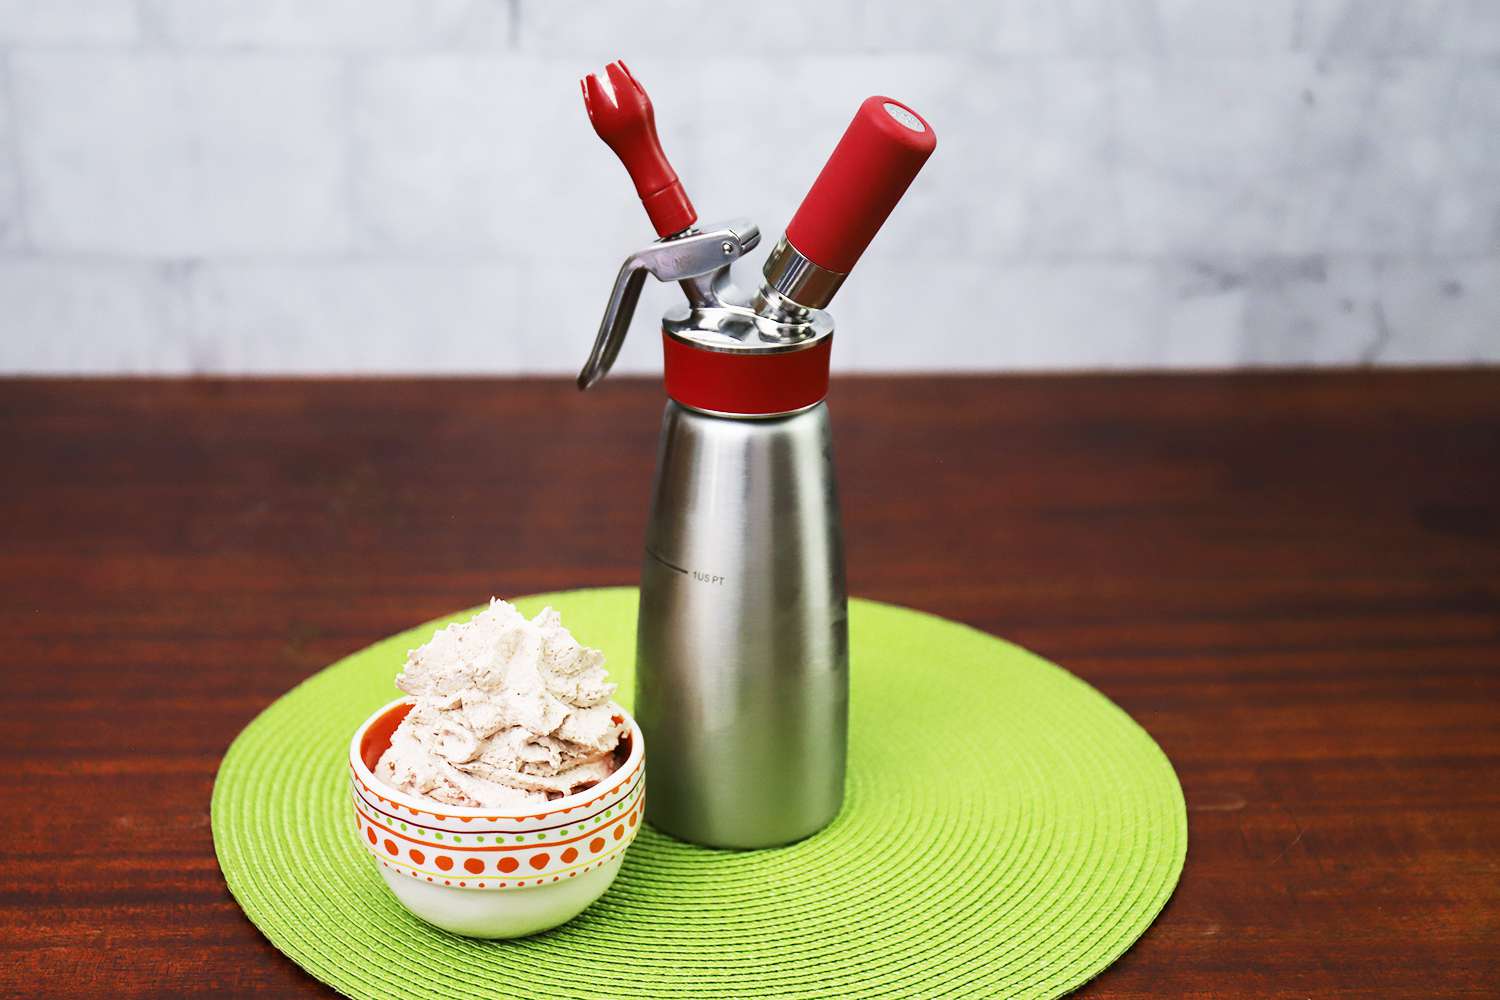
Step 5: Store Your Whipped Shea Butter Cream
Once you’ve achieved the perfect whipped consistency and added any desired essential oils, transfer the cream to a clean, airtight container for storage. Make sure to store your whipped shea butter cream in a cool, dry place to maintain its fluffy texture.
Benefits of Whipped Shea Butter Cream
Whipped shea butter cream has numerous benefits for the skin, making it a popular choice for homemade skincare products. Some of the key benefits include:
- Deep moisturization
- Reduced inflammation
- Improved skin elasticity
- Protection against environmental damage
Additionally, whipped shea butter cream can be customized with different essential oils to create unique scents and added therapeutic benefits.
Conclusion
Whipping shea butter to cream is a simple and enjoyable process that allows you to create a luxurious and nourishing skincare product at home. By following these steps and customizing the recipe to suit your preferences, you can enjoy the benefits of whipped shea butter cream and the satisfaction of making it yourself.
So, why not give it a try and whip up your own batch of indulgent whipped shea butter cream? Your skin will thank you for it!
Was this page helpful?
Read Next: How To Whip Cake Batter
Related Articles