Mastering the Art of Searing Chicken Legs
When it comes to cooking chicken legs, searing them to perfection can make all the difference in flavor and texture. Searing locks in the juices and creates a delicious crispy crust on the outside while keeping the meat tender and juicy on the inside. Whether you’re a beginner or a seasoned home cook, mastering the art of searing chicken legs is a skill worth honing. Here’s how you can achieve the perfect sear every time:
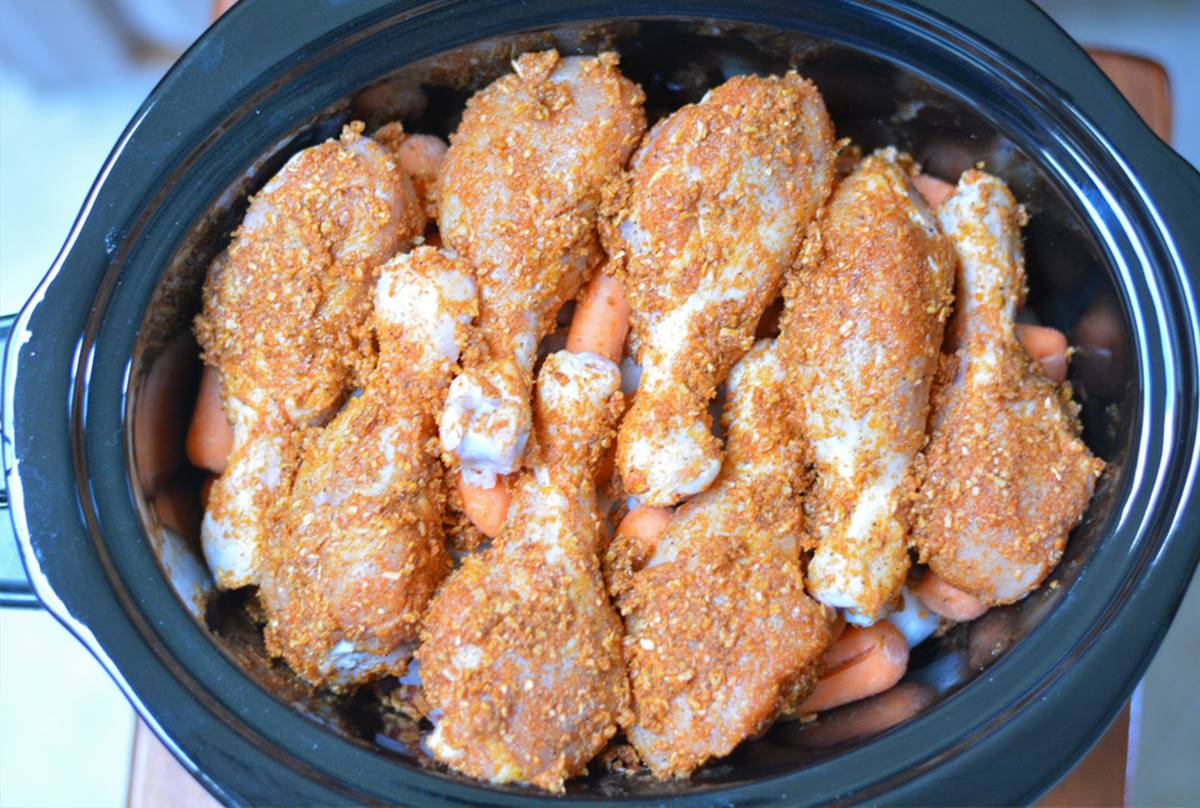
Choose the Right Chicken Legs
Before you start searing, it’s important to choose high-quality chicken legs. Look for fresh, plump legs with smooth, pinkish skin. If possible, opt for organic or free-range chicken for the best flavor and texture.
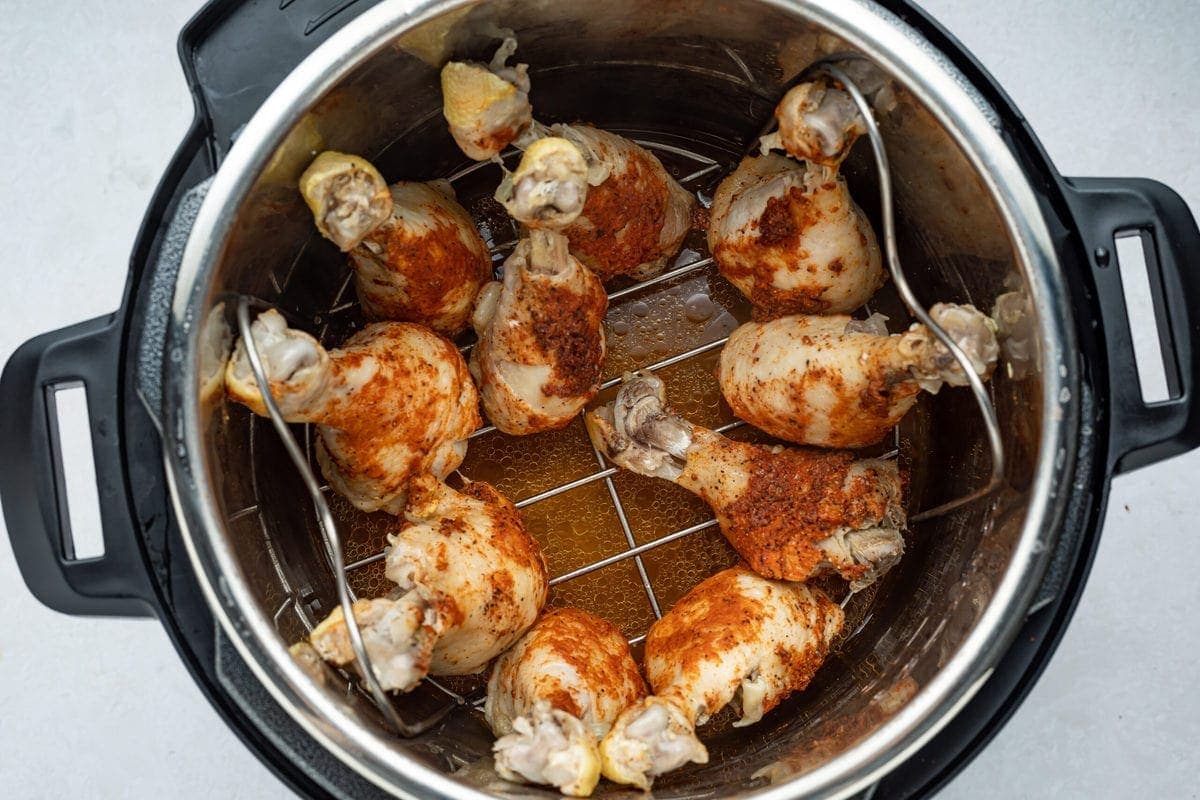
Prep the Chicken Legs
Before searing, it’s essential to prep the chicken legs properly. Start by patting the legs dry with paper towels to remove any excess moisture. Season them generously with salt and pepper to enhance their flavor. You can also add other seasonings like garlic powder, paprika, or dried herbs for extra taste.
Heat the Pan
Choose a heavy-bottomed skillet or a cast-iron pan for searing the chicken legs. Heat the pan over medium-high heat and add a small amount of olive oil or vegetable oil. Allow the oil to heat up until it shimmers, indicating that it’s hot enough for searing.
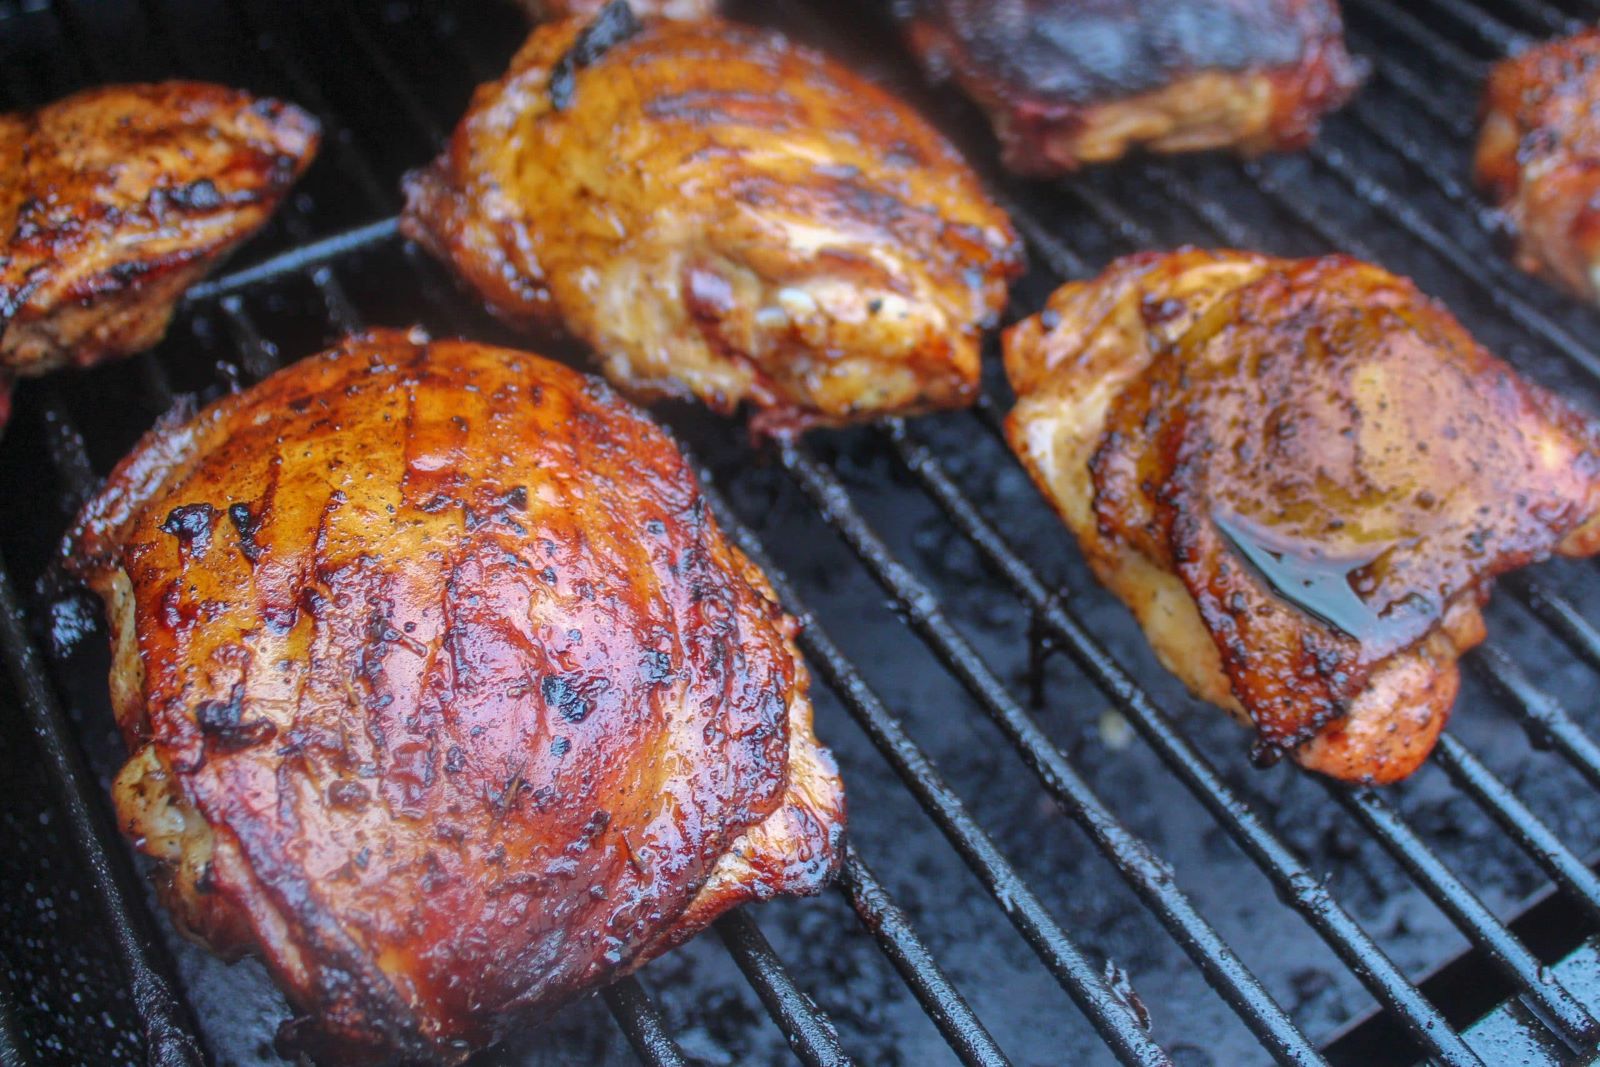
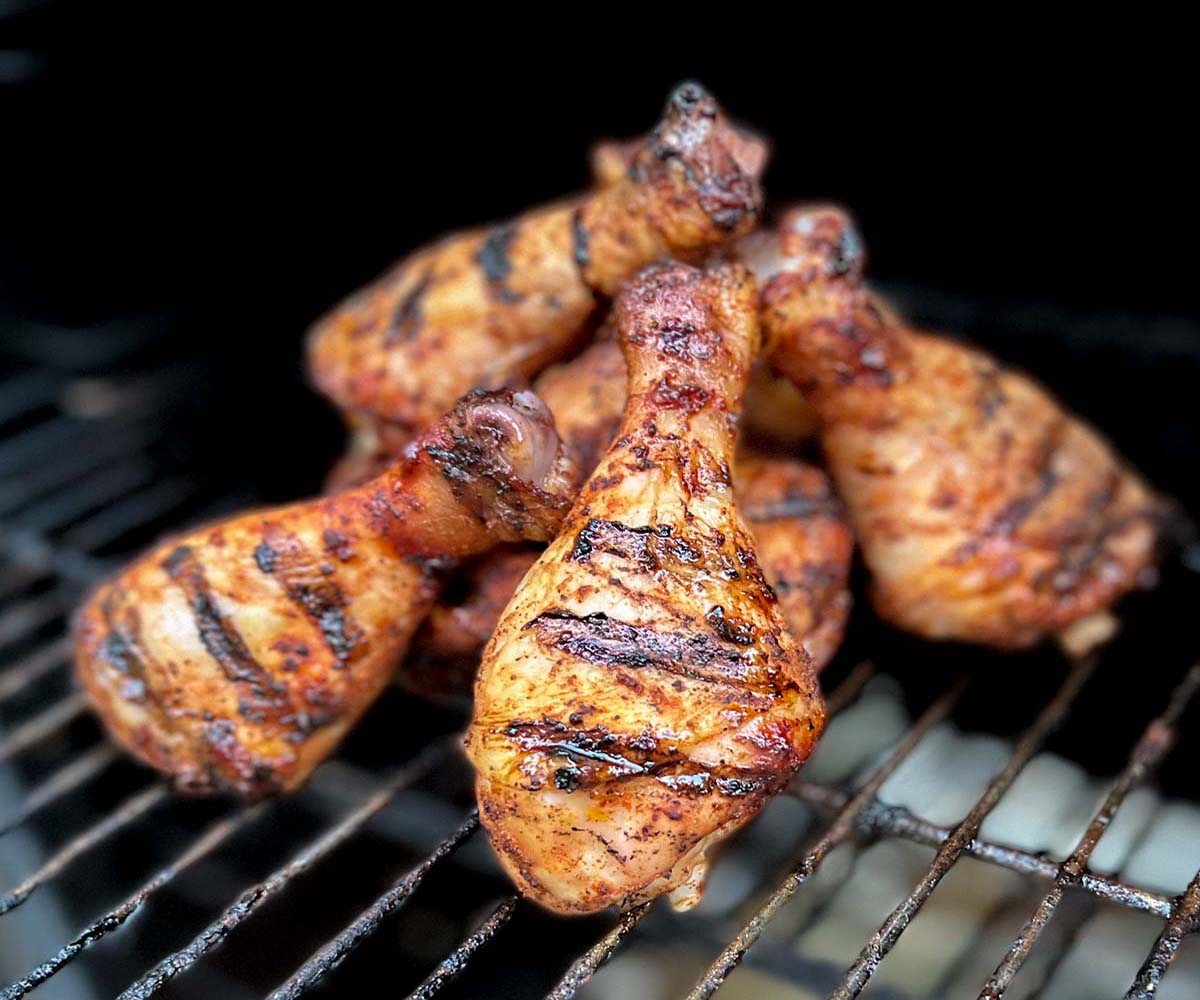
Sear the Chicken Legs
Once the pan is hot, carefully place the chicken legs in the pan, skin side down. Make sure not to overcrowd the pan, as this can lead to steaming rather than searing. Leave the legs untouched for a few minutes to allow a golden crust to form. Use tongs to flip the legs and sear the other side as well.
Monitor the Temperature
It’s crucial to monitor the temperature of the chicken legs as they sear. Use a meat thermometer to ensure that the internal temperature reaches at least 165°F (74°C) for safe consumption. This will also help you achieve the perfect level of doneness without overcooking the meat.
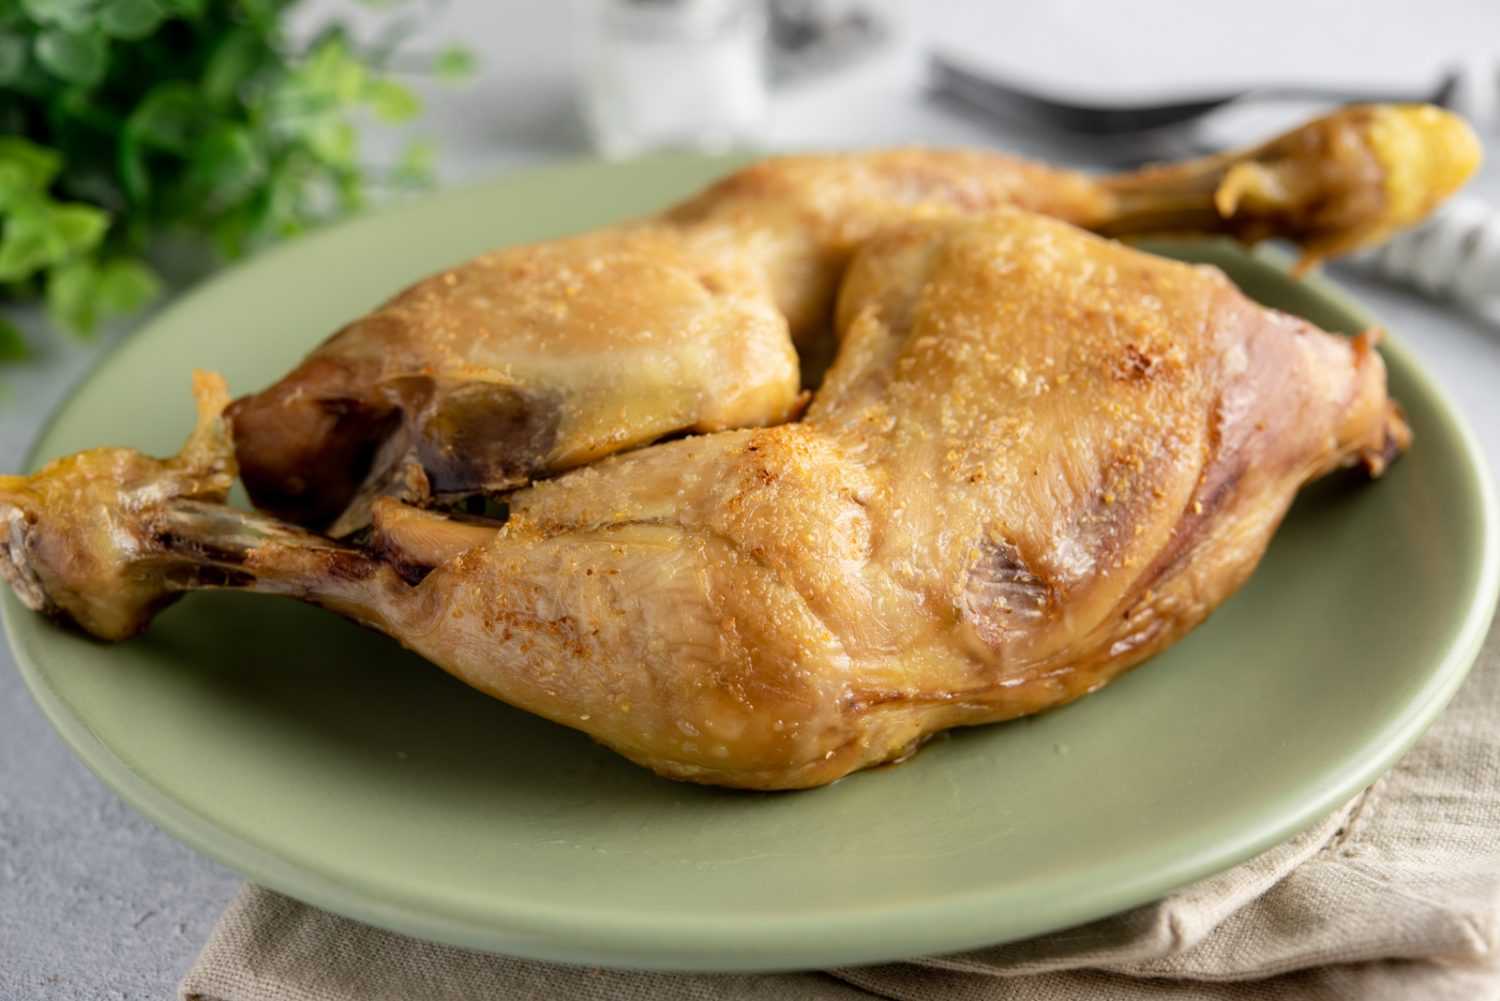
Rest the Chicken Legs
Once the chicken legs are beautifully seared and cooked through, remove them from the pan and let them rest for a few minutes. This allows the juices to redistribute, resulting in moist and flavorful meat. Resting the chicken legs also helps to ensure that they stay juicy when you cut into them.
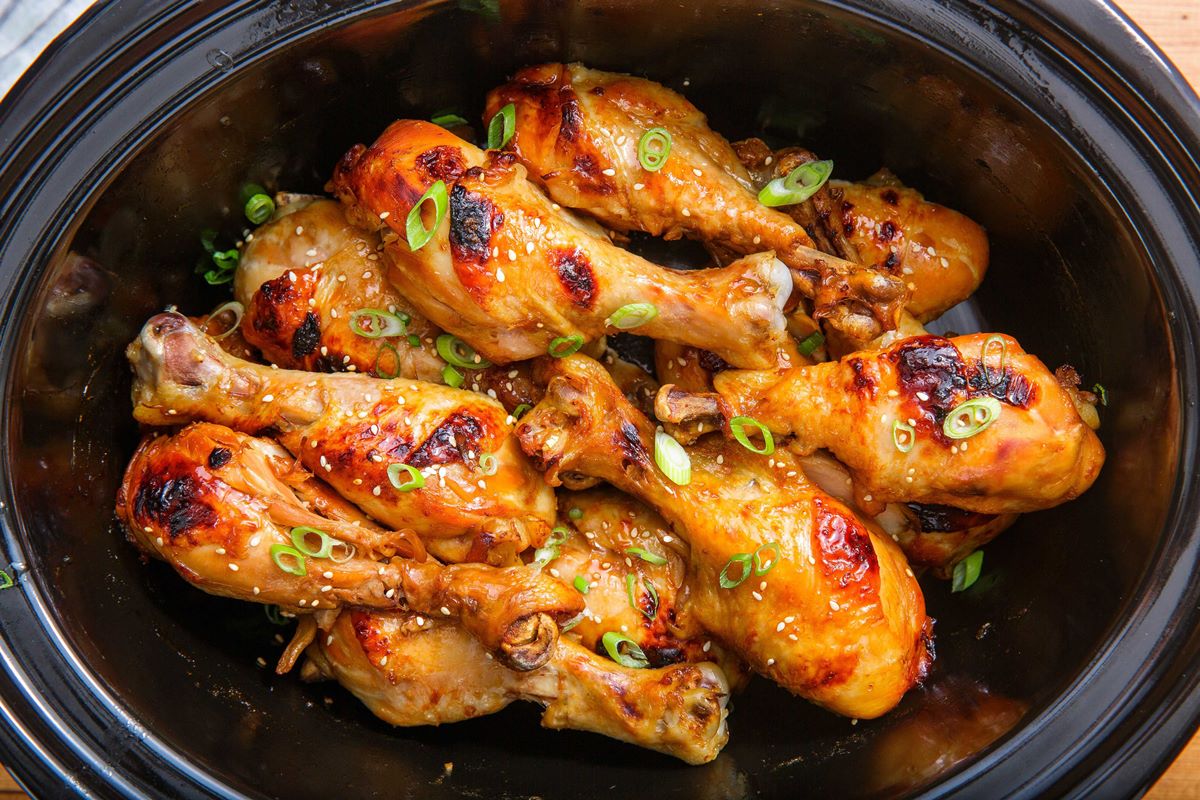
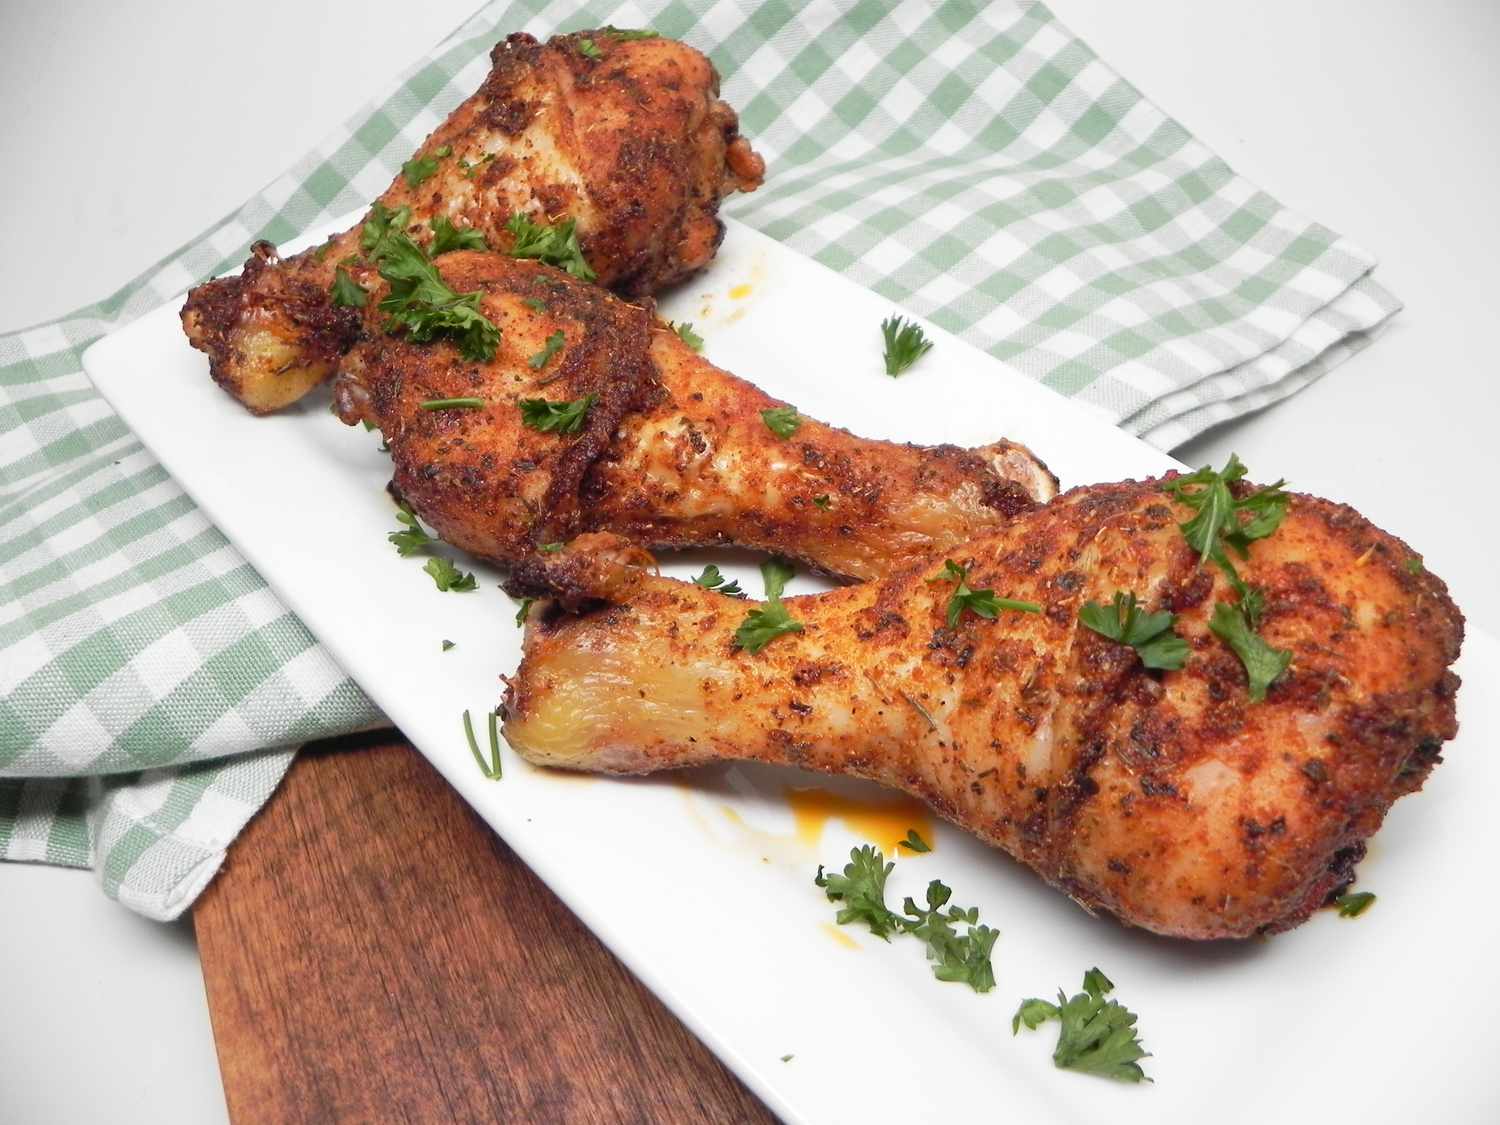
Serve and Enjoy
Now that your chicken legs are perfectly seared and rested, it’s time to serve and enjoy them. Whether you pair them with a fresh salad, roasted vegetables, or creamy mashed potatoes, your beautifully seared chicken legs are sure to be a hit at the dinner table.
Mastering the art of searing chicken legs takes practice, but with the right techniques and attention to detail, you can elevate your chicken dishes to a whole new level. So, roll up your sleeves, grab your skillet, and get ready to sear the most delicious chicken legs you’ve ever tasted!
Was this page helpful?
Related Articles