Mastering the Art of Poaching Eggs with the Breville Egg Poacher
Are you a fan of perfectly poached eggs but struggle to achieve that ideal consistency and shape? Look no further than the Breville Egg Poacher, a kitchen gadget that can help you achieve flawless poached eggs every time. With the right technique and a little practice, you can become a pro at poaching eggs with this handy appliance.
Step 1: Prepare the Breville Egg Poacher
Before you begin, make sure to carefully read the instruction manual that comes with the Breville Egg Poacher. Familiarize yourself with the different components of the appliance, including the poaching trays and water-measuring cup. Proper preparation is key to achieving the perfect poached egg.
Step 2: Fill the Water Reservoir
Using the water-measuring cup provided, fill the water reservoir of the Breville Egg Poacher with the recommended amount of water. This step is crucial as it ensures that the eggs are poached in the right amount of steam and heat, leading to the desired consistency.
Step 3: Prepare the Eggs
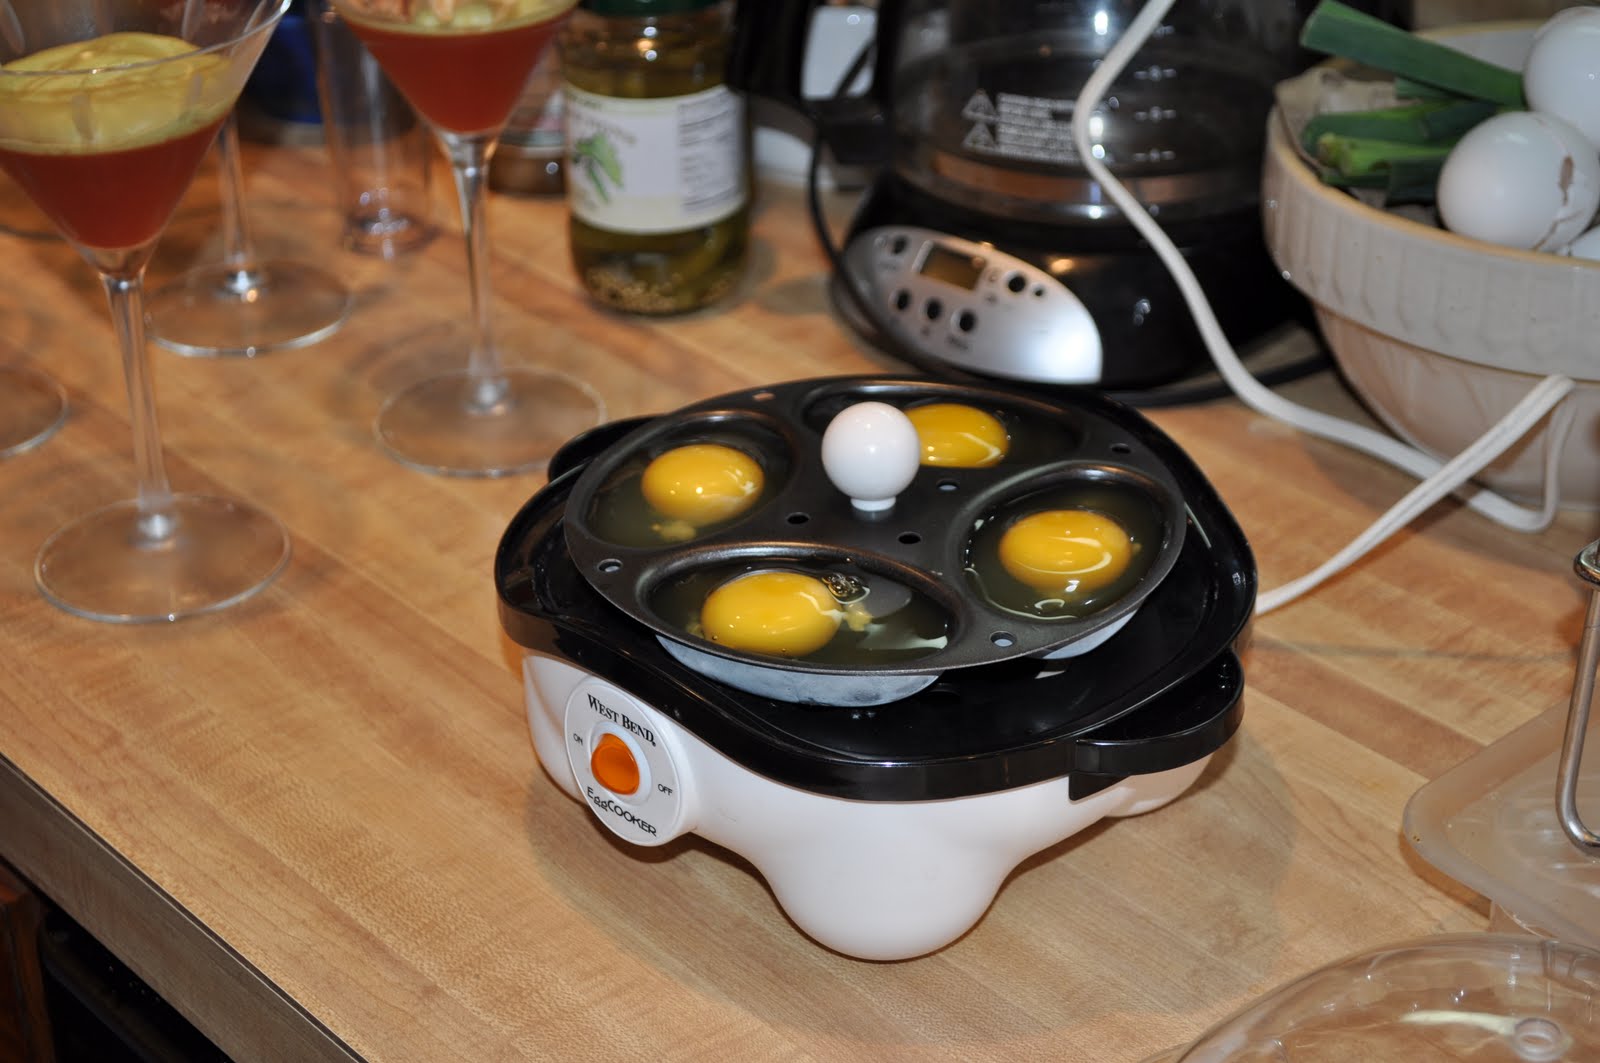
Crack the eggs into a small bowl or ramekin, taking care not to break the yolks. This step makes it easier to transfer the eggs into the poaching trays and helps maintain their shape during the cooking process.
Step 4: Place the Eggs in the Poaching Trays
Gently transfer the cracked eggs from the bowl into the poaching trays of the Breville Egg Poacher. Be mindful not to overcrowd the trays, as each egg needs sufficient space to cook evenly and retain its shape.
Step 5: Start the Poaching Process
Once the eggs are in place, carefully position the poaching trays into the Breville Egg Poacher. Close the lid securely and set the desired cooking time, following the recommendations in the instruction manual. The appliance will then start the poaching process, creating the ideal environment for perfectly cooked eggs.
Step 6: Monitor and Adjust as Needed
While the eggs are poaching, keep an eye on the cooking progress. If necessary, make adjustments to the cooking time based on your preference for the consistency of the poached eggs. This step allows you to customize the eggs to your liking, whether you prefer a runny yolk or a firmer texture.
Step 7: Serve and Enjoy
Once the poaching process is complete, carefully remove the poaching trays from the Breville Egg Poacher. Using a slotted spoon, gently lift the poached eggs out of the trays and onto a plate. Season with salt and pepper, and savor the deliciousness of perfectly poached eggs.
With the Breville Egg Poacher, achieving the perfect poached egg is within your reach. By following these simple steps and mastering the art of poaching eggs, you can elevate your breakfast or brunch game with ease. Say goodbye to the frustration of inconsistent results and hello to beautifully poached eggs every time!
Was this page helpful?
Related Articles