How To Cut Squash: A Step-by-Step Guide
Are you ready to embark on a culinary adventure with squash? Whether you’re a seasoned chef or a kitchen newbie, learning how to cut squash properly is essential. From butternut squash to acorn squash, this versatile vegetable can be a delicious addition to soups, stews, salads, and even as a standalone dish. Follow our step-by-step guide below to master the art of cutting squash like a pro.
Step 1: Gather the Necessary Tools
Before you begin, make sure you have the right tools for the job. Here’s what you’ll need:
- A sharp chef’s knife
- A sturdy cutting board
- A vegetable peeler (optional)
- A spoon or ice cream scoop
Step 2: Choose the Right Squash
There are several types of squash, including butternut, acorn, spaghetti, and delicata squash. Each has its own unique flavor and texture. When selecting a squash, look for one that feels heavy for its size and has a firm skin without any soft spots or bruising.
Step 3: Wash and Dry the Squash
Give your squash a good rinse under cold water to remove any dirt or debris. Pat it dry with a clean kitchen towel or paper towel before you start cutting.
Step 4: Cut Off the Ends
Using a sharp knife, carefully slice off both ends of the squash. This will provide stable surfaces to work with and ensure even cuts.
Step 5: Peel the Squash (Optional)
If you prefer to remove the skin, use a vegetable peeler to gently peel off the tough outer layer of the squash. This step is optional and can be skipped if you prefer to cook the squash with the skin on.
Step 6: Slice the Squash in Half
Stand the squash upright on your cutting board and carefully slice it in half lengthwise. If the squash is particularly large or hard, you can use gentle rocking motions with the knife to help cut through it.
Step 7: Scoop Out the Seeds
Using a spoon or ice cream scoop, remove the seeds and stringy fibers from the center of the squash. You can discard them or save the seeds for roasting later.
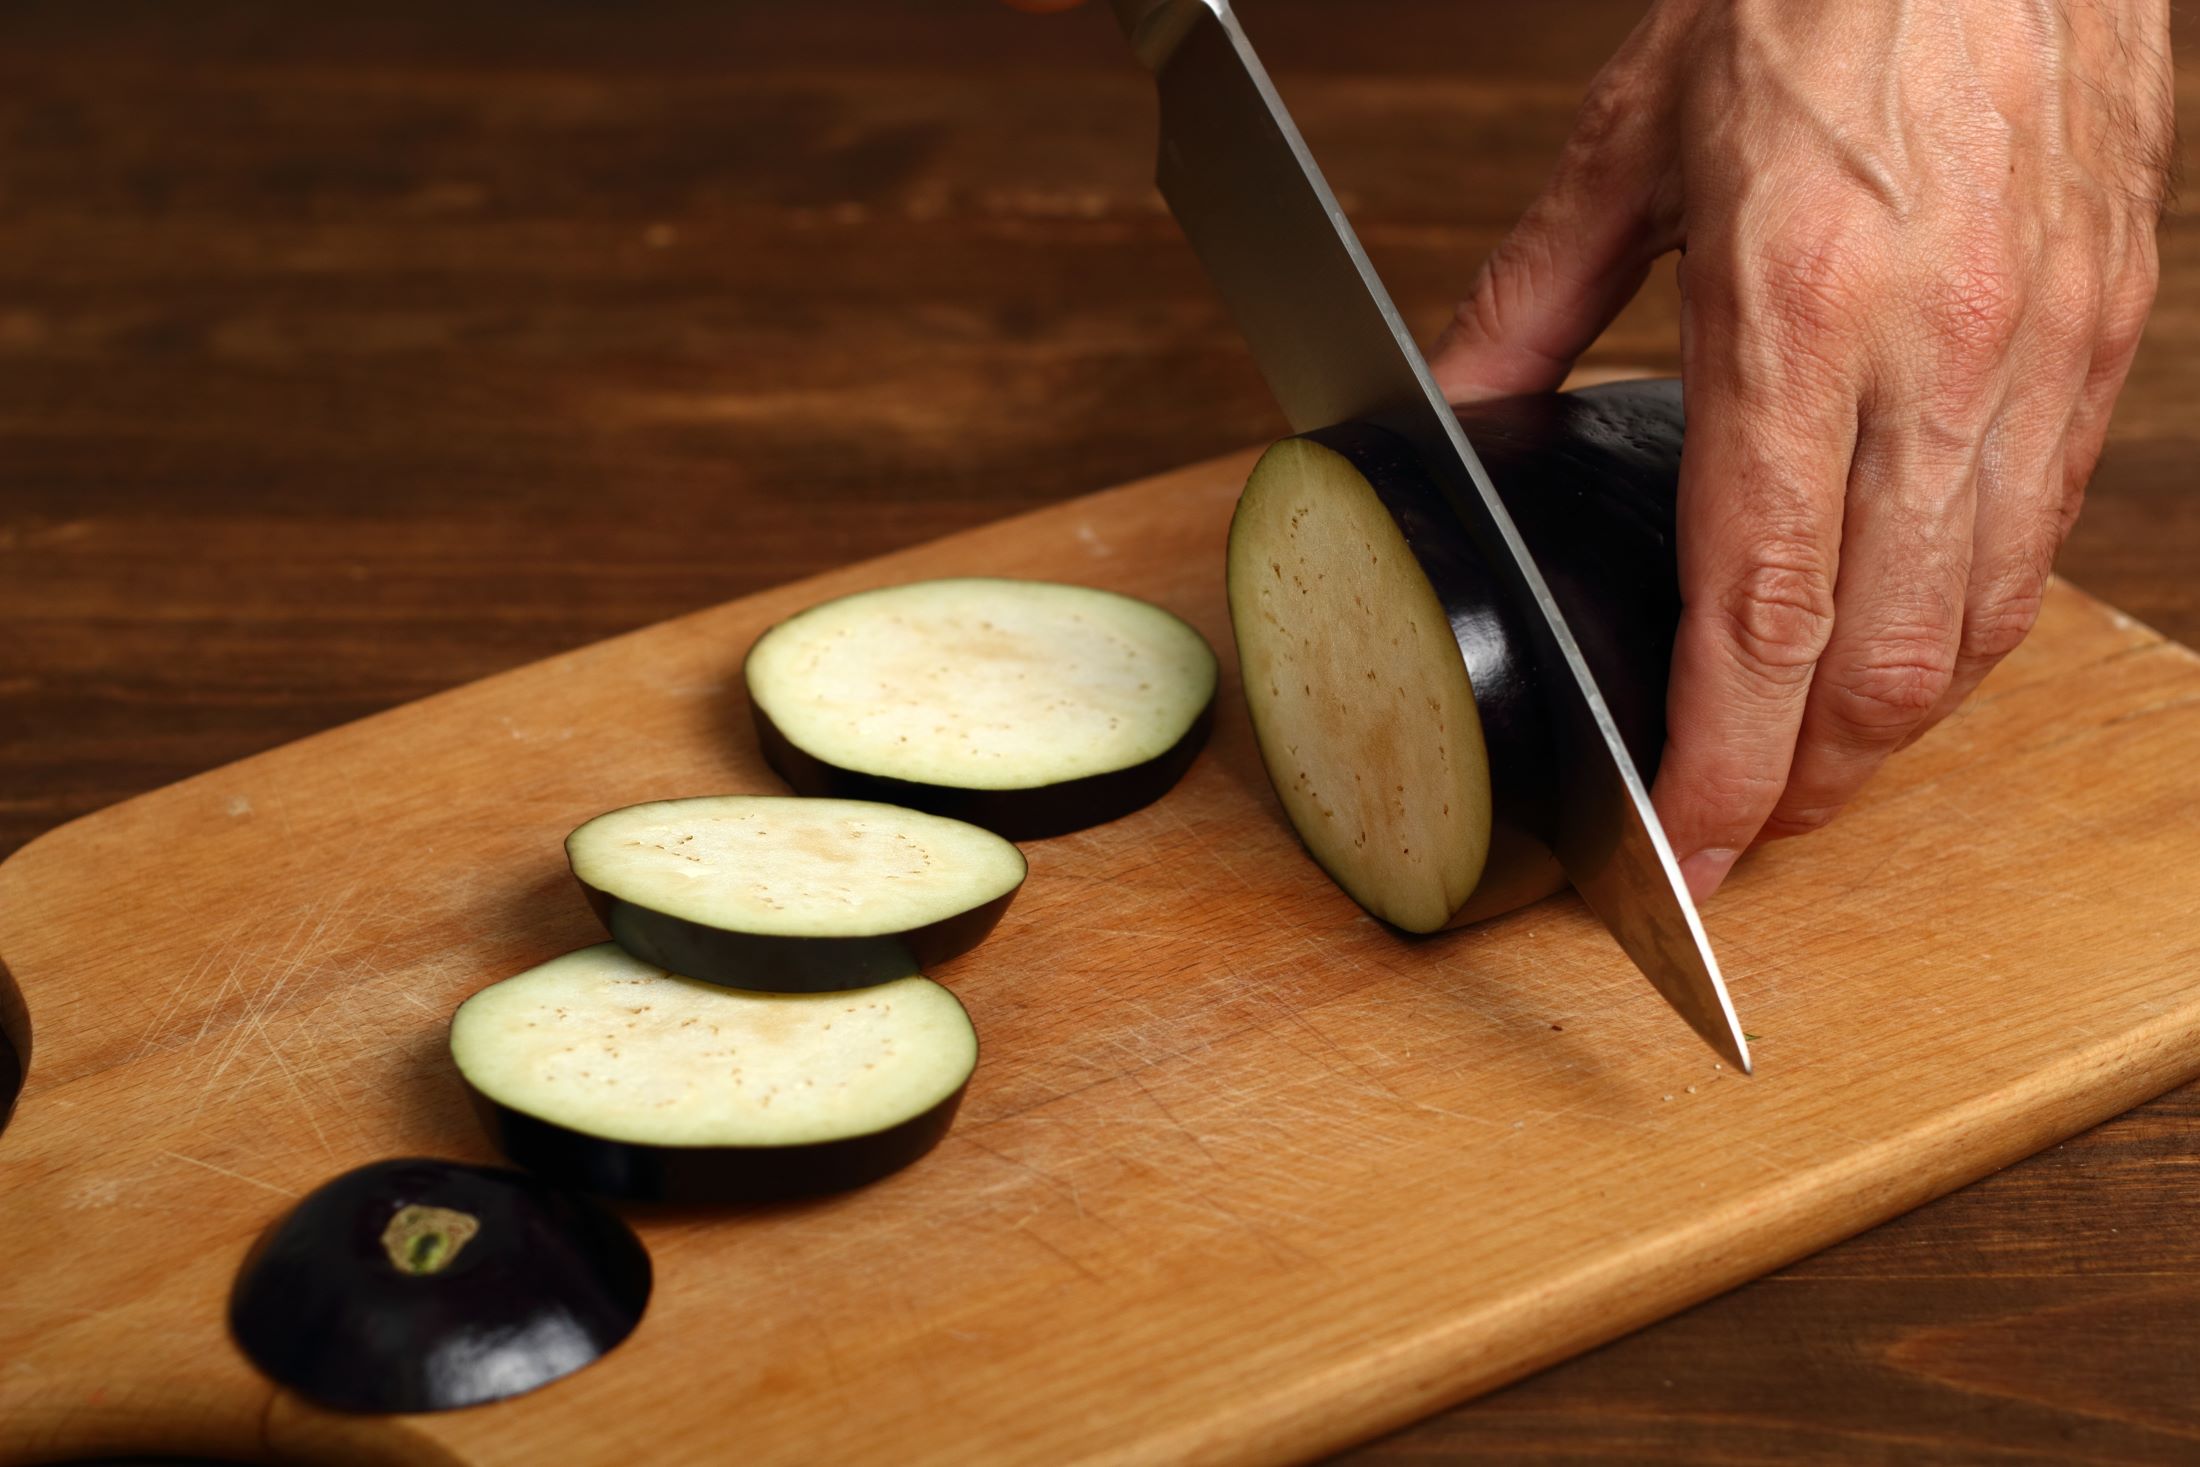
Step 8: Cut the Squash into Desired Shapes
Now that you have the halves, you can cut the squash into your preferred shapes. Whether you want cubes, slices, or wedges, make sure to use a stable grip on the knife and apply even pressure to achieve clean, uniform cuts.
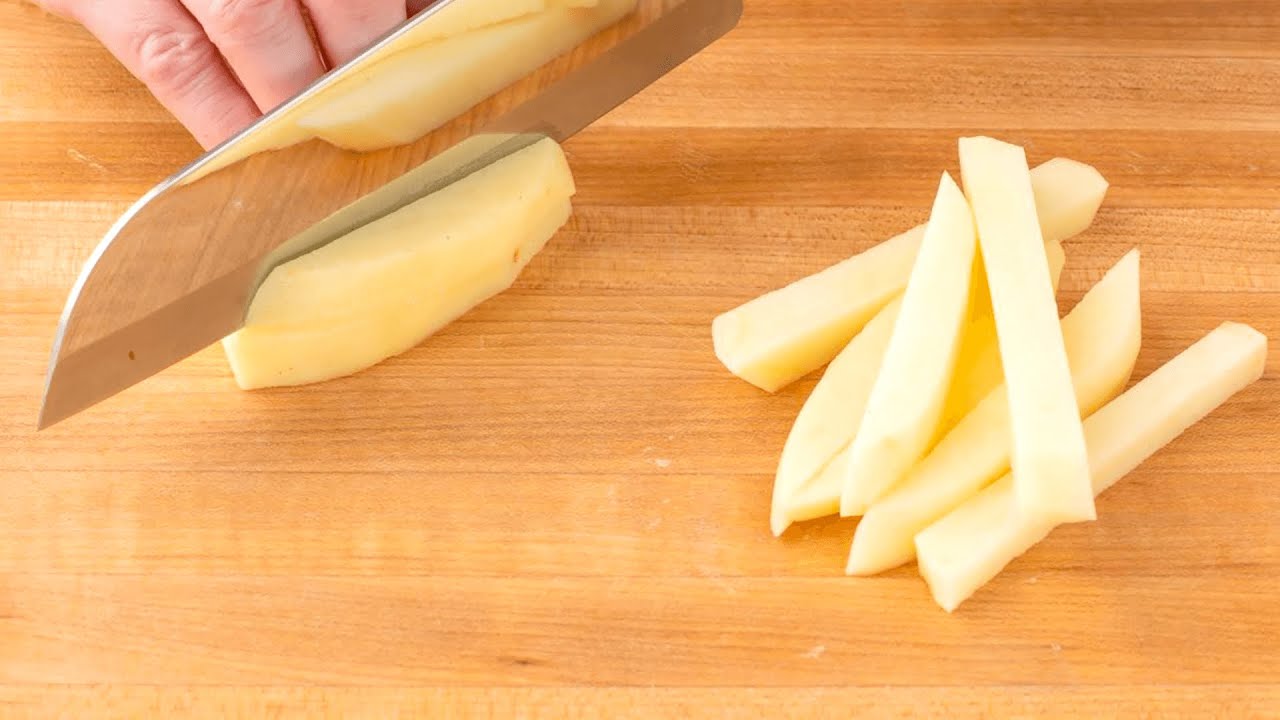
Step 9: Trim or Cube the Edges (Optional)
If you’re looking for a more polished presentation or want to remove any uneven edges, you can trim the sides of the squash or cube it into smaller, bite-sized pieces.
Step 10: Store or Cook the Squash
Once you’ve cut your squash, you can decide whether to store it for future use or start cooking it right away. If you’re not planning to use it immediately, place the cut squash in an airtight container and store it in the refrigerator for up to a week.
There you have it—a complete guide on how to cut squash like a pro! Now you can confidently tackle any squash recipe that comes your way. Remember, practice makes perfect, so don’t be discouraged if it takes a few tries to get the hang of it. Happy cooking!
Was this page helpful?
Read Next: How To Cut Onions Without Crying
Related Articles