How To Cut Pears For Charcuterie
Charcuterie boards have become quite the popular trend at parties and gatherings. These elegant displays of cured meats, cheeses, and various accompaniments are not only visually appealing but also a gourmet delight. One key element that adds a touch of sweetness and freshness to the charcuterie board is the pear. In this article, we will guide you on how to cut pears in a way that enhances both the aesthetic and taste of your charcuterie masterpiece.
Choosing the Perfect Pear
Before diving into the cutting techniques, it’s essential to select the right type of pear. Opt for firm, ripe pears that are not overly soft or mushy. Varieties such as Anjou, Bosc, or Bartlett work well for charcuterie boards.
Washing and Preparing the Pear
1. Start by giving the pear a gentle rinse under cold water to remove any dirt or residue. Pat it dry with a clean cloth or paper towel.
2. Using a sharp knife, slice off the stem end of the pear, creating a flat surface to work with.
3. If there are any blemishes or imperfections on the skin, carefully peel off the thin outer layer to reveal the smooth flesh underneath. Alternatively, you can leave the skin intact for added color and texture.
Slicing Techniques
Now that you have a perfectly prepared pear, it’s time to slice it in a way that complements your charcuterie board. Here are a few cutting techniques you can try:
Thin Slices
If you prefer delicate and elegant slices of pear, follow these steps:
- Place the pear on its side and slice it vertically into thin, even slices.
- Arrange the slices on the charcuterie board in a fan-like fashion or overlapping pattern, creating a visually stunning presentation.
Wedges
If you want to add a bit of variety and texture to your charcuterie board, go for pear wedges:
- Start by cutting the pear in half from stem to bottom.
- Use a spoon or a melon baller to scoop out the core and seeds from each half.
- Place each half face down and cut it into wedges, about 4-6 per half depending on the size of the pear.
- Arrange the pear wedges alongside the cured meats and cheeses on your charcuterie board.
Cubes
If you prefer bite-sized pieces of pear that are easy to pick up and enjoy, cube cutting is the way to go:
- Start by peeling and coring the pear as mentioned earlier.
- Cut the pear into 1/2 inch thick slices.
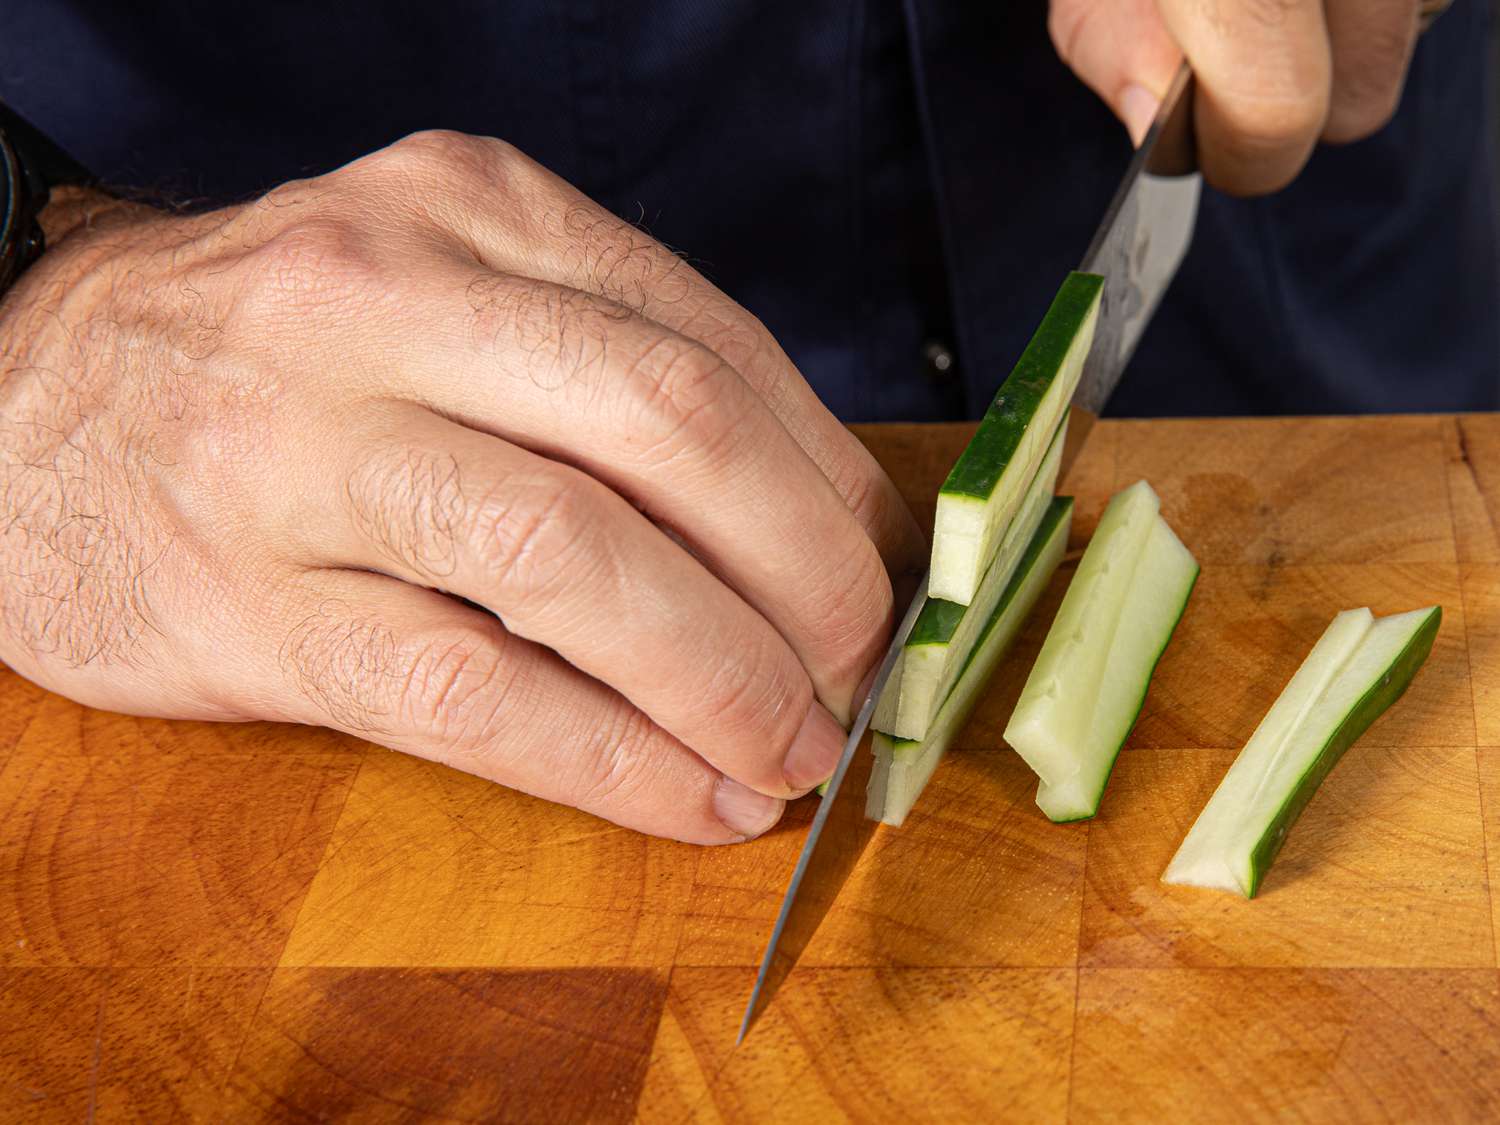
- Stack a few slices together and cut them into 1/2 inch wide strips.
- Rotate the strips and cut across to create small cubes.
- Arrange the pear cubes in a separate bowl or spread them around the charcuterie board.
Storing and Serving
Once you have cut the pears for your charcuterie board, it’s important to store them properly to maintain their freshness. Place them in an airtight container or cover the board with plastic wrap and refrigerate until ready to serve. Remember to serve the charcuterie board within a few hours to ensure optimal flavor and texture.
Now that you know how to cut pears for charcuterie, you can impress your guests with a visually appealing and delicious charcuterie board. The combination of the savory cured meats, creamy cheeses, and juicy pears will surely elevate your culinary skills to new heights. Get creative with your presentation, and let the flavors speak for themselves. Happy charcuterie crafting!
Was this page helpful?
Read Next: How To Cut Seared Tuna
