Master the Art of Preparing and Cooking an Old Hen
Are you ready to take your culinary skills to the next level? Looking for a unique and flavorful challenge in the kitchen? Well, it’s time to embrace the art of cooking an old hen – a dish that will surely impress your family and friends. While it may seem daunting at first, with a few handy tips and tricks, you’ll be creating a mouthwatering masterpiece in no time. So put on your apron, grab your cooking utensils, and let’s dive right in!
Step 1: Sourcing an Old Hen
The first step in cooking an old hen is finding the perfect one. Check your local butcher shop or poultry market, as they are more likely to have this unique ingredient. Old hens are known for their tougher meat, but don’t worry, we have a plan to tenderize it later on. Remember, sourcing a high-quality hen will play a significant role in the final taste and texture of your dish.
Step 2: Preparing the Old Hen
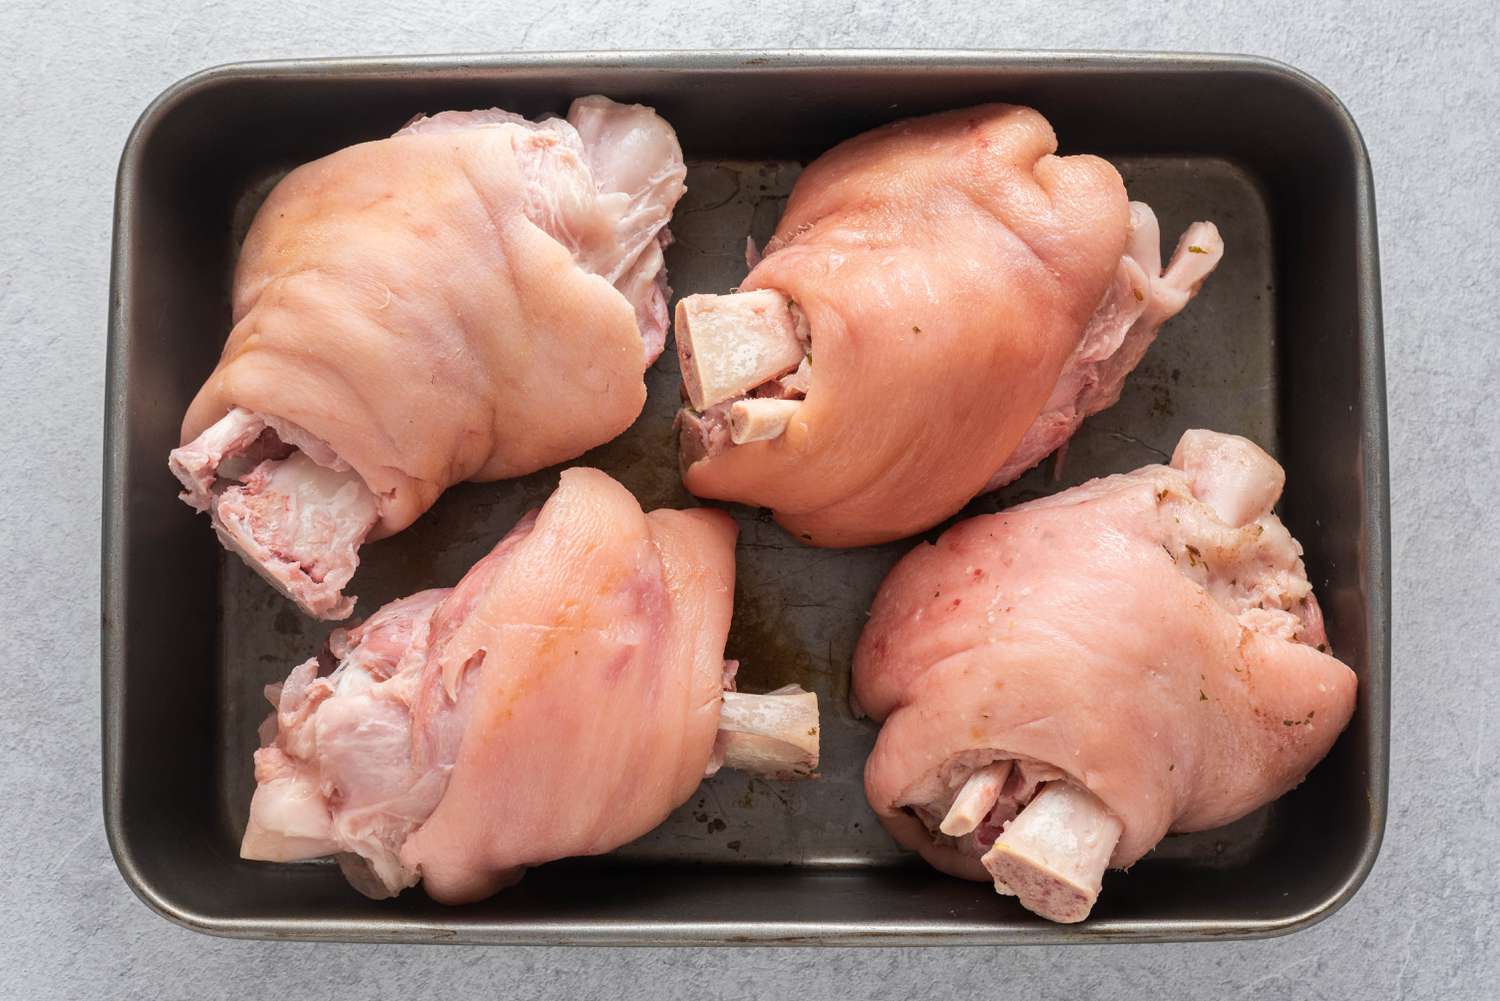
Before we start cooking, we need to prepare the old hen. Begin by rinsing it thoroughly under cold water to remove any debris. Pat the hen dry using paper towels. Now, let’s move on to the flavor-enhancing process. Marinating the hen will help tenderize the meat and infuse it with delicious flavors. Create a marinade using your favorite herbs, spices, and a mixture of oil and vinegar. Place the hen in a resealable bag, pour the marinade over it, seal it tightly, and refrigerate for at least 4 hours or overnight to allow the flavors to penetrate.
Step 3: Slow-Cooking for Tender Perfection
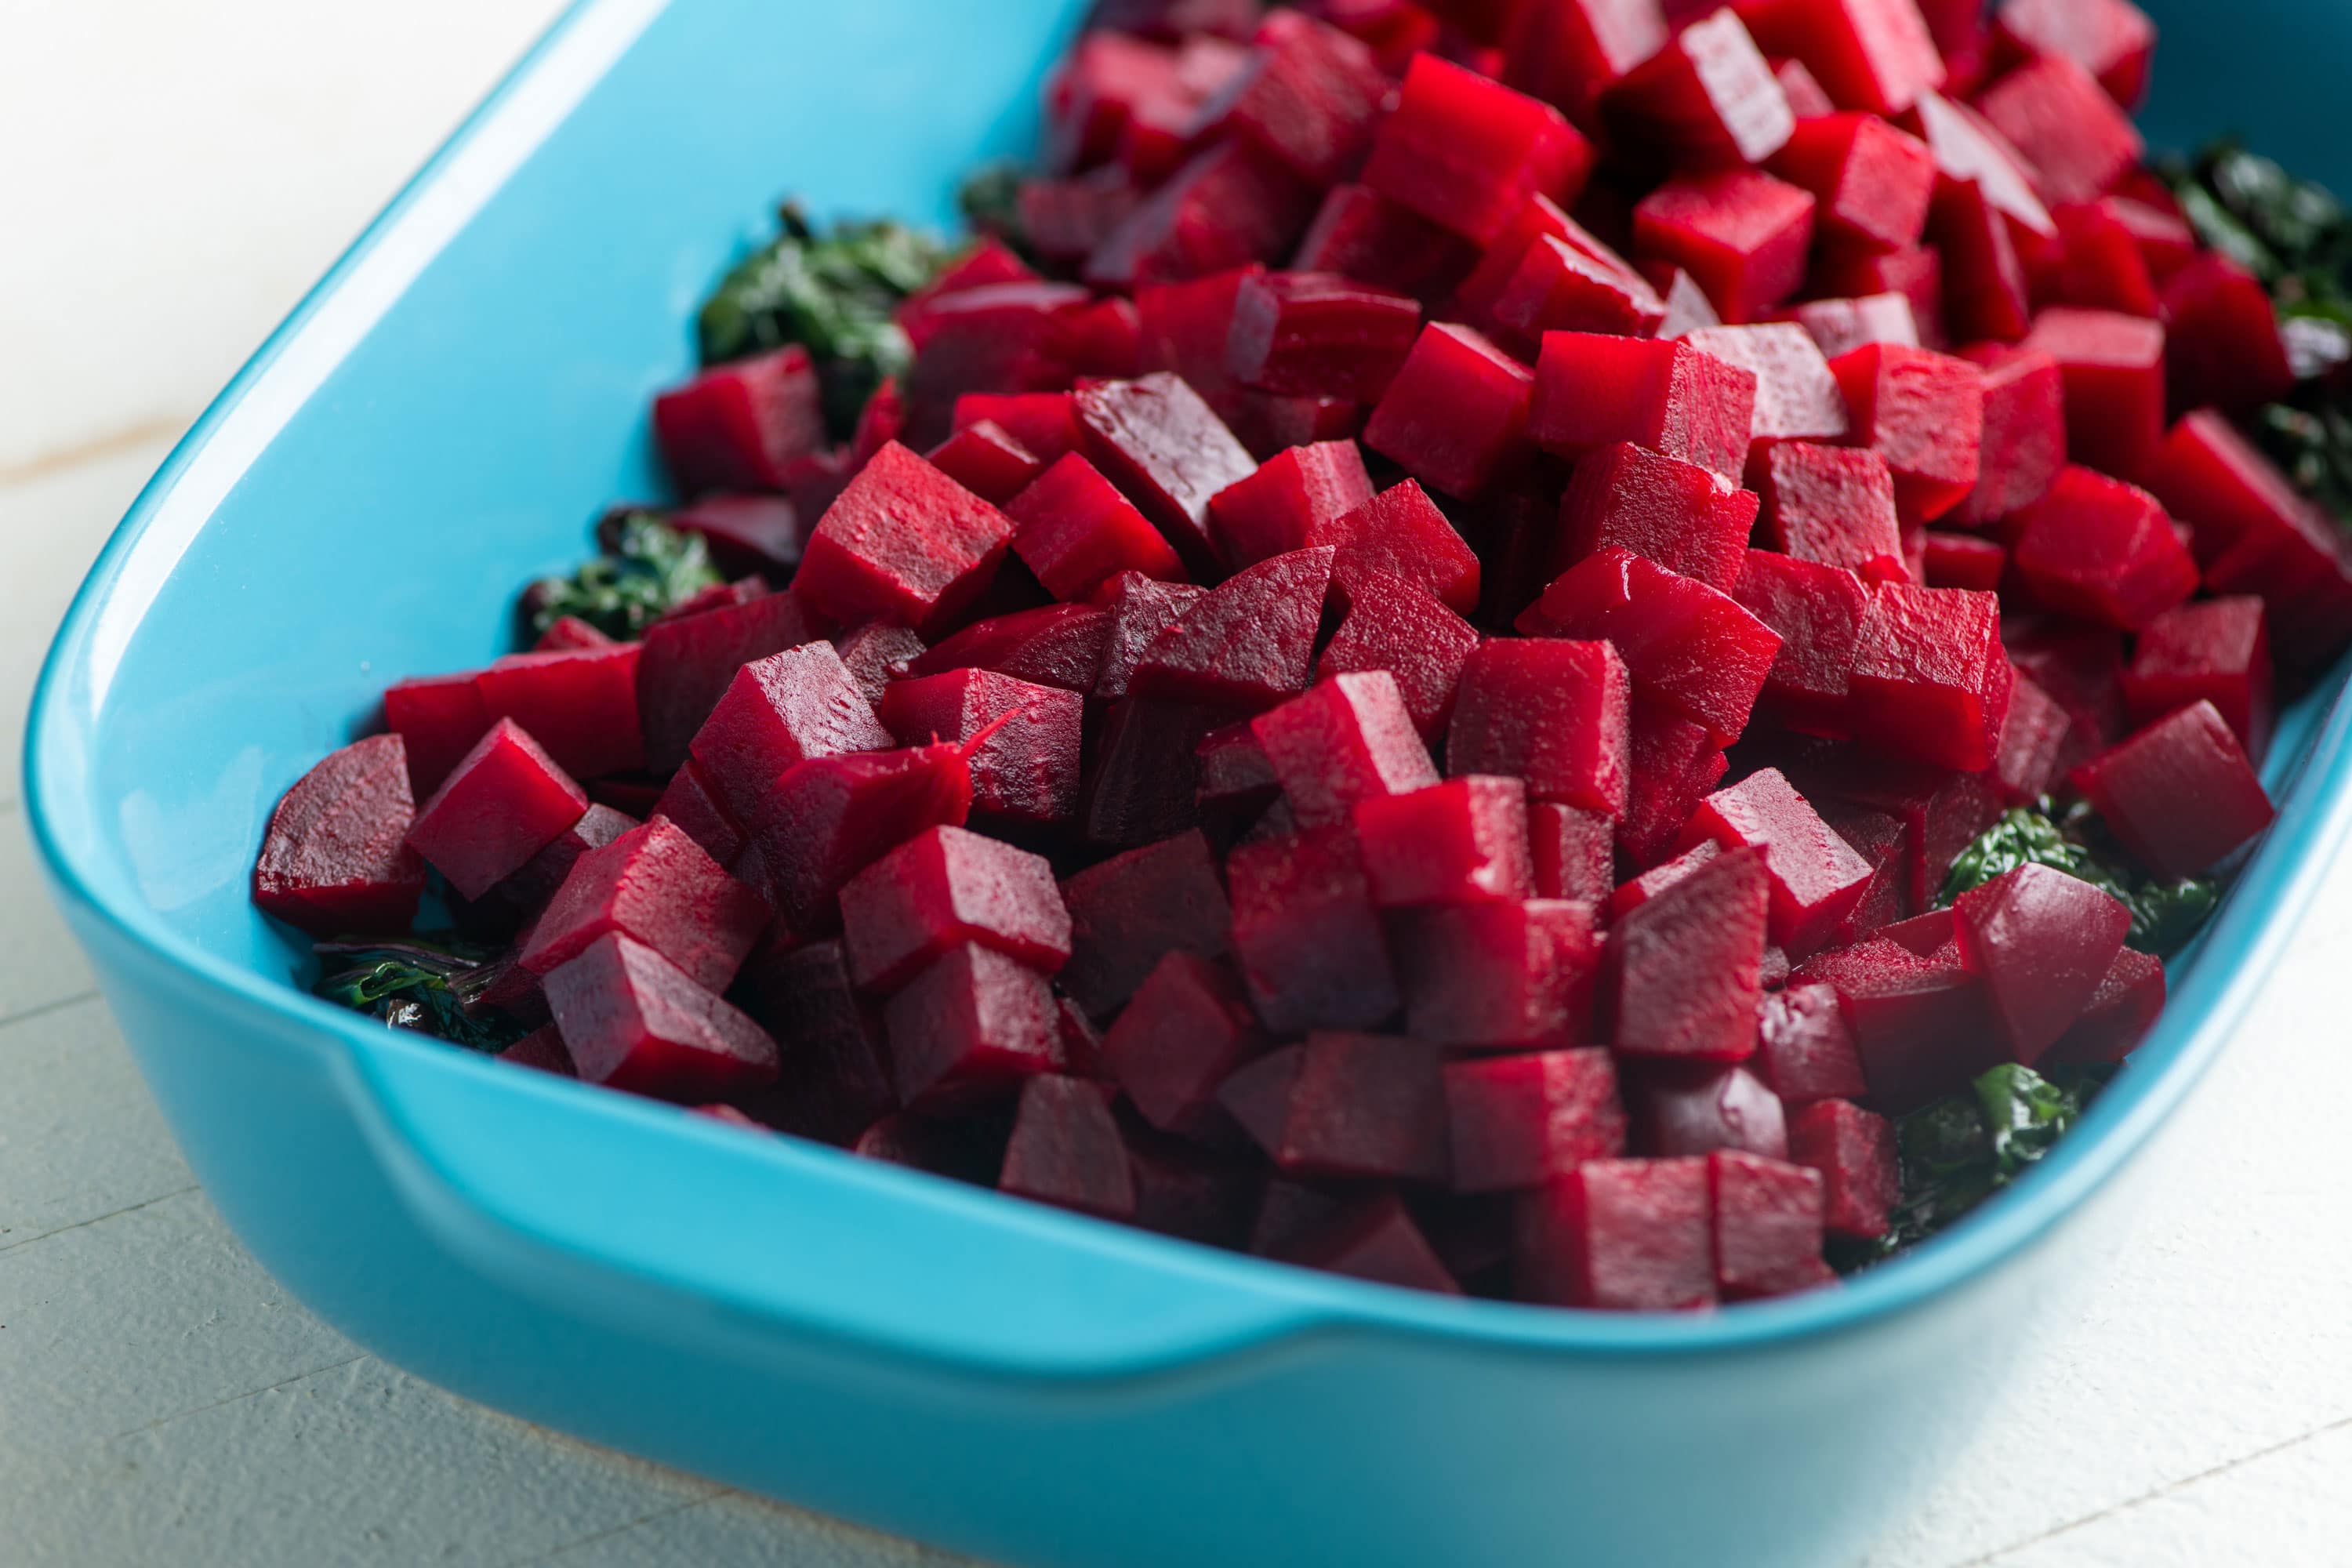
The secret to cooking an old hen lies in the slow-cooking process. This will help break down the tough fibers and turn the meat into a tender and succulent masterpiece. Preheat your oven to a low temperature, around 275°F (135°C). Remove the old hen from the marinade and place it in a roasting pan. Consider adding vegetables like carrots, onions, and celery to enhance the flavors further. Cover the pan tightly with foil and bake for several hours, depending on the size of the hen. Plan for approximately 3-4 hours, but keep an eye on it to ensure it doesn’t dry out.
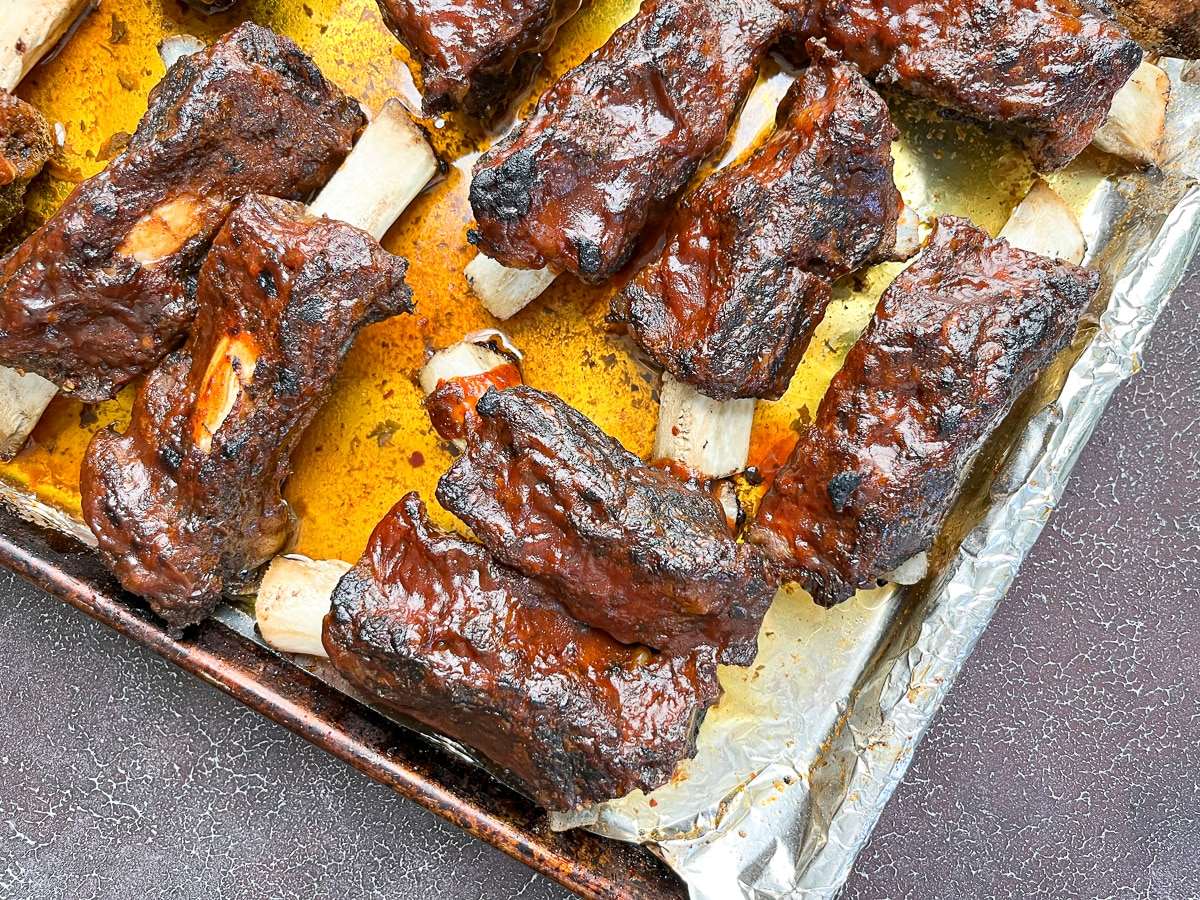
Step 4: Crispy Skin and Final Touches
While slow cooking ensures tender meat, the skin might not be as crispy as desired. To achieve that perfect texture, it’s time to remove the foil during the last 30 minutes of cooking. This will allow the skin to crisp up and turn a lovely golden brown. Baste the hen with the juices from the pan occasionally to keep it moist and flavorful. Once the cooking time is up, remove the hen from the oven and let it rest for a few minutes before carving.
Step 5: Serving and Enjoying
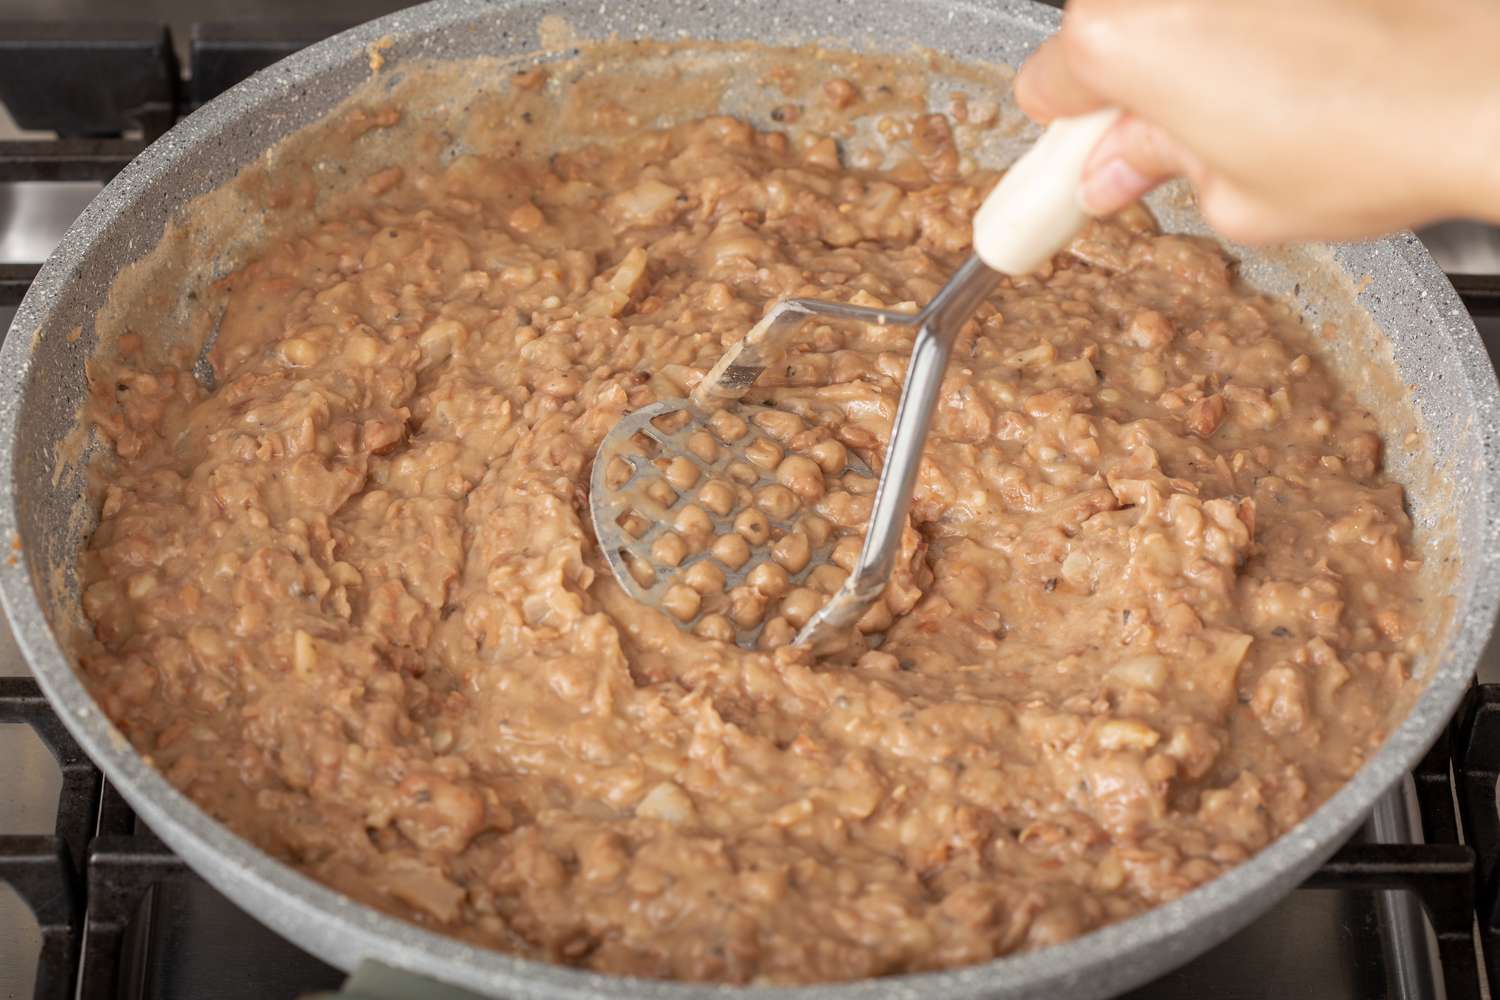
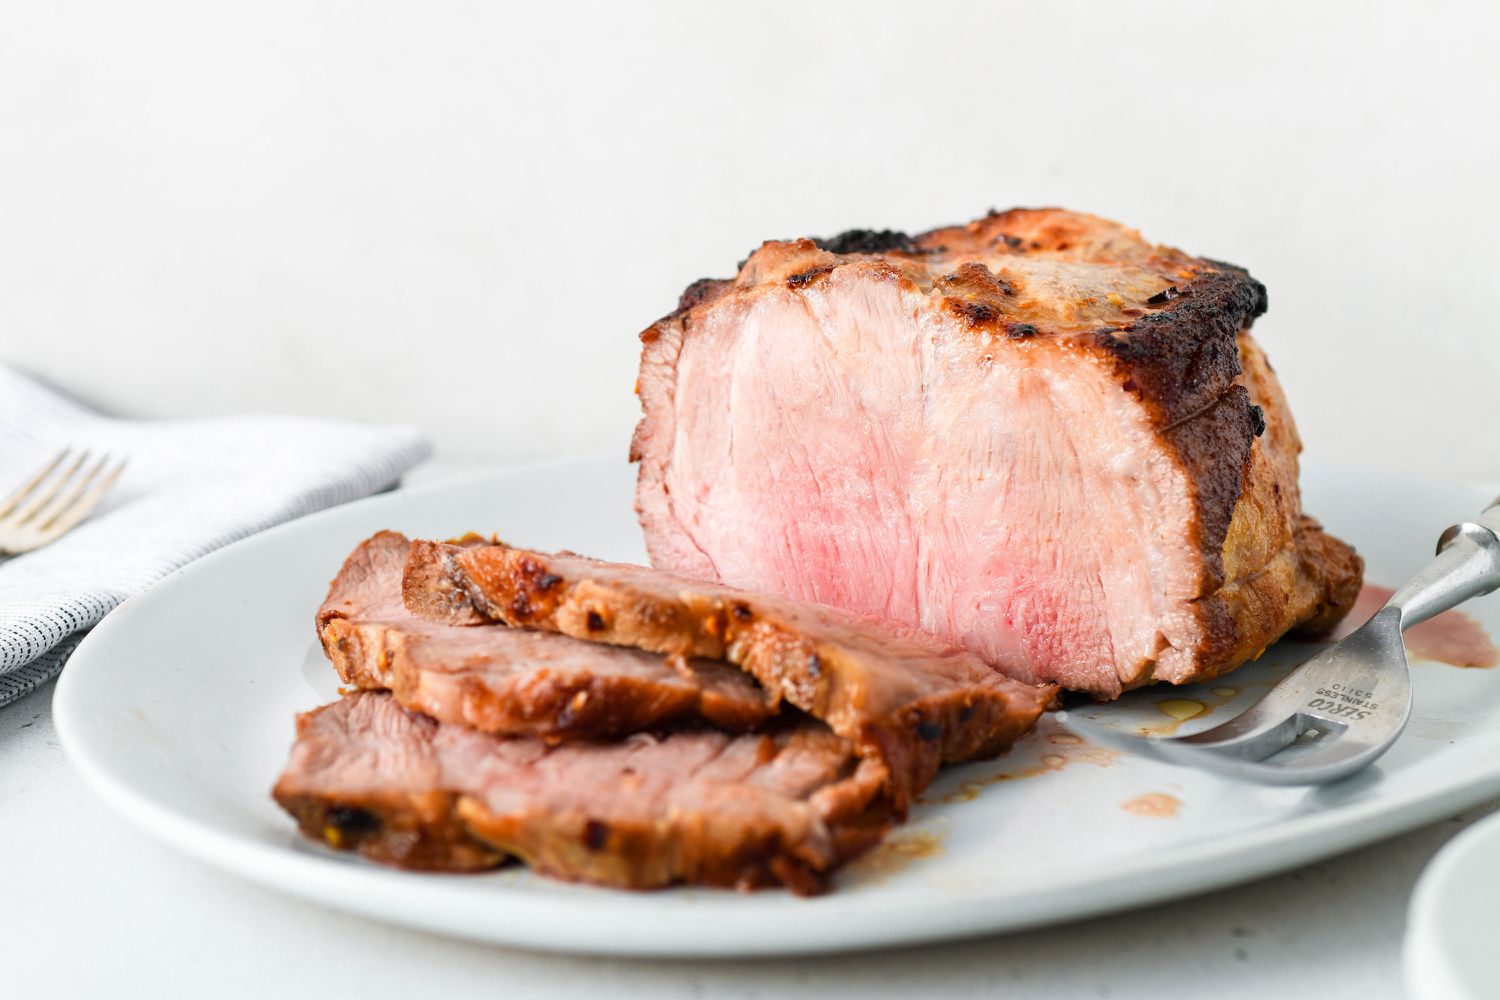
Your hard work has paid off, and now it’s time to savor the fruits of your labor. Carve the old hen into your desired portions, making sure to cut across the grain for maximum tenderness. Serve it alongside the roasted vegetables and any additional sides you desire. This dish pairs well with mashed potatoes, roasted Brussels sprouts, or a crisp green salad. Don’t forget to garnish with fresh herbs to add that final touch of elegance and flavor.
So there you have it, a step-by-step guide on how to cook an old hen to perfection. Embrace the challenge, and get ready to impress your taste buds with this unique and delicious culinary experience. Remember, cooking is an art, so don’t be afraid to experiment and make it your own. Happy cooking!
Was this page helpful?
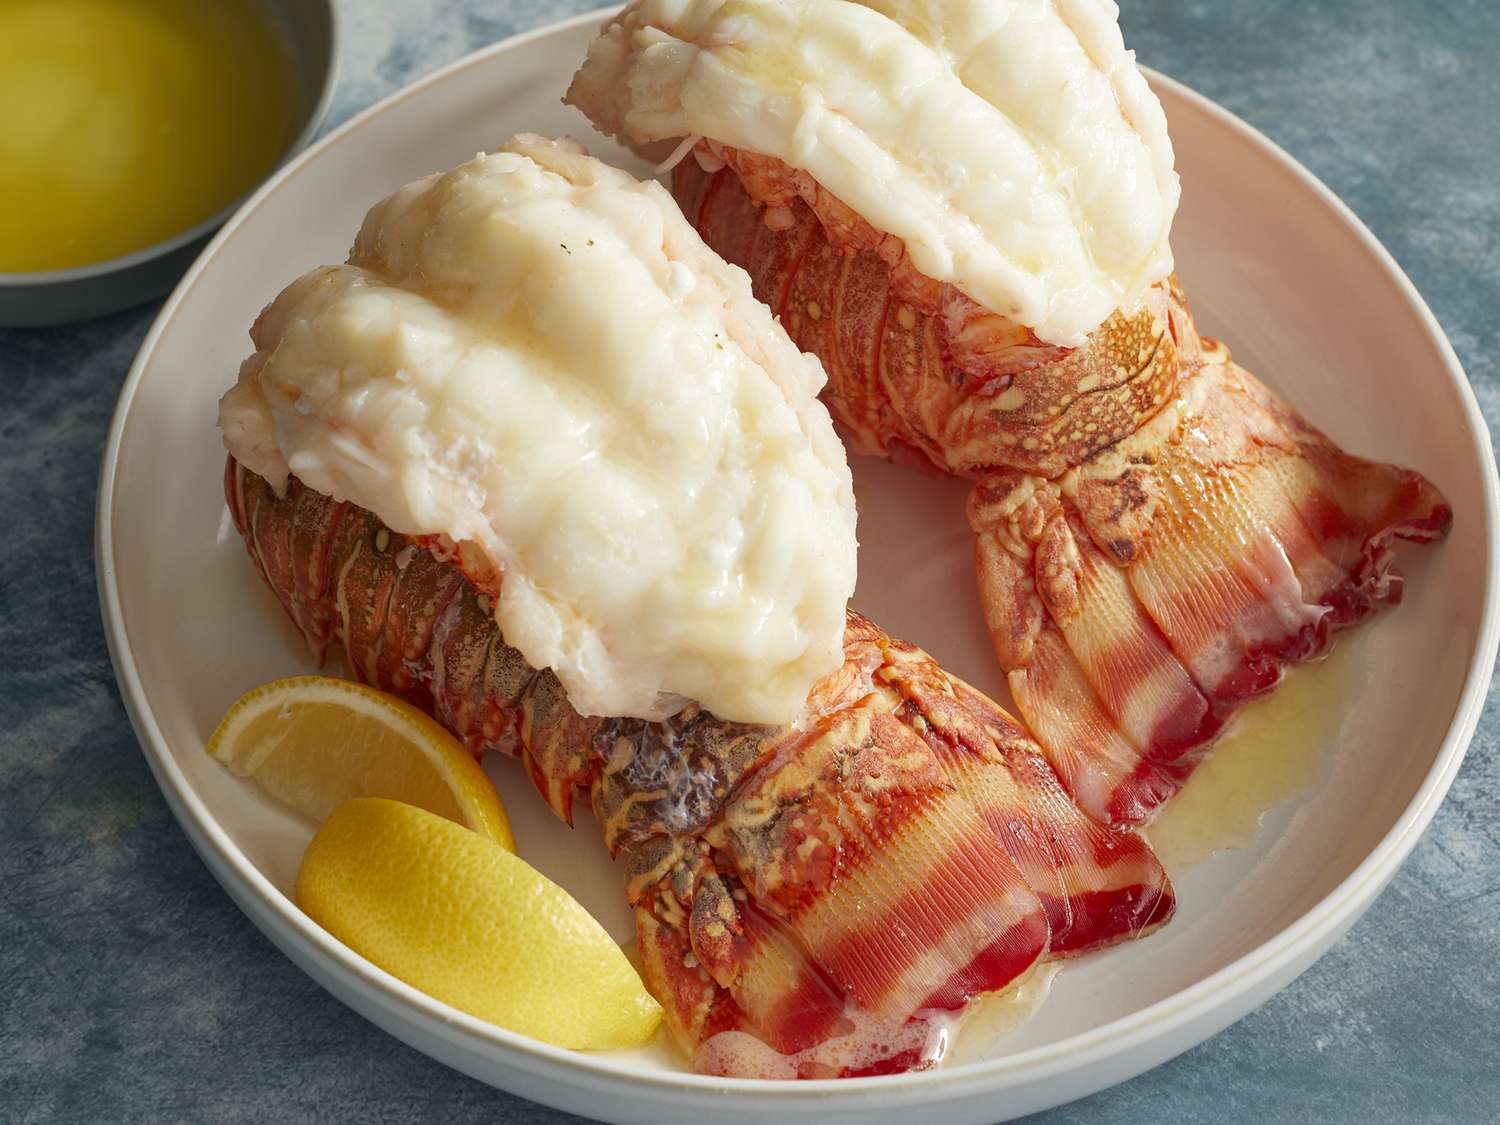
Read Next: How To Cook Giant Prawns In Shell
Cary Trees
SPOTTING THE SIGNS OF 10 COMMON TREE DISEASES A great addition to any landscape is a healthy tree. However, sick and diseased trees in your yard might endanger your family's and your property's safety. You may detect and remove sick trees for your yard with the assistance of a tree service company that provides tree removal in Decatur and Atlanta. Our professional arborists will offer you the services you need to guarantee that your trees are healthy and robust, including anything from emergency tree cutting to standard tree removal. Here are 10 of the most prevalent tree diseases' symptoms so you can decide whether it's time to plan tree removal. Also known as Tree Diseases, Tree Removal (1) Leaf rust A tree that has leaf rust may get recognizable orange or reddish spots on its leaves. 2. Blight Fire Even though a fire has never touched a tree, fire blight causes it to seem burned or charred. 3. Powdery Mildew Look for damage or unusual colorations in the leaves of your trees to gauge their health. You may have a powdery mildew infestation when the leaves on your trees look dusty or white. 4. Gall The term "gall" refers to a particular kind of fungus that grows on established trees' trunks and branches. 5. Broom of Witches Witch's broom, as its name implies, is a collection of broom-like branches and twigs that can appear in the middle of a tree limb. 6. Herpes White growths along a tree's trunk are a canker. 7. Leaf Spot Leaf spot results in discoloration on a tree's leaves, much like leaf rust. (8) The Japanese Beetle An invasive species known as the Japanese beetle can gorge itself on the leaves of the trees in your yard. The Japanese beetle may be recognized by its brown thorax. 9. Emerald Ash Borer The vivid green emerald ash borer insect can destroy a mature tree. 10. Bagworm Bagworms are insects that resemble grubs and eat old tree branches and leaves.
Related Articles