Chopping the apples properly is an essential step in making delicious homemade cider. Whether you’re a seasoned cider maker or a beginner, mastering the art of apple chopping can elevate the flavor and quality of your cider. In this guide, we’ll walk you through the process of preparing your apples for cider making.
1. Choose the Right Apples
The first step in chopping apples for cider is to select the right type of apples. Ideally, you should choose a mixture of sweet and tart apples to create a well-balanced cider. Some popular apple varieties for cider making include Granny Smith, Golden Delicious, and McIntosh.
2. Wash and Sanitize
Before you start chopping, it’s important to wash your apples thoroughly to remove any dirt or pesticides. Once cleaned, sanitize your cutting board, knives, and any other tools you’ll be using to maintain a hygienic cider-making environment.
3. Core and Slice
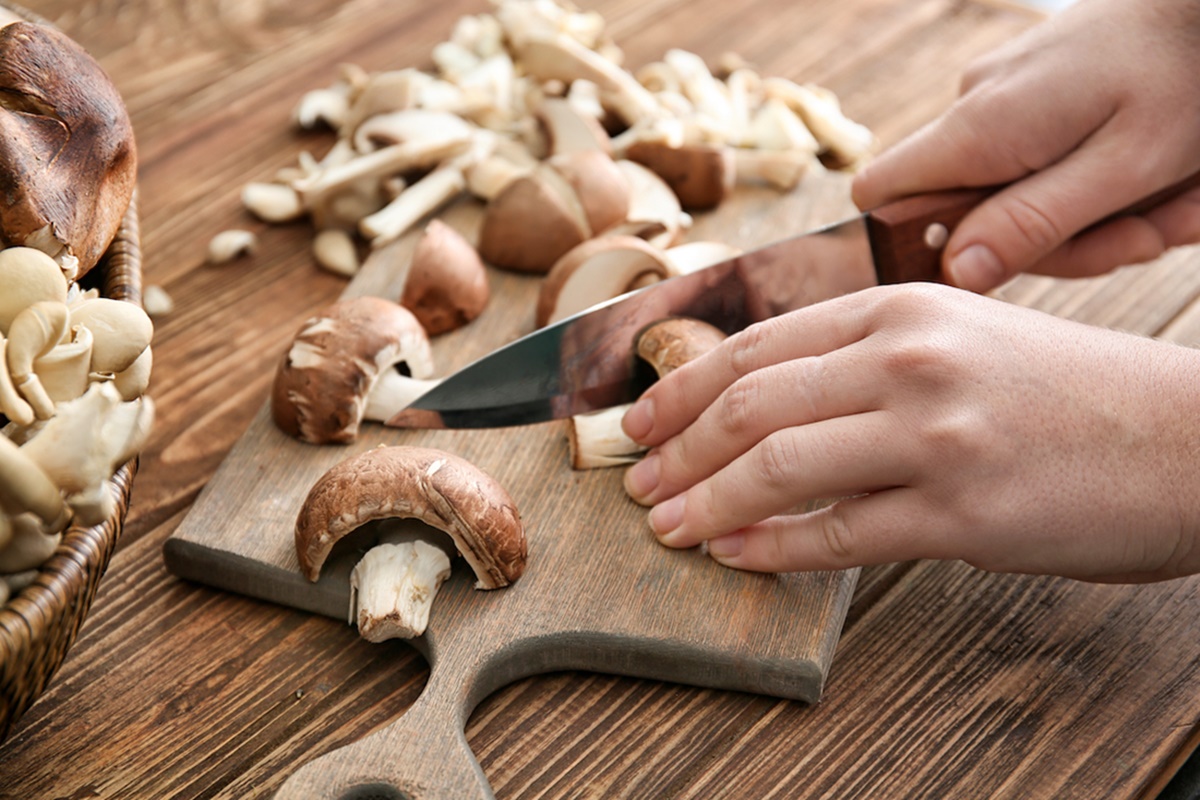
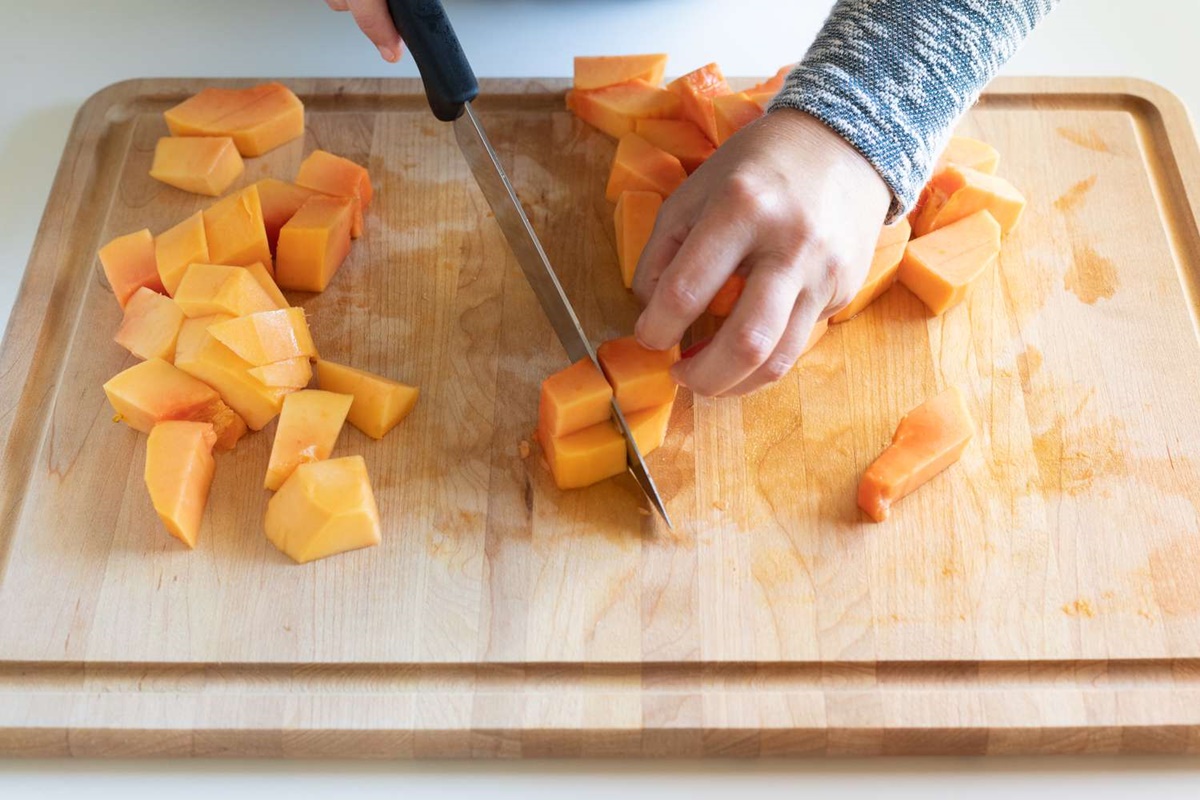
To begin the chopping process, core the apples to remove seeds and stems. You can use an apple corer or simply cut around the core with a knife. Once the cores are removed, slice the apples into manageable pieces. The size of the slices will depend on your personal preference, but it’s generally recommended to keep them around 1 inch in thickness.
4. Remove the Skin (Optional)
The decision to remove the apple skin is entirely up to you. Some cider makers prefer to leave the skin on for added flavor and color, while others prefer a smoother finish. If you choose to remove the skin, you can use a vegetable peeler or a paring knife to gently peel the apples.
5. Consider the Cider Press
Once your apples are chopped, it’s important to consider the type of cider press you’ll be using. Some presses require smaller apple pieces, while others can handle larger chunks. It’s always a good idea to check the manual or instructions of your specific cider press to ensure you’re chopping the apples to the appropriate size.
6. Store or Use Immediately
If you’re not ready to press your apples immediately, store them in an airtight container in the refrigerator to maintain their freshness. Make sure to use them within a few days to prevent spoilage. If you’re ready to make cider right away, proceed to the pressing stage of the process.
By following these steps, you’ll be well on your way to chopping apples like a pro for your homemade cider. Remember to choose the right apples for a balanced flavor, wash and sanitize your equipment, and consider the cider press requirements. Happy cider making!
Share your tips and techniques for chopping apples for cider in the Cooking Techniques forum section. Let’s discuss how to get the perfect apple pieces for making delicious cider at home!
FAQ:
What types of apples should I use for making cider?
When it comes to making cider, it’s best to use a mix of apple varieties. Look for sweet, tart, and acidic apples to create a well-balanced flavor profile. Some popular options include McIntosh, Granny Smith, Jonathan, Honeycrisp, and Fuji.
Do I need to peel the apples before chopping them for cider?
Generally, you don’t need to peel the apples before chopping them for cider. The apple skins can add depth of flavor and color to your cider. However, if you prefer a smoother texture or if the apples have thick or tough skins, peeling is optional.
Should I remove the apple cores before chopping them for cider?
It’s not necessary to remove the apple cores before chopping them for cider, especially if you’re planning to strain the cider later. The cores can contribute to the overall flavor and juiciness. However, if you prefer a smoother texture or want to avoid any bitter taste that may come from the cores, you can remove them.
What is the best way to chop apples for cider?
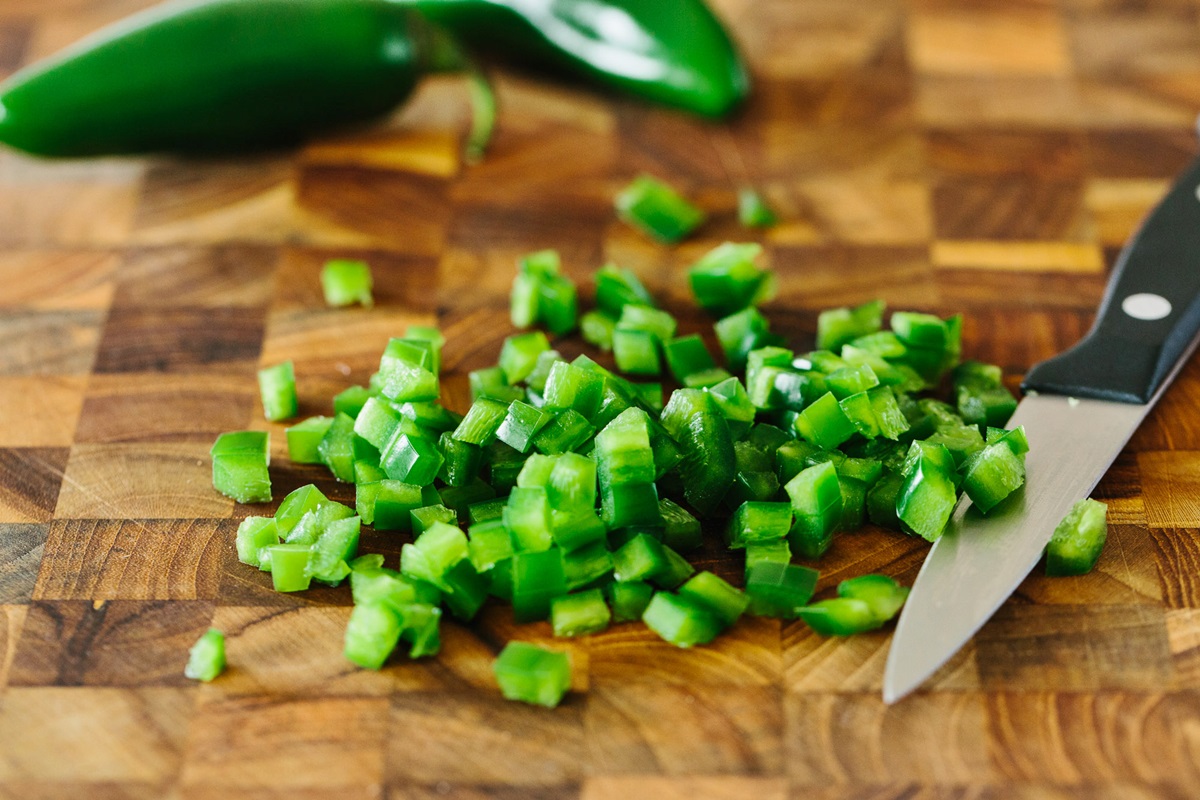
The best way to chop apples for cider is to start by cutting them into quarters. Then, slice off any bruises or blemishes, if present. Proceed to chop the quarters into smaller chunks or cubes, approximately 1-2 inches in size, to facilitate juicing or pressing. Remember to use a sharp knife for safer and more precise cuts.
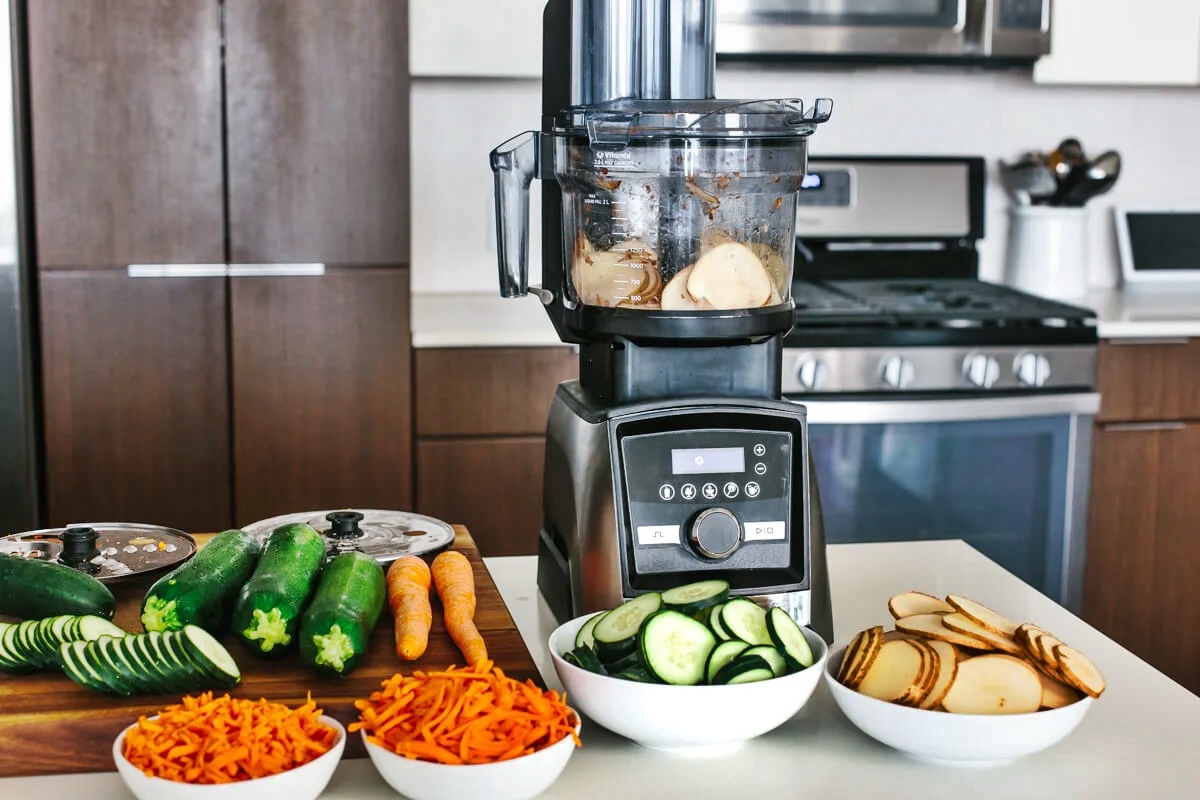
Can I use a food processor to chop apples for cider?
Yes, if you have a food processor, you can use it to chop apples for cider. Simply cut the apples into smaller pieces, removing any bruises or blemishes, and pulse them in the food processor until you achieve the desired chop size. Be cautious not to overprocess the apples, as this can result in a pulp-like consistency, which may not be ideal for cider making.
How should I store the chopped apples before making cider?
If you’re not planning to make cider immediately after chopping the apples, it’s essential to store them properly to maintain freshness. Place the chopped apples in an airtight container or sealable plastic bag. Store them in the refrigerator to keep them crisp and prevent browning. Ideally, use the chopped apples within one to two days for the best flavor and quality.
Can I freeze the chopped apples for future cider making?
Yes, you can freeze the chopped apples for future cider making. Simply place the chopped apples in a freezer-safe bag, removing as much air as possible, and seal tightly. Label the bag with the date and store it in the freezer. Frozen chopped apples can last up to 6 months. Thaw them before using in your cider recipe.