How To Boil Eggs For Dyeing
As the holiday season approaches, many of us are looking forward to the time-honored tradition of dyeing eggs. Whether it’s for Easter or just a fun activity with kids, getting vibrant and beautifully dyed eggs starts with the perfect boil. Here are some tips to ensure your eggs turn out beautifully every time:
1. Start with fresh eggs
Fresh eggs are essential when it comes to boiling eggs for dyeing. Not only do they taste better, but they also have less likelihood of cracking during the cooking process. Make sure to buy eggs that are within a week or two of their production date.
2. Gentle handling
Eggs are delicate, so handle them with care to avoid cracks. Before boiling eggs, let them sit at room temperature for a few minutes. This helps prevent cracking when they are submerged in boiling water.
3. The perfect pot
Choose a pot that is large enough to hold all the eggs in a single layer. This ensures even cooking. Avoid overcrowding the pot, as it can lead to uneven cooking and potential cracks. A non-reactive pot, such as stainless steel or enamel, is the best choice.
4. Add vinegar
Adding a teaspoon of vinegar to the boiling water can help prevent eggs from cracking. The acidity of the vinegar strengthens the eggshell, resulting in a better boil.
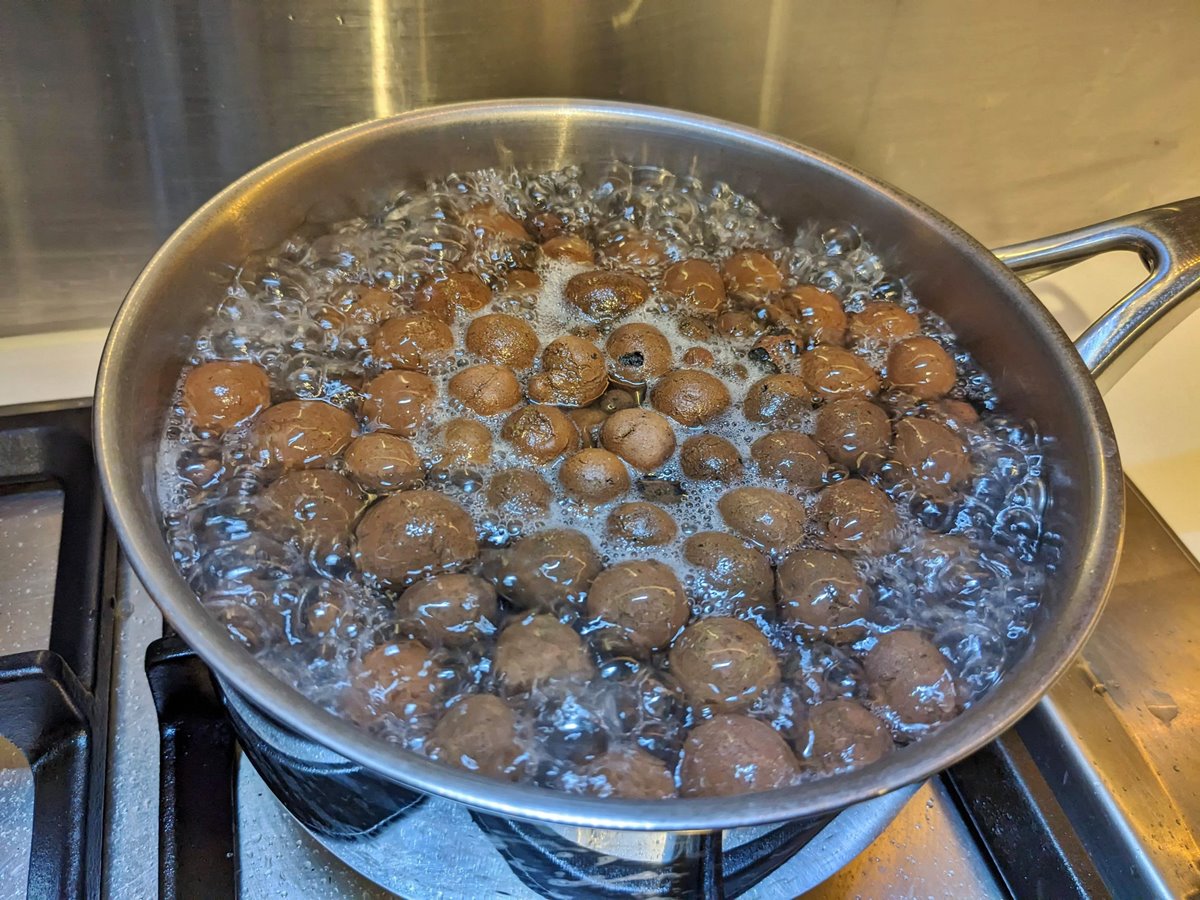
5. Boiling time
For perfectly boiled eggs, bring the water to a rolling boil before gently placing the eggs into the pot. Let them cook for about 10-12 minutes for hard-boiled eggs. Adjust the boiling time slightly for softer or runnier yolks according to your preference.
6. Ice bath
Once the eggs are boiled to perfection, it’s important to cool them down quickly to stop the cooking process. Prepare an ice bath by filling a large bowl with ice and water. Using a slotted spoon, transfer the eggs from the pot to the ice bath. Let them sit for at least 5 minutes to cool and set.
7. Pat dry
After the eggs have cooled, gently pat them dry with a paper towel. This ensures the dye adheres well to the eggshell during the coloring process.
8. Get creative with dyeing
Now that you have perfectly boiled eggs, it’s time to let your creativity shine. Set up a dyeing station with an array of colorful dyes, stickers, and markers. Let your imagination run wild as you create beautiful masterpieces with your hard-boiled eggs.
With these simple tips, you can achieve perfectly boiled eggs ready for dyeing. Enjoy the process, and have a wonderful time creating colorful memories with your loved ones.
Was this page helpful?
Read Next: How To Boil Ground Turkey
Related Articles