Preserving the Freshness: Blanching Green Beans for Freezing
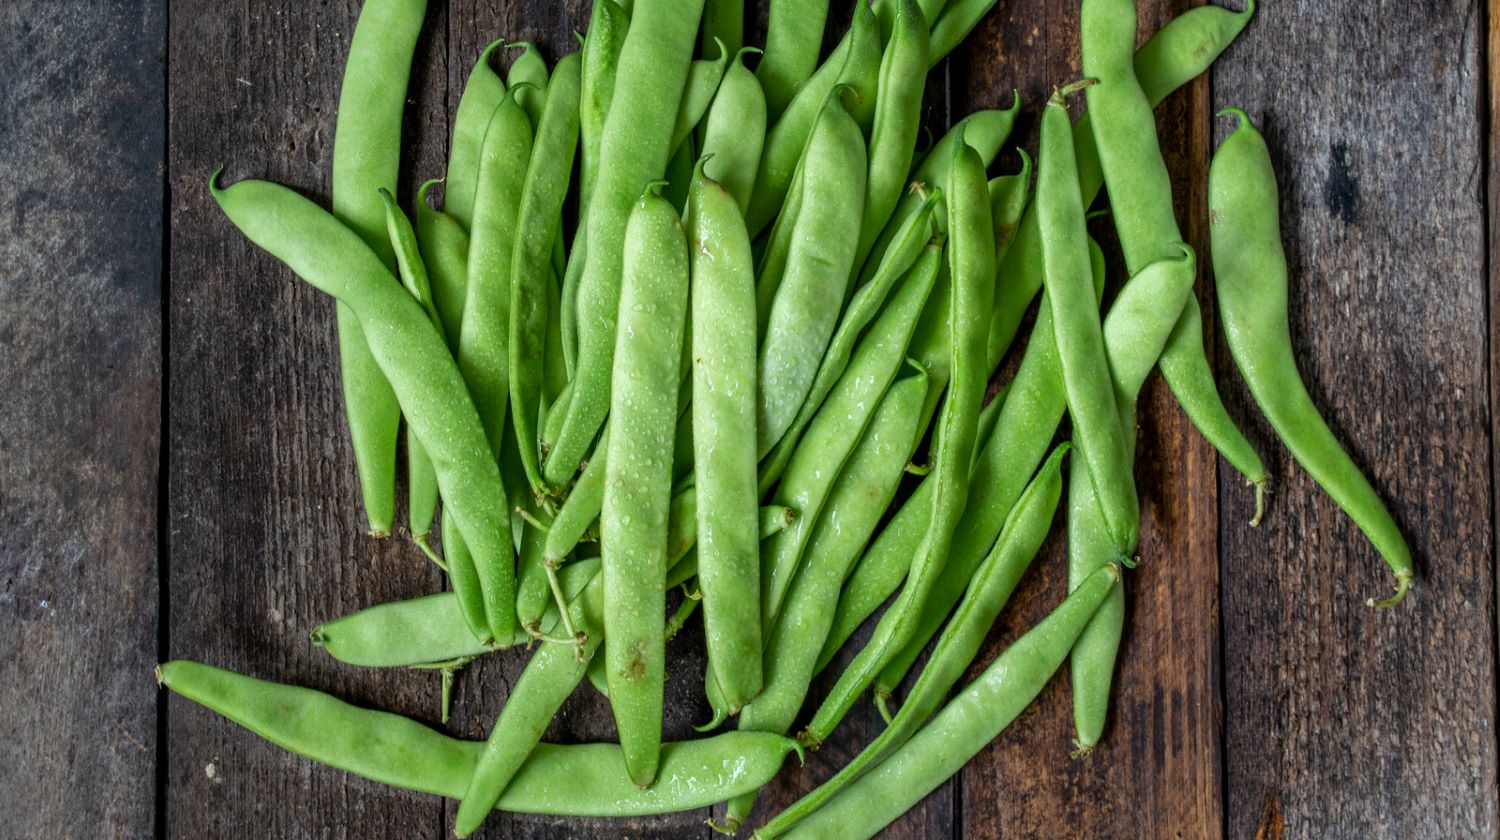
Green beans are a versatile and nutritious vegetable that can be enjoyed in a variety of dishes. Whether you grow them in your garden or purchase them from the store or farmer’s market, blanching and freezing green beans is a great way to preserve their freshness and flavor for future use. In this guide, we’ll walk you through the simple process of blanching green beans so you can enjoy them all year round.
Why Blanch Green Beans?
Blanching is a crucial step in the freezing process as it helps to preserve the color, texture, and flavor of green beans. By blanching the beans, you can stop the enzyme actions that can cause loss of flavor, color, and nutrients. Additionally, blanching helps to clean the surface of the beans and remove any dirt or bacteria, ensuring that they are safe to eat when thawed and cooked.
How to Blanch Green Beans
Blanching green beans is a simple process that involves boiling the beans briefly and then quickly cooling them down. Follow these easy steps to blanch green beans for freezing:
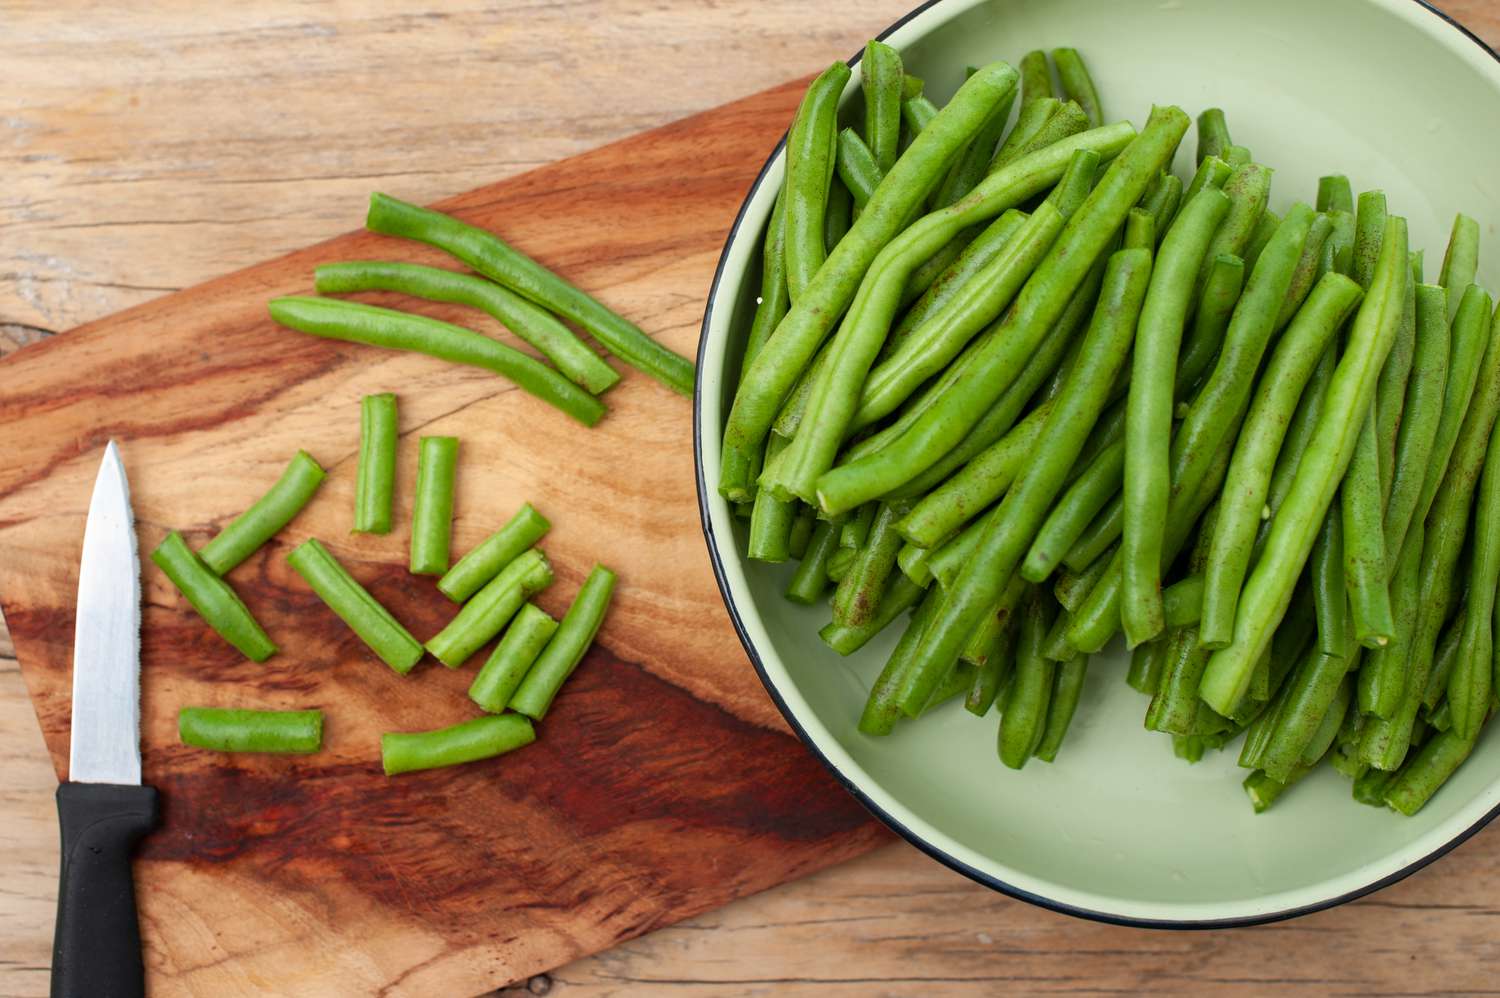
- Prepare the Green Beans: Start by washing the green beans thoroughly under cold running water. Trim the ends and remove any blemished or discolored spots.
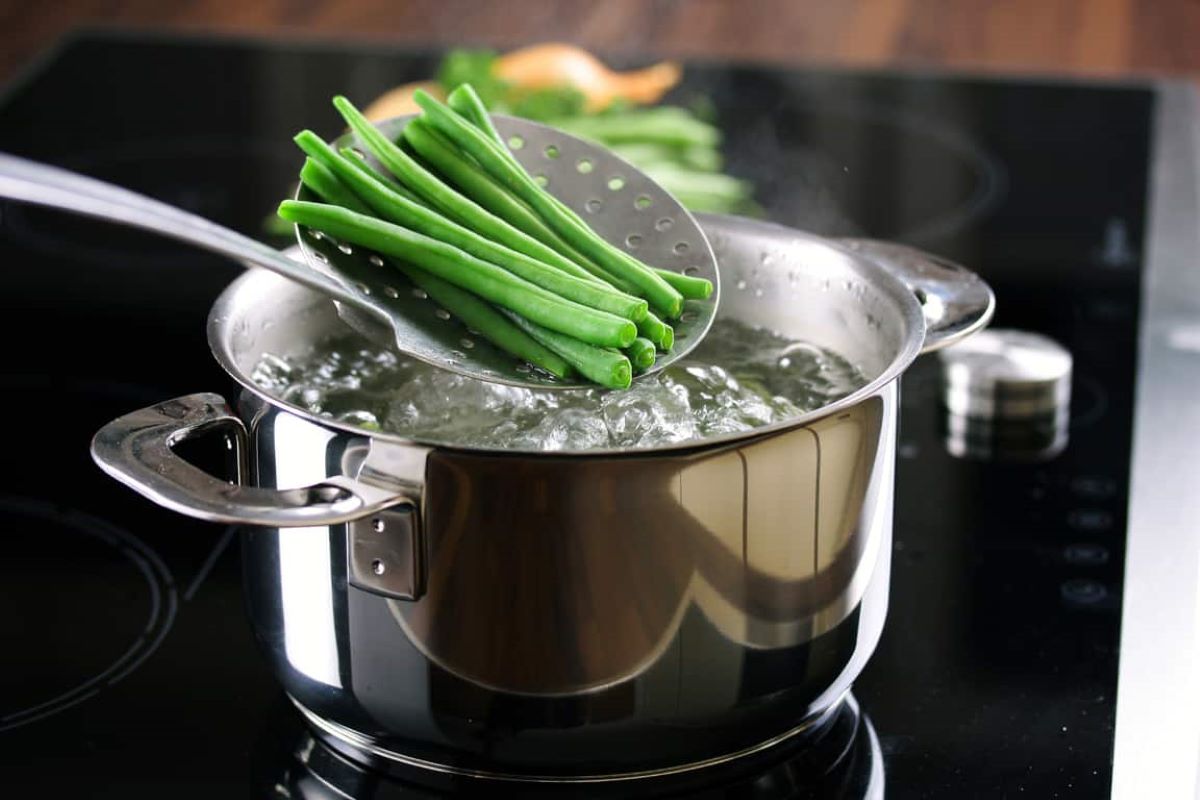
- Boil the Water: Fill a large pot with water and bring it to a rolling boil.
- Blanch the Green Beans: Carefully add the prepared green beans to the boiling water. Allow them to boil for 2-3 minutes, depending on their size. Blanching time may vary, so it’s essential to test a few beans to determine the right timing.
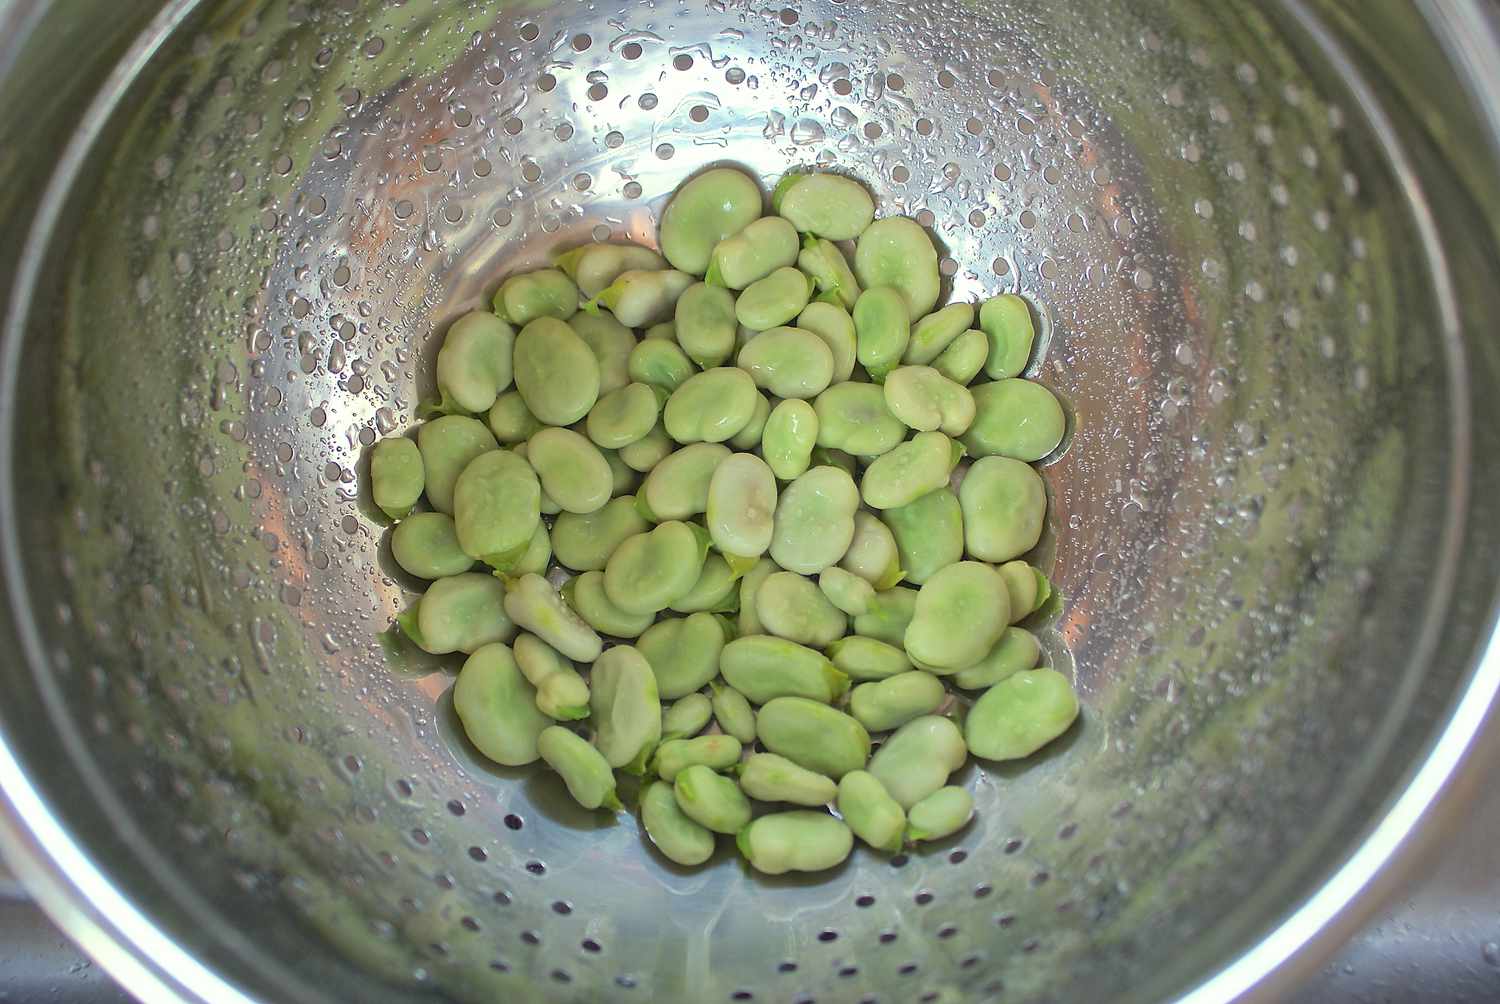
- Cool the Beans: Once the beans have been blanched, quickly remove them from the boiling water and transfer them to a bowl of ice water. This will stop the cooking process and help the beans retain their vibrant green color.
- Drain and Dry: After the beans have been cooled for a few minutes, drain them thoroughly and pat them dry with a clean kitchen towel or paper towels.
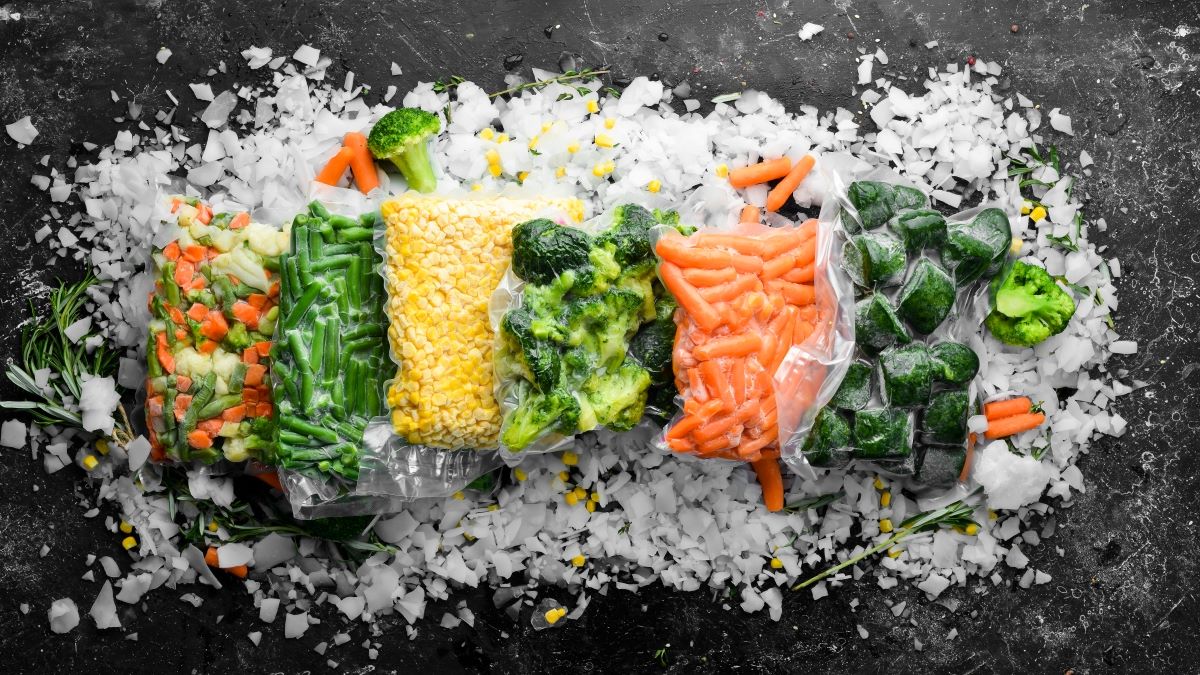
Freezing Green Beans
After blanching, the green beans are ready to be frozen for long-term storage. Here’s how to properly freeze blanched green beans:
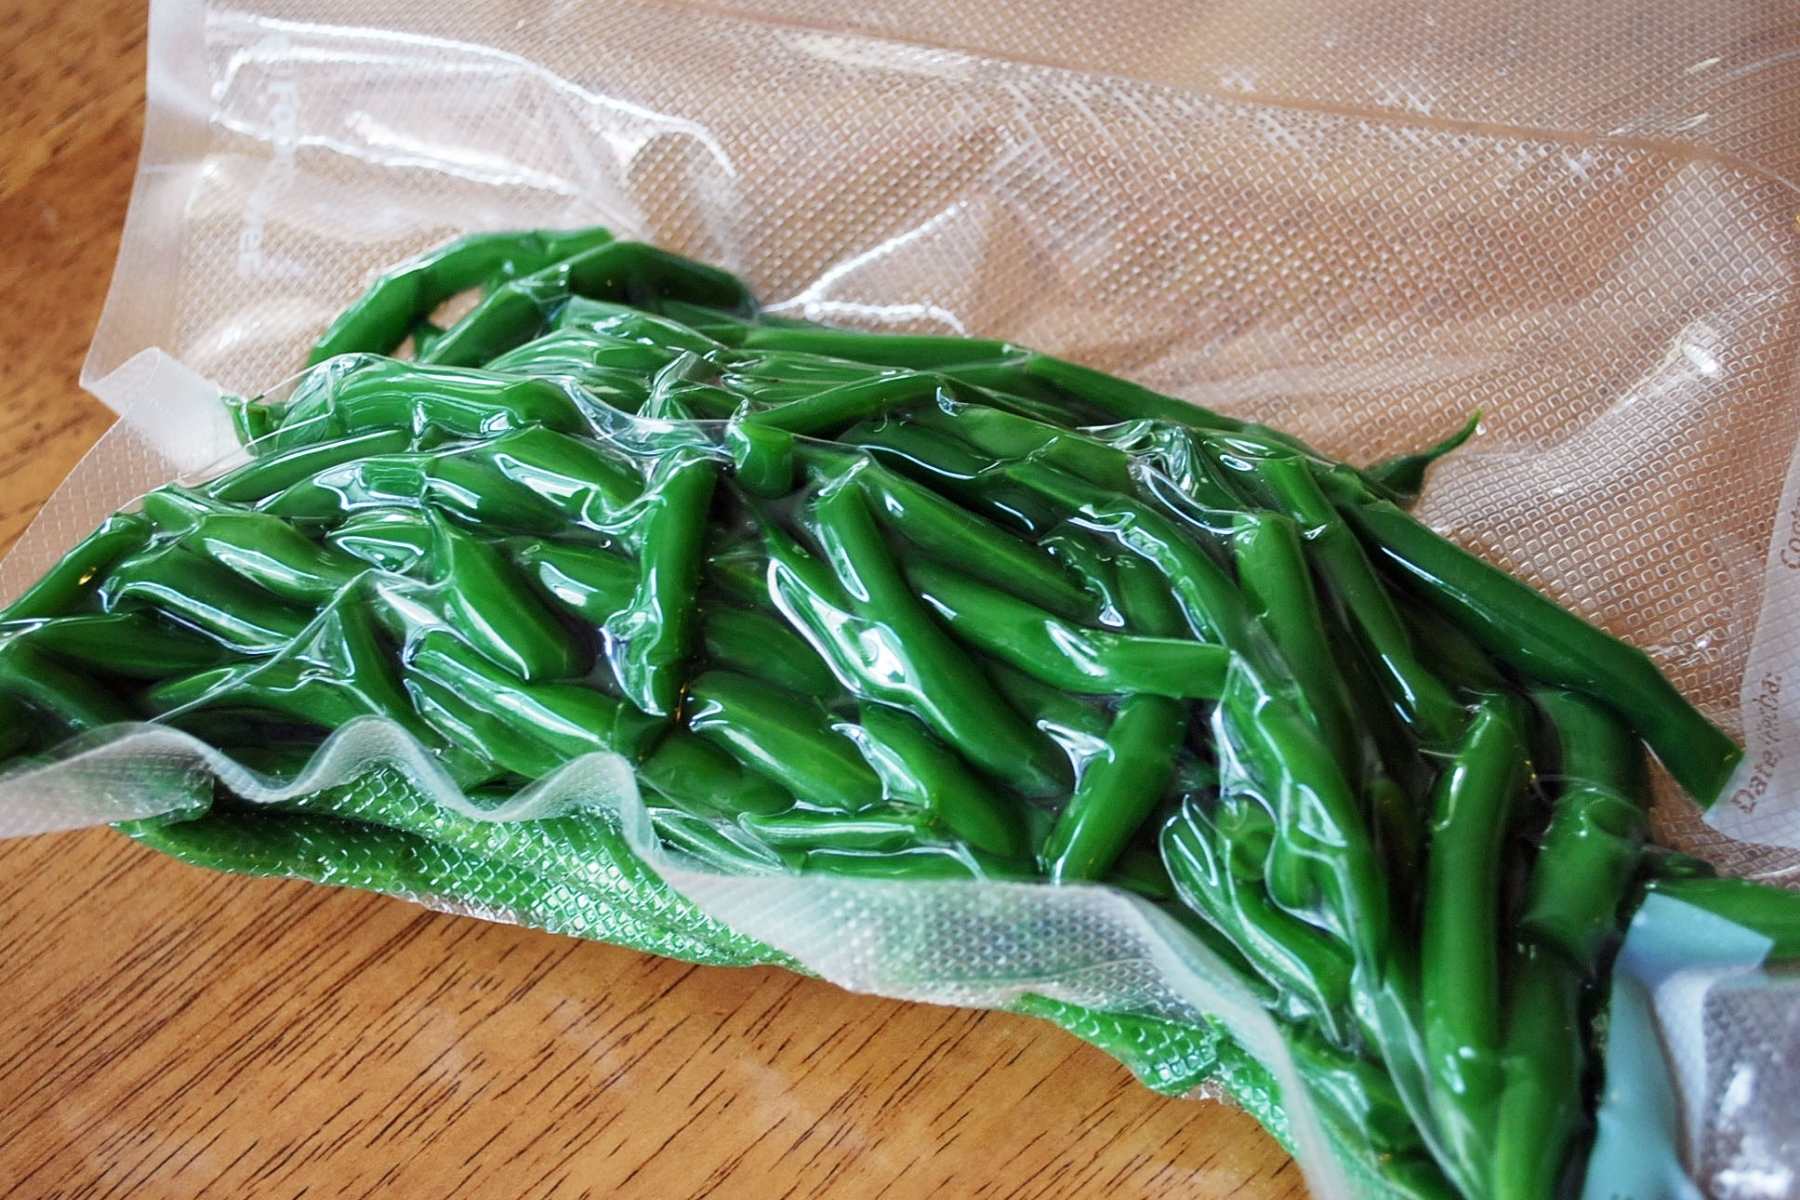
- Package the Beans: Place the blanched and dried green beans into airtight freezer bags or containers. Be sure to label the bags with the date of freezing for easy reference.
- Remove Air: Squeeze out any excess air from the bags before sealing them tightly. This will help prevent freezer burn and maintain the quality of the beans.
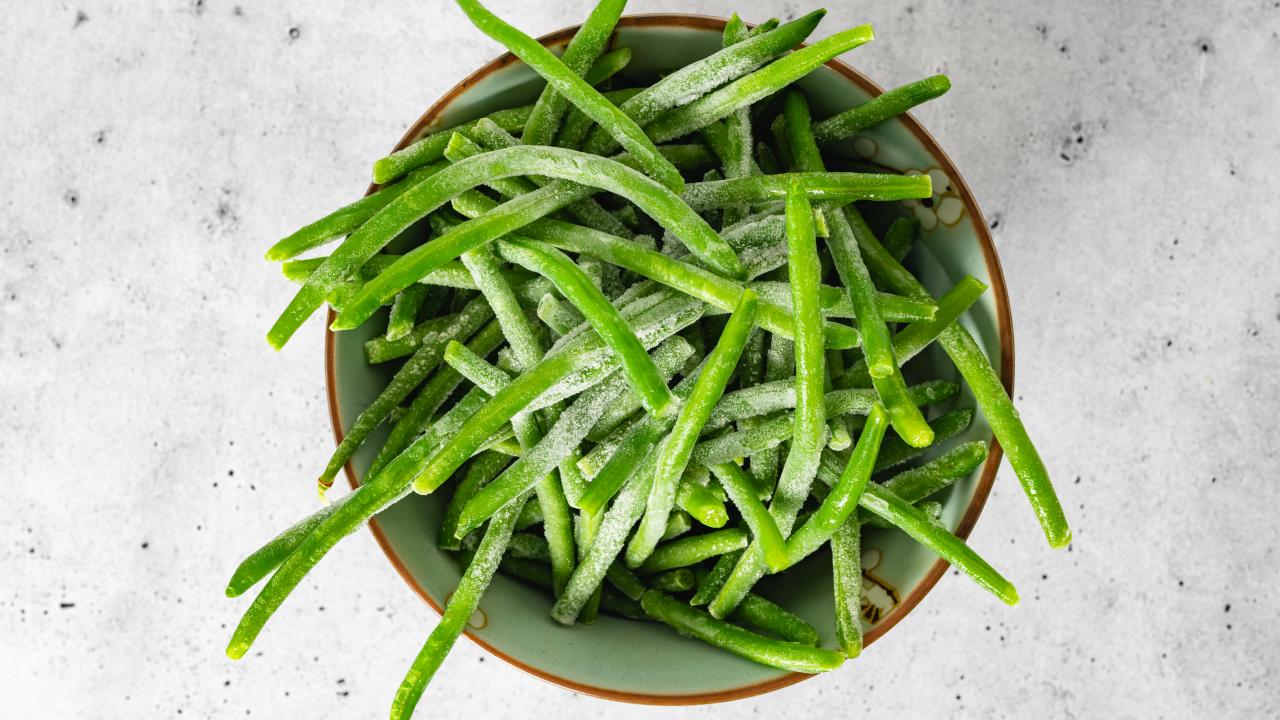
- Freeze the Beans: Place the sealed bags of green beans in the freezer, making sure to arrange them in a single layer to allow for quick freezing.
Using Frozen Green Beans
When you’re ready to use the frozen green beans, simply remove the desired amount from the freezer and thaw them in the refrigerator or by placing the sealed bag in a bowl of cold water. Once thawed, the green beans can be cooked using your favorite methods, such as steaming, sautéing, or adding them to soups and stews.
Final Thoughts
Blanching green beans for freezing is a simple and effective way to preserve their freshness and enjoy them throughout the year. By following these easy steps, you can stock up on green beans when they are in season and have them readily available for your favorite recipes. So, whether you’re a home gardener or simply want to take advantage of peak green bean season, blanching and freezing is the way to go!
Was this page helpful?
anisurrups
Anisur Rahman is political science analyzer
Related Articles