Preserving the Harvest: How to Blanch and Freeze Winter Squash
As the autumn season comes to a close, many of us find ourselves with an abundance of winter squash from our gardens or local markets. While enjoying these flavorful and nutritious vegetables during the fall is a treat, it’s also important to preserve them for enjoyment throughout the year. One of the best ways to do this is by blanching and freezing winter squash. This simple process helps to lock in the flavor and nutrients of the squash, allowing you to enjoy it in soups, stews, and casseroles long after the harvest season has ended.
What You’ll Need
Before you begin the blanching and freezing process, gather the following supplies:
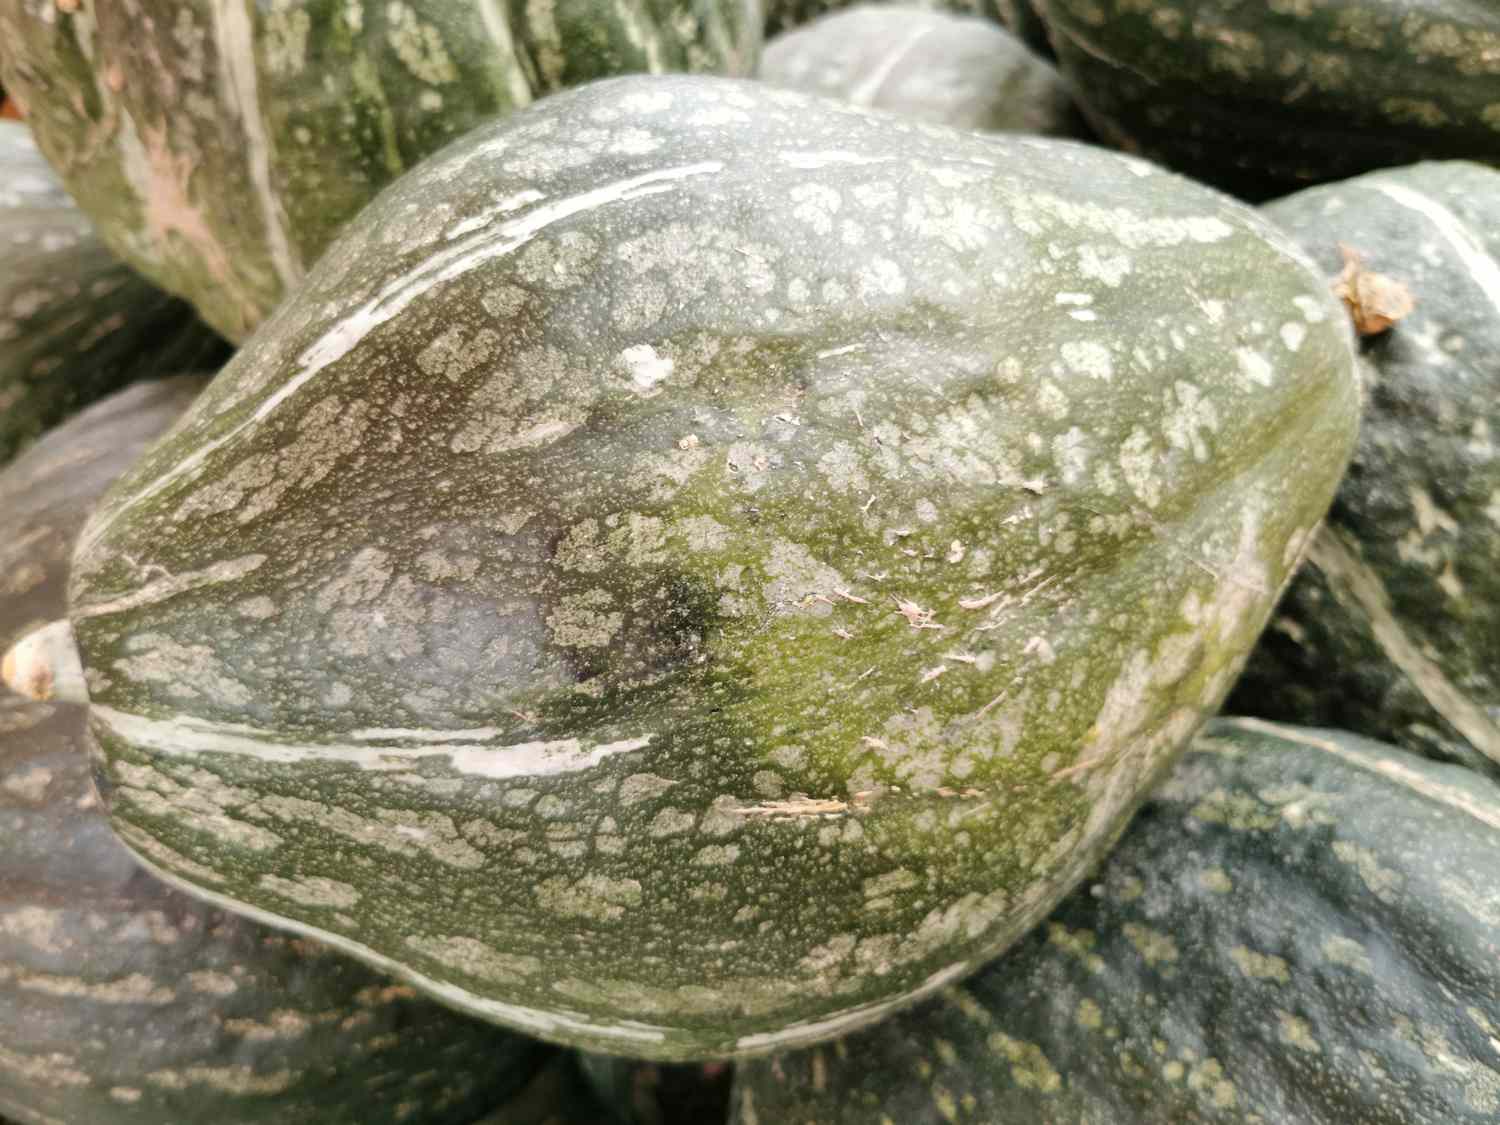
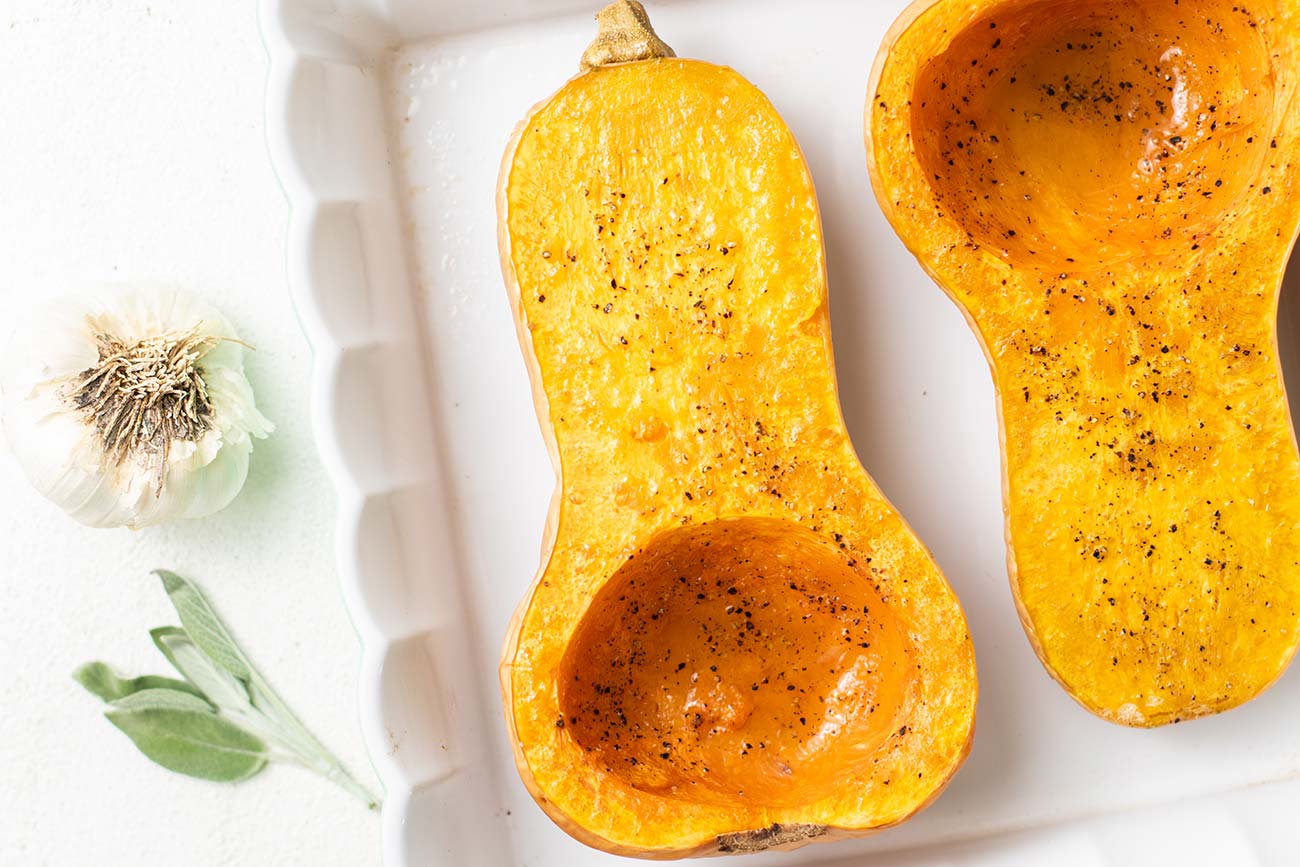
- Winter squash of your choice (such as butternut, acorn, or spaghetti squash)
- Sharp knife
- Cutting board
- Large pot
- Slotted spoon
- Bowl of ice water
- Freezer-safe containers or bags
- Marker for labeling
Blanching the Squash
The first step in preserving winter squash is blanching. This process involves briefly immersing the squash in boiling water to halt the enzymes that can cause loss of flavor, color, and nutrients over time.
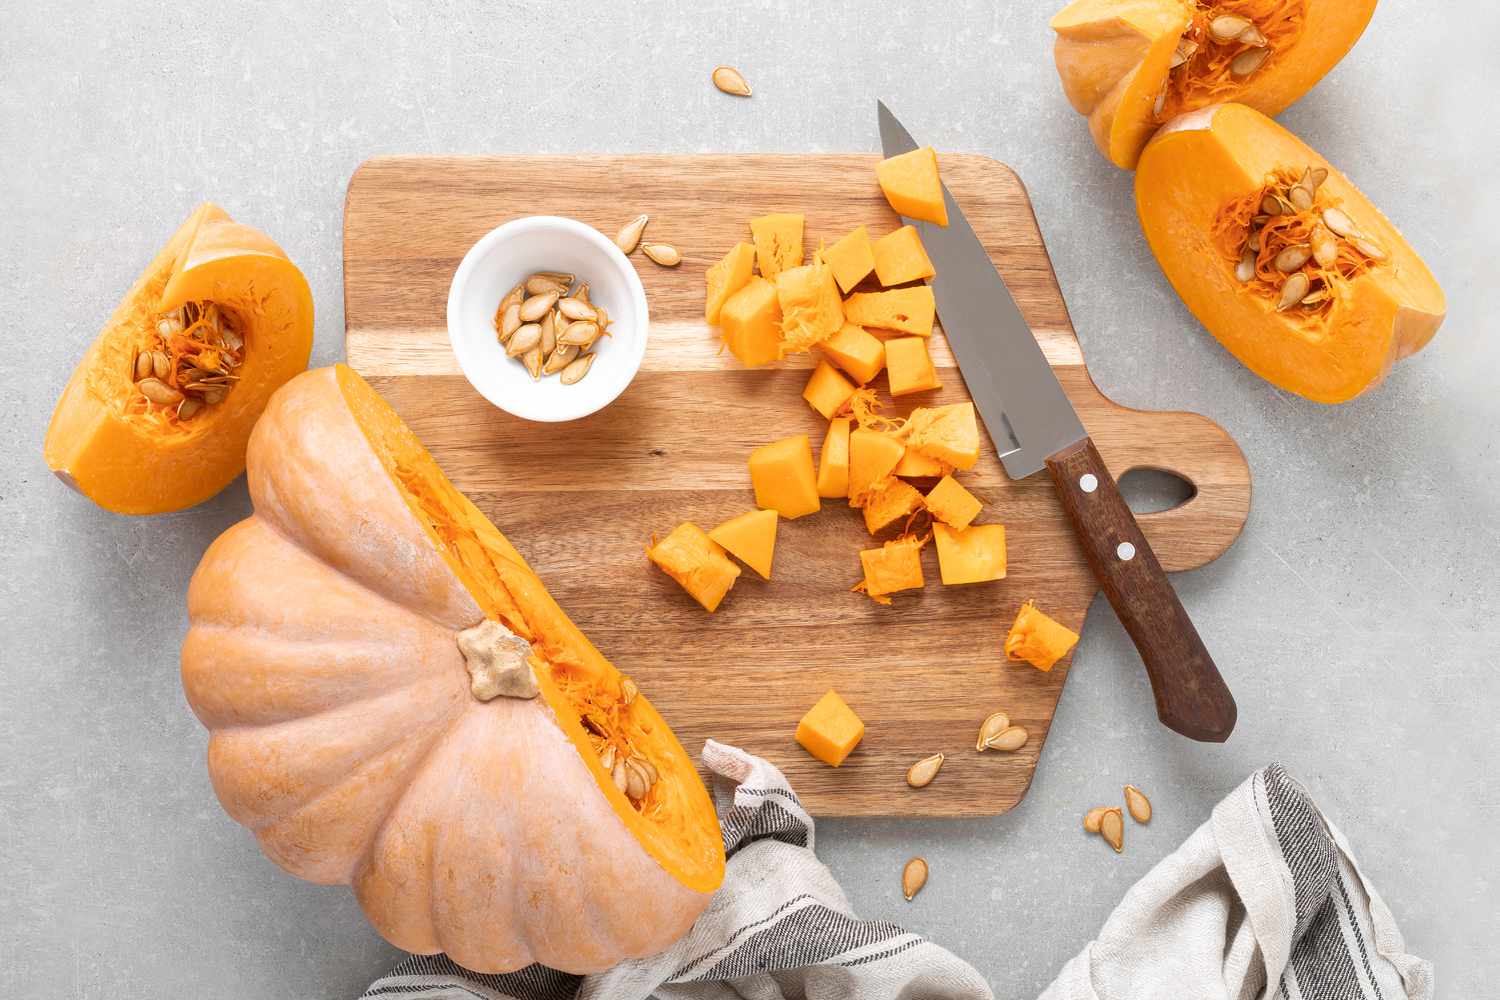
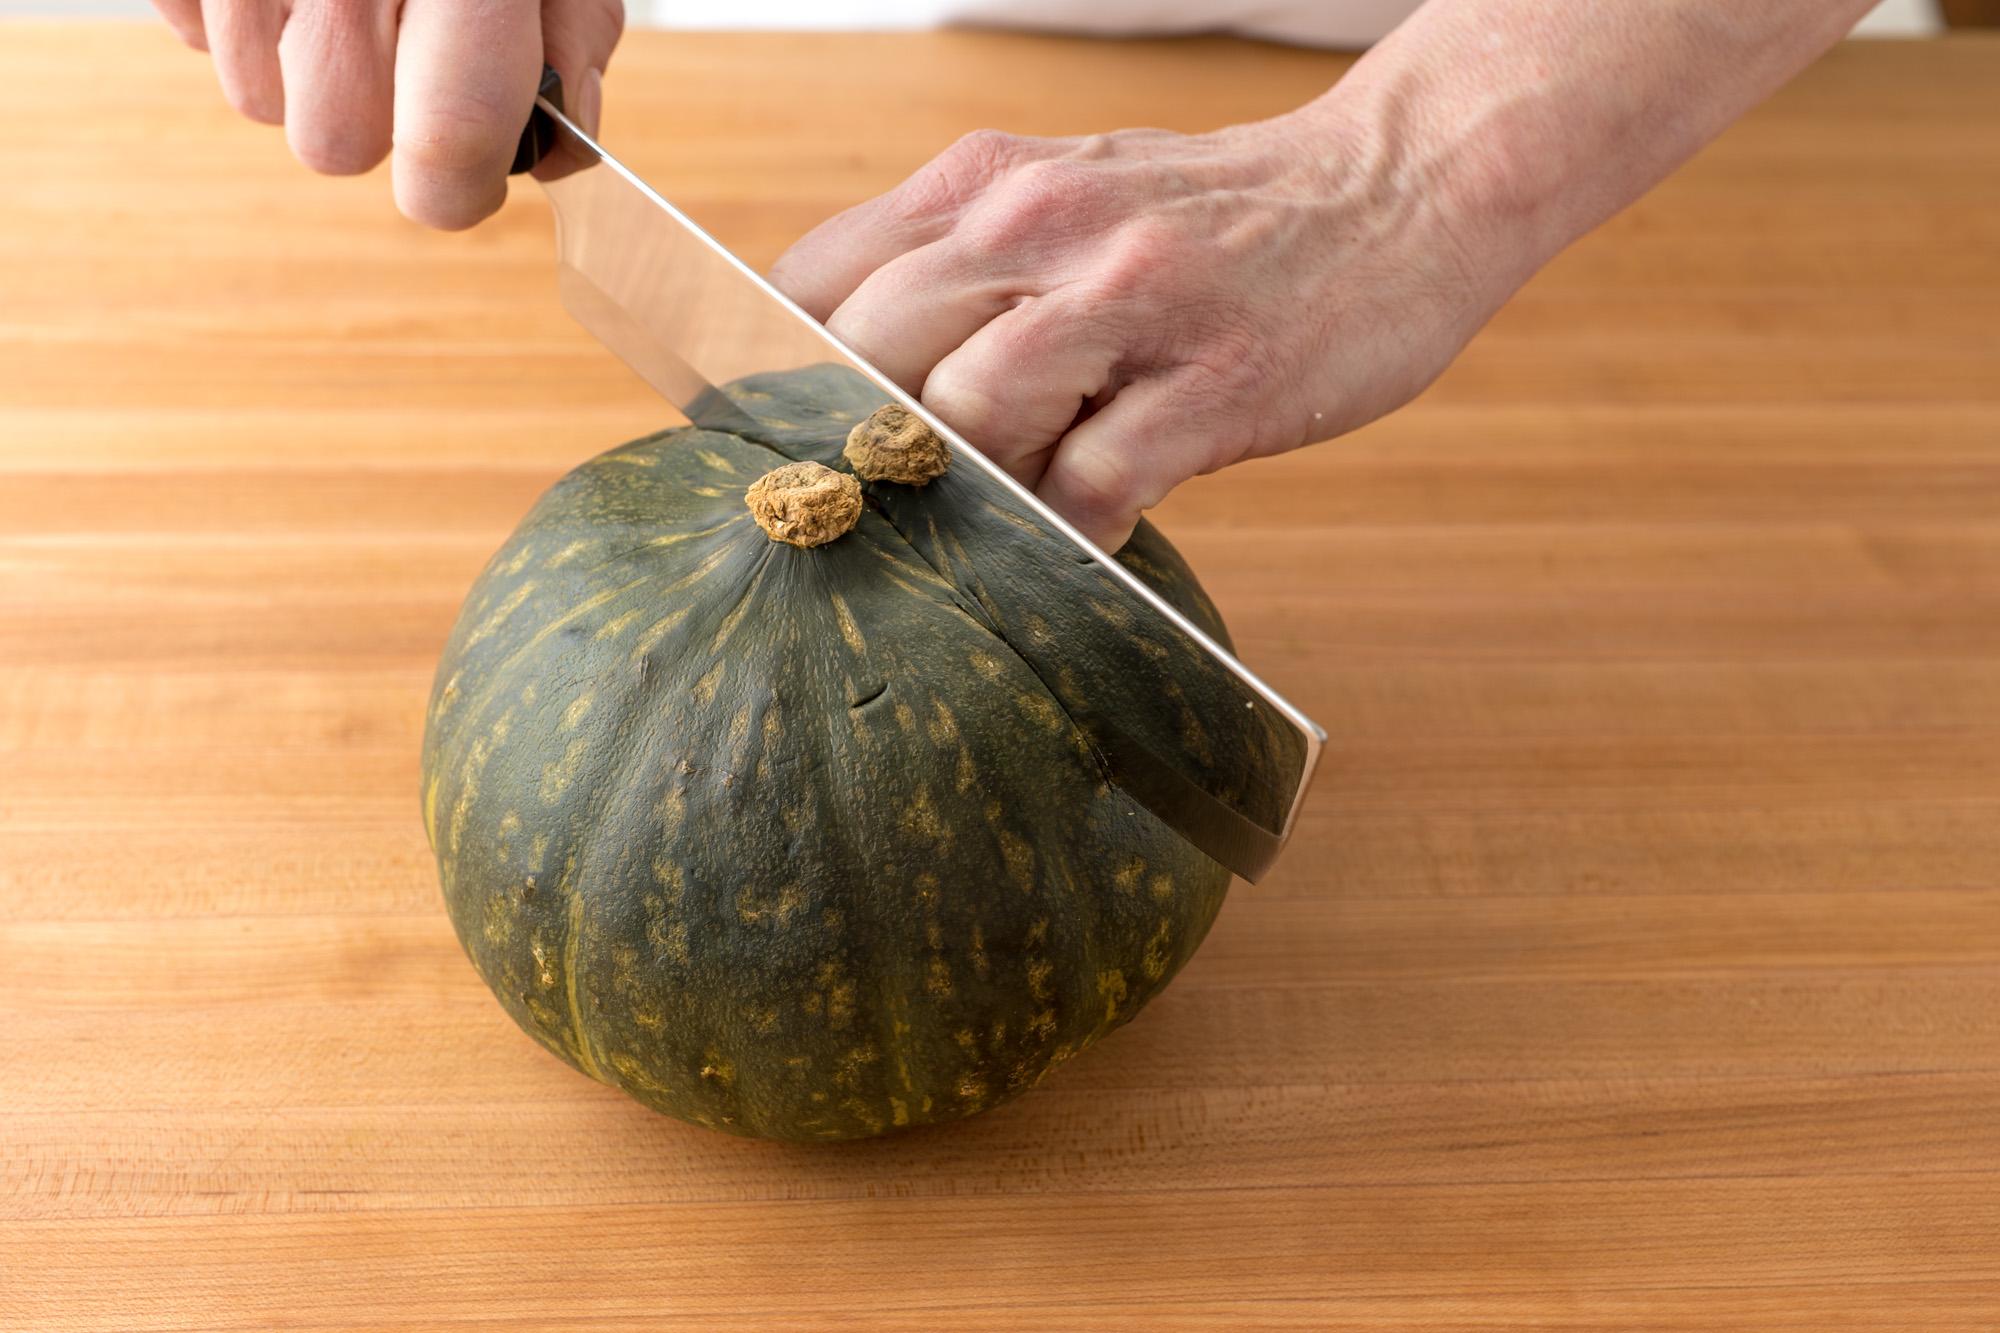
- Start by washing the squash to remove any dirt or debris from the skin.
- Using a sharp knife and cutting board, carefully cut the squash into manageable pieces, removing the seeds and fibrous strands from the center.
- Bring a large pot of water to a rolling boil on the stove.
- Once the water is boiling, carefully lower the squash pieces into the pot using a slotted spoon.
- Allow the squash to blanch for 2-3 minutes, depending on the size of the pieces.
- After blanching, quickly remove the squash from the boiling water and transfer it to a bowl of ice water to stop the cooking process.
Freezing the Squash
After blanching, it’s time to prepare the squash for freezing.
- Once the blanched squash has cooled in the ice water, remove it and pat it dry with a clean kitchen towel.
- Divide the squash into portion sizes that you are likely to use in recipes, such as 1- or 2-cup increments.
- Place the portioned squash into freezer-safe containers or bags, removing as much air as possible to prevent freezer burn.
- Label the containers or bags with the date and contents using a marker.
- Place the containers or bags in the freezer, making sure to leave some space around them for air circulation.
Using Frozen Squash
When you’re ready to use your frozen winter squash, simply remove the desired amount from the freezer and allow it to thaw in the refrigerator overnight. The squash can then be used in your favorite recipes, such as soups, casseroles, or as a simple side dish.
By blanching and freezing winter squash, you can enjoy the flavors of the harvest all year long. Whether you’re a seasoned gardener or just someone who loves to take advantage of seasonal produce, this preservation method is a great way to make the most of your winter squash bounty.
So, next time you find yourself with an abundance of winter squash, don’t let it go to waste. Take the time to blanch and freeze it, and you’ll be rewarded with delicious, nutritious squash to enjoy well beyond the fall season.
Was this page helpful?
Related Articles