Mastering the Art of Baking Sourdough Bread in a Dutch Oven
There’s something truly magical about the process of baking sourdough bread. From the moment you mix the flour and water to the final product emerging from the oven, the entire experience is a labor of love. And when it comes to achieving that perfect crust and airy crumb, using a Dutch oven can make all the difference.
Gathering Your Ingredients
Before you begin, it’s important to gather all the necessary ingredients for your sourdough bread. You’ll need flour, water, salt, and of course, a sourdough starter. The quality of your ingredients will directly impact the flavor and texture of your bread, so be sure to use the best you can find.
Preparing the Dough
Once you have your ingredients ready, it’s time to mix them together to form the dough. Start by combining the flour, water, salt, and sourdough starter in a large mixing bowl. Use your hands to gently knead the dough until it comes together. Then, cover the bowl with a clean kitchen towel and let the dough rest at room temperature for several hours, allowing it to ferment and develop its signature tangy flavor.
Shaping and Proofing
After the initial fermentation, it’s time to shape the dough and let it proof. Gently shape the dough into a round loaf, being careful not to deflate it too much. Place the shaped dough into a well-floured proofing basket or a bowl lined with a kitchen towel. Cover it and let it proof for several hours, or until it has doubled in size.
Preheating Your Dutch Oven
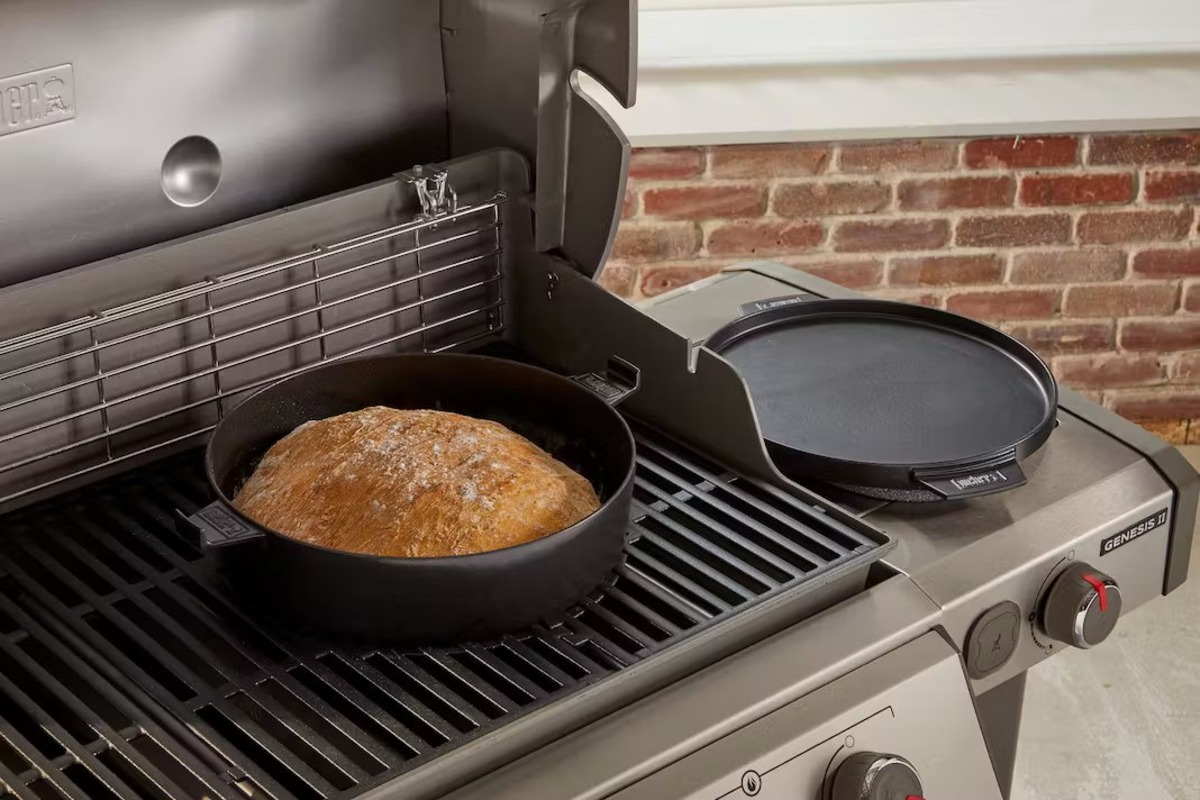
While the dough is proofing, preheat your Dutch oven in the oven at the highest temperature for at least 30 minutes. The intense heat from the preheated Dutch oven will help create a beautiful crust on your sourdough bread.
Baking Your Sourdough Bread
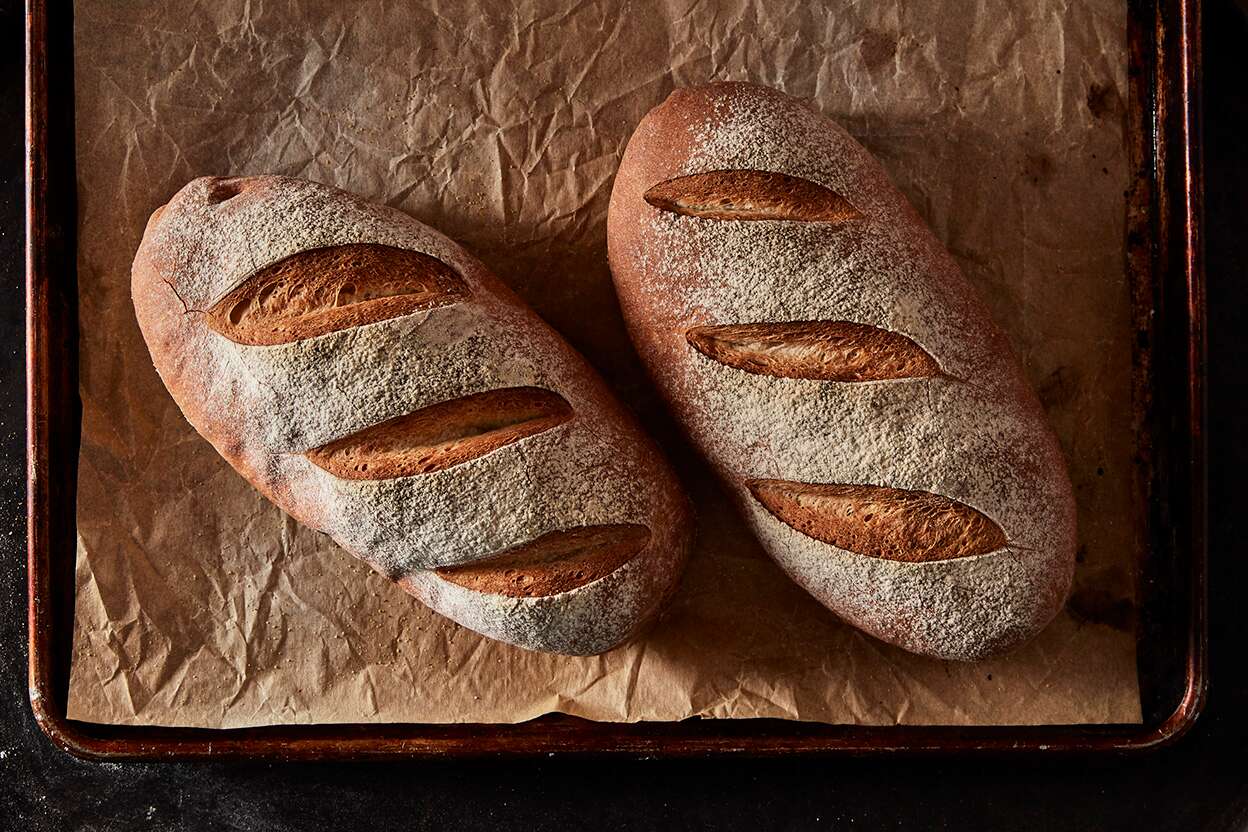
Once the dough has finished proofing and the Dutch oven is preheated, it’s time to bake your sourdough bread. Carefully remove the hot Dutch oven from the oven and place the dough inside. Use a sharp knife to score the top of the dough to allow for expansion during baking. Then, cover the Dutch oven with its lid and place it back in the oven.
Bake the bread covered for the first 20 minutes to trap steam and help the bread rise, then uncover and bake for an additional 20-30 minutes, or until the crust is golden brown and the bread sounds hollow when tapped on the bottom.
Cooling and Enjoying
Once your sourdough bread is finished baking, remove it from the Dutch oven and place it on a wire rack to cool. It’s important to allow the bread to cool completely before slicing into it, as this will help the crumb set and prevent it from becoming gummy.
When the bread has cooled, slice into it and savor the fruits of your labor. Whether enjoyed on its own, with a smear of butter, or dipped into a bowl of soup, there’s nothing quite like the satisfaction of baking your own sourdough bread in a Dutch oven.
So, the next time you’re craving a freshly baked loaf, why not try your hand at baking sourdough bread in a Dutch oven? With a little time, patience, and the right technique, you’ll be well on your way to creating bakery-worthy bread right in your own kitchen.
Was this page helpful?
Read Next: How To Bake Special Brownies
Related Articles