How to Bake a Delicious Cake in a Silicone Pan
Are you ready to bake a scrumptious cake in a silicone pan? Baking a cake in a silicone pan can be a game-changer, as it offers many benefits such as easy release, flexibility, and durability. Whether you’re a baking enthusiast or a beginner, using a silicone pan can make the cake-baking process a breeze. Here’s a step-by-step guide to help you bake a delectable cake in a silicone pan.
Ingredients You’ll Need:
- 2 cups all-purpose flour
- 1 ½ cups granulated sugar
- 1 teaspoon baking powder
- ½ teaspoon baking soda
- ½ teaspoon salt
- 1 cup buttermilk
- ½ cup vegetable oil
- 2 large eggs
- 2 teaspoons vanilla extract
Step 1: Preparing the Silicone Pan
Before you start mixing the ingredients, it’s essential to prepare your silicone pan. Even though silicone pans are non-stick, it’s a good idea to lightly grease the pan with butter or cooking spray to ensure easy release of the cake after baking.
Step 2: Mixing the Batter
In a large mixing bowl, combine the all-purpose flour, granulated sugar, baking powder, baking soda, and salt. In a separate bowl, whisk together the buttermilk, vegetable oil, eggs, and vanilla extract. Gradually add the wet ingredients to the dry ingredients, and mix until the batter is smooth and free of lumps.
Step 3: Pouring the Batter into the Pan
Once the batter is ready, pour it into the prepared silicone pan. The flexibility of the silicone pan makes it easy to pour the batter and ensures even distribution for a perfectly shaped cake.
Step 4: Baking the Cake
Preheat your oven to 350°F (175°C) and place the filled silicone pan in the center of the oven. Bake the cake for 30-35 minutes or until a toothpick inserted into the center comes out clean. The silicone pan’s heat resistance allows for even baking and browning of the cake.
Step 5: Cooling and Releasing the Cake
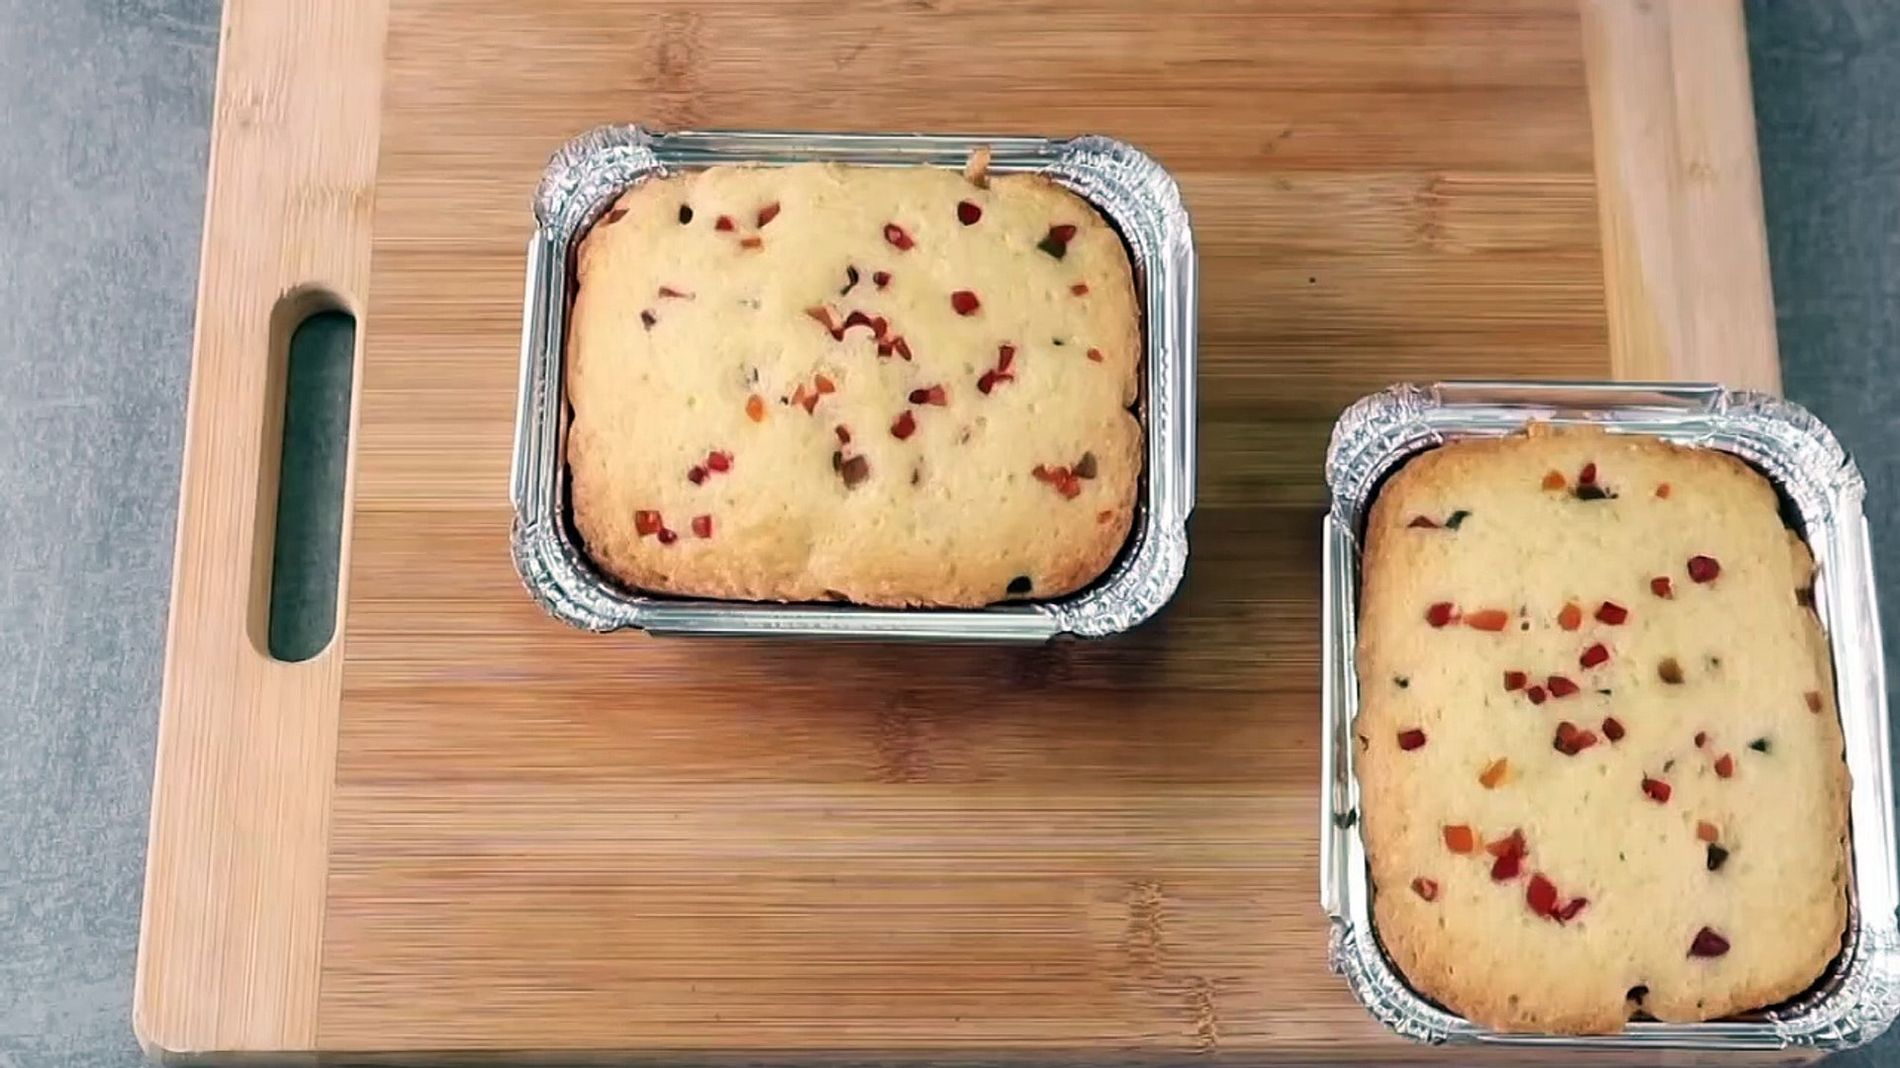
Once the cake is baked, remove the silicone pan from the oven and allow it to cool on a wire rack for 10-15 minutes. The flexibility of the silicone pan makes it easy to release the cake by gently pushing up from the bottom. The cake should easily pop out without sticking to the pan.
Step 6: Decorating and Serving
Now that your cake is baked and released from the silicone pan, it’s time to get creative with decorating. Whether you prefer a simple dusting of powdered sugar or elaborate frosting and decorations, your cake is ready to be served and enjoyed!
Baking a cake in a silicone pan is a convenient and enjoyable experience, and the results are sure to impress. With the right ingredients and proper techniques, you can create a delectable cake that’s perfect for any occasion. So, grab your silicone pan and get ready to bake a mouthwatering cake that will delight your taste buds!
Was this page helpful?
Read Next: How To Bake Fresh Chickpeas In The Oven
Related Articles