For Ramen Geeks Only: How To Make Low-Hydration Noodles At Home
For Ramen Geeks Only: How To Make Low-Hydration Noodles At Home
For Ramen Geeks Only: How to Make Low-Hydration Noodles at Home
Calling all ramen enthusiasts! If you consider yourself a ramen geek and love experimenting with different noodle recipes, then you’re in for a treat. In this post, we’ll dive into the fascinating world of low-hydration noodles and show you how to make them right in the comfort of your own kitchen.
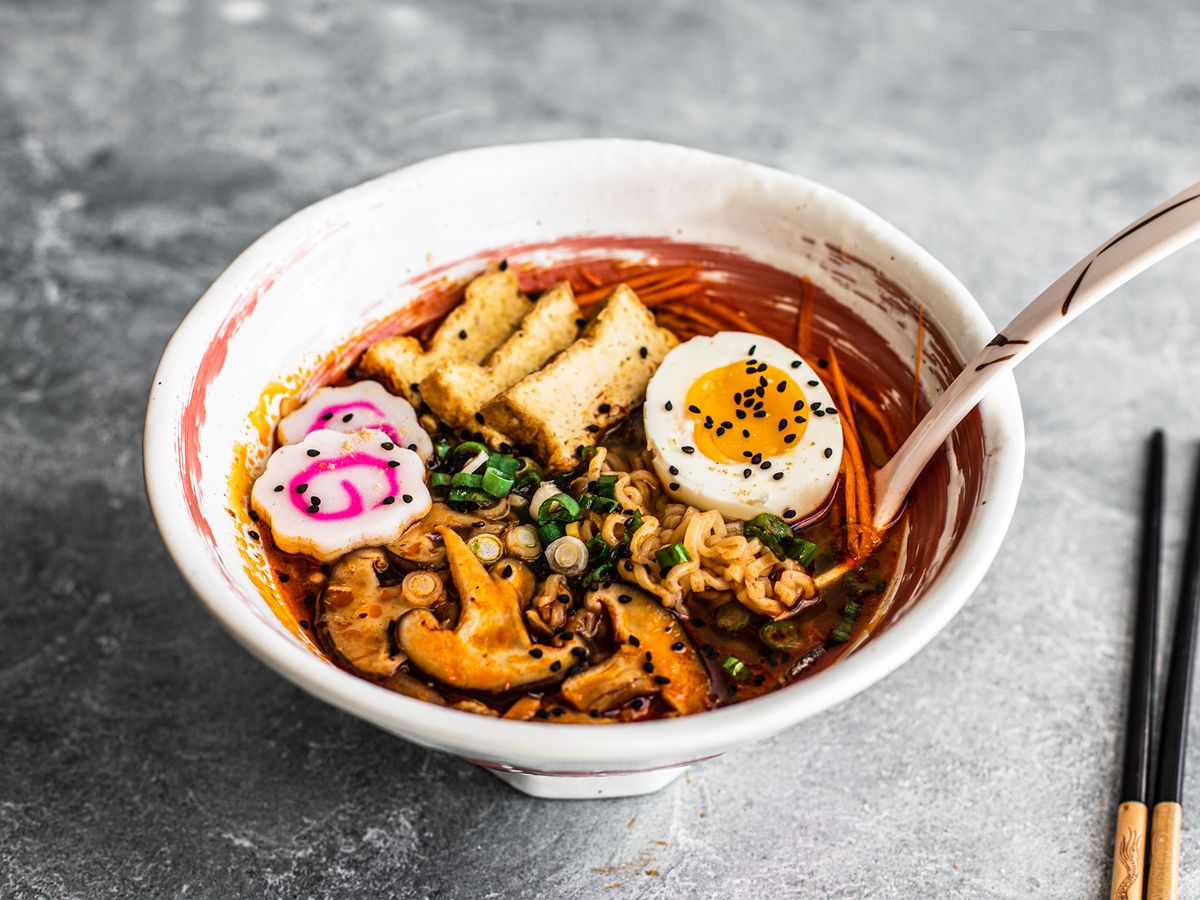
Low-hydration noodles, often referred to as “kansui noodles,” are characterized by their firm and chewy texture. Unlike regular noodles that have a higher water content, these noodles have a lower moisture level, resulting in a unique bite that’s perfect for ramen dishes.
Gather Your Ingredients
Before we get started, let’s compile a list of the key ingredients you’ll need to make your own low-hydration noodles:
200 grams of bread flour
40 grams of kansui (alkaline water) – *available at specialty Asian grocery stores or online*
6 grams of salt
1 tablespoon of vegetable oil
Step-by-Step Guide
Now that we have our ingredients ready, let’s dive into the step-by-step process of making low-hydration noodles:
In a large mixing bowl, combine the bread flour, kansui, and salt. Mix them together until well combined.
Add the vegetable oil to the mixture and continue to knead the dough until it forms a smooth and elastic ball.
Cover the dough with a clean cloth and let it rest for about 30 minutes to allow the gluten to relax.
Dust your work surface with some flour and roll out the dough using a rolling pin. Aim for a thickness of about 1-2 mm.
Once the dough is rolled out, dust it with more flour to prevent sticking and fold it into thirds.
Using a sharp knife, slice the folded dough into thin noodle strands. You can adjust the width of the noodles according to your preference.
Unfold the noodles and give them a gentle toss to separate them.
Bring a large pot of water to a boil and add a pinch of salt. Cook the noodles for about 2-3 minutes or until they reach your desired level of doneness. Remember, low-hydration noodles should be slightly firmer than regular noodles.
Drain the noodles and rinse them with cold water to remove any excess starch. Now they’re ready to be used in your favorite ramen dish!
Enjoy the Fruits of Your Labor
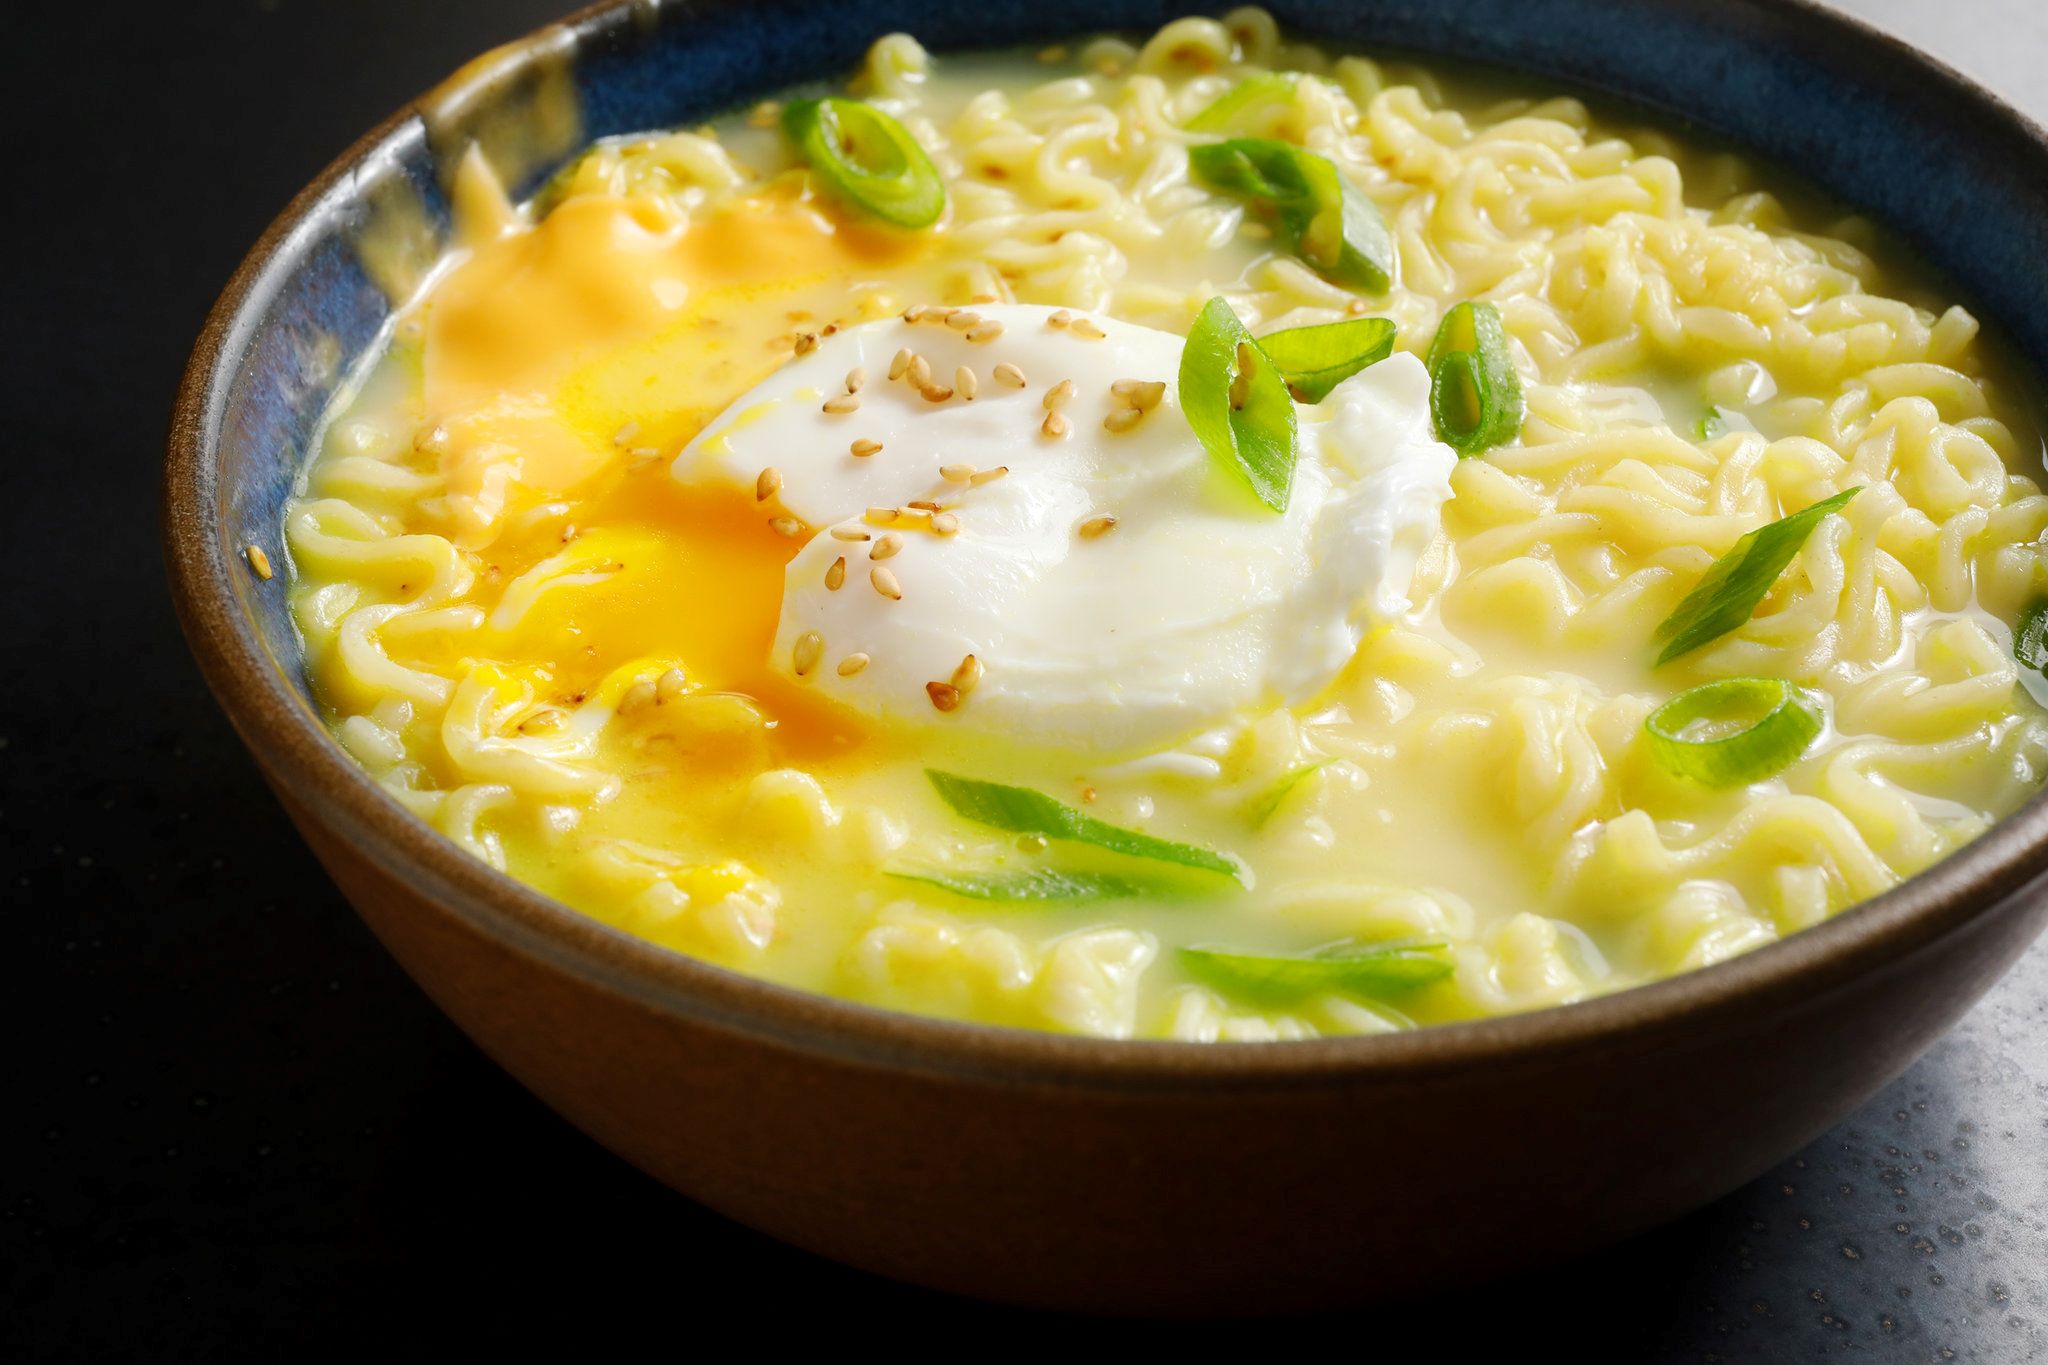
Congratulations, fellow ramen geek! You’ve successfully made your own batch of low-hydration noodles. Now it’s time to unleash your creativity and pair them with a flavorful broth, protein, and a variety of toppings to create the ultimate bowl of homemade ramen.
Remember, making ramen noodles from scratch can be a labor of love, but the end result is well worth the effort. So go ahead, gather your ingredients, roll up your sleeves, and embark on a delicious ramen-making adventure. Your taste buds will thank you!
Want to learn more about making your own low-hydration ramen noodles at home? Join the discussion and share your experiences in the Cooking Techniques forum!
FAQ:
What is the significance of low-hydration noodles in ramen?
Low-hydration noodles are essential in creating authentic ramen because they have a chewy and firm texture that stands up well to the rich and flavorful broth. These noodles have a lower water content, which gives them a unique mouthfeel and allows them to maintain their texture even when soaked in soup for an extended period.
How can I achieve low-hydration noodles at home?
To make low-hydration noodles at home, you’ll need to adjust the water content in the dough. By using less water, you can create a stiffer dough that will result in a firmer and chewier noodle. It’s important to strike the right balance, as too little water can make the dough difficult to work with.
What type of flour should I use for low-hydration noodles?
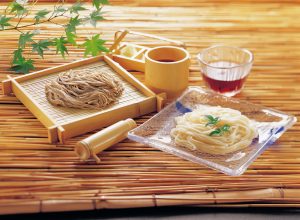
For low-hydration noodles, it is recommended to use a high-protein flour such as bread flour or a strong all-purpose flour. These flours have a higher gluten content, which helps to create the desired chewy texture. Avoid using low-protein flours like cake flour, as they will result in softer, less chewy noodles.
Can I use a pasta maker to make low-hydration noodles?
Yes, you can use a pasta maker to make low-hydration noodles. However, keep in mind that the dough for low-hydration noodles is usually stiffer and harder to work with than regular pasta dough. You may need to adjust the thickness settings on your pasta maker accordingly and take extra care when rolling and cutting the noodles.
How long should I let the low-hydration noodles dry before cooking?
Drying time for low-hydration noodles can vary based on factors such as humidity and thickness of the noodles. Generally, it is recommended to let the noodles dry for 12 to 24 hours. They should be completely dry and firm to the touch before cooking to ensure that they maintain their texture when boiled.
Are there any alternative methods to dry the low-hydration noodles?
Yes, besides air-drying, you can also use a dehydrator or a low-temperature oven to dry the low-hydration noodles. A dehydrator offers more control over the drying process, while a low-temperature oven set to around 150°F (65°C) can simulate the drying process. Whichever method you choose, ensure that the noodles dry thoroughly and evenly.
Can I freeze the low-hydration noodles for later use?
Yes, you can freeze the low-hydration noodles if you have leftovers or want to prepare them in advance. Place the dried noodles in an airtight container or freezer bag and store them in the freezer for up to 2 months. To cook the frozen noodles, simply add them directly to boiling water and increase the cooking time slightly.
Was this page helpful?
YesNo
Related Articles
How To Eat Hot Ramen
The Quick And Easy Way To Make Flavor-Packed Korean Ramen
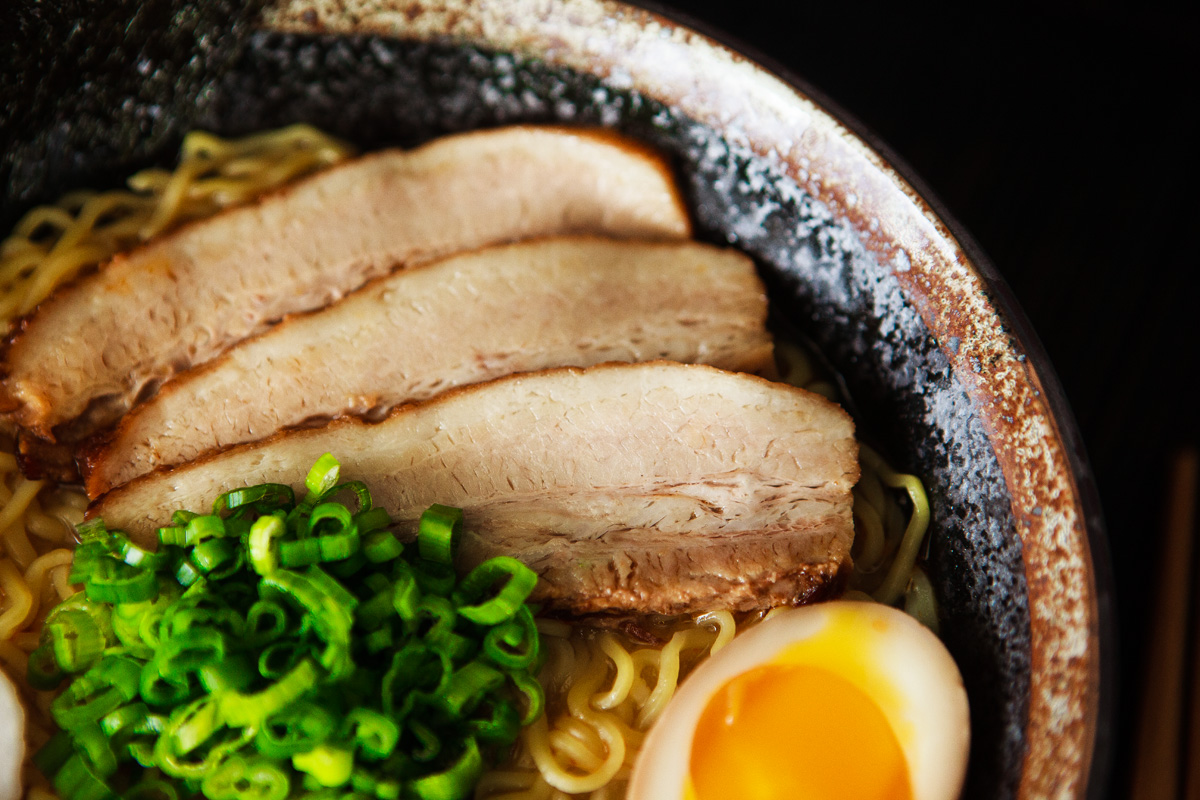
How To Cook Pork For Ramen
How To Eat Healthy Ramen
Cool Off With Cold Ramen: How To Make Hiyashi Chuka At Home