Discover the Secrets of Vacuum Sealing with Foodsaver
Welcome to the ultimate guide on how to vacuum seal a bag with Foodsaver! Vacuum sealing is a fantastic way to preserve the freshness and flavor of your food, and Foodsaver makes the process quick and easy. Whether you’re a meal prepper, a home cook, or just looking to reduce food waste, vacuum sealing with Foodsaver is a game changer.
Why Vacuum Seal with Foodsaver?
Vacuum sealing with Foodsaver is a great way to extend the shelf life of your food. By removing air from the packaging, you can prevent freezer burn and keep your food fresh for longer. Not only that, but vacuum sealing also helps to preserve the nutrients and flavors of your food, so you can enjoy them at their best.
Step-by-Step Guide to Vacuum Sealing with Foodsaver
Now that you understand the benefits, let’s dive into the step-by-step process of vacuum sealing with Foodsaver.
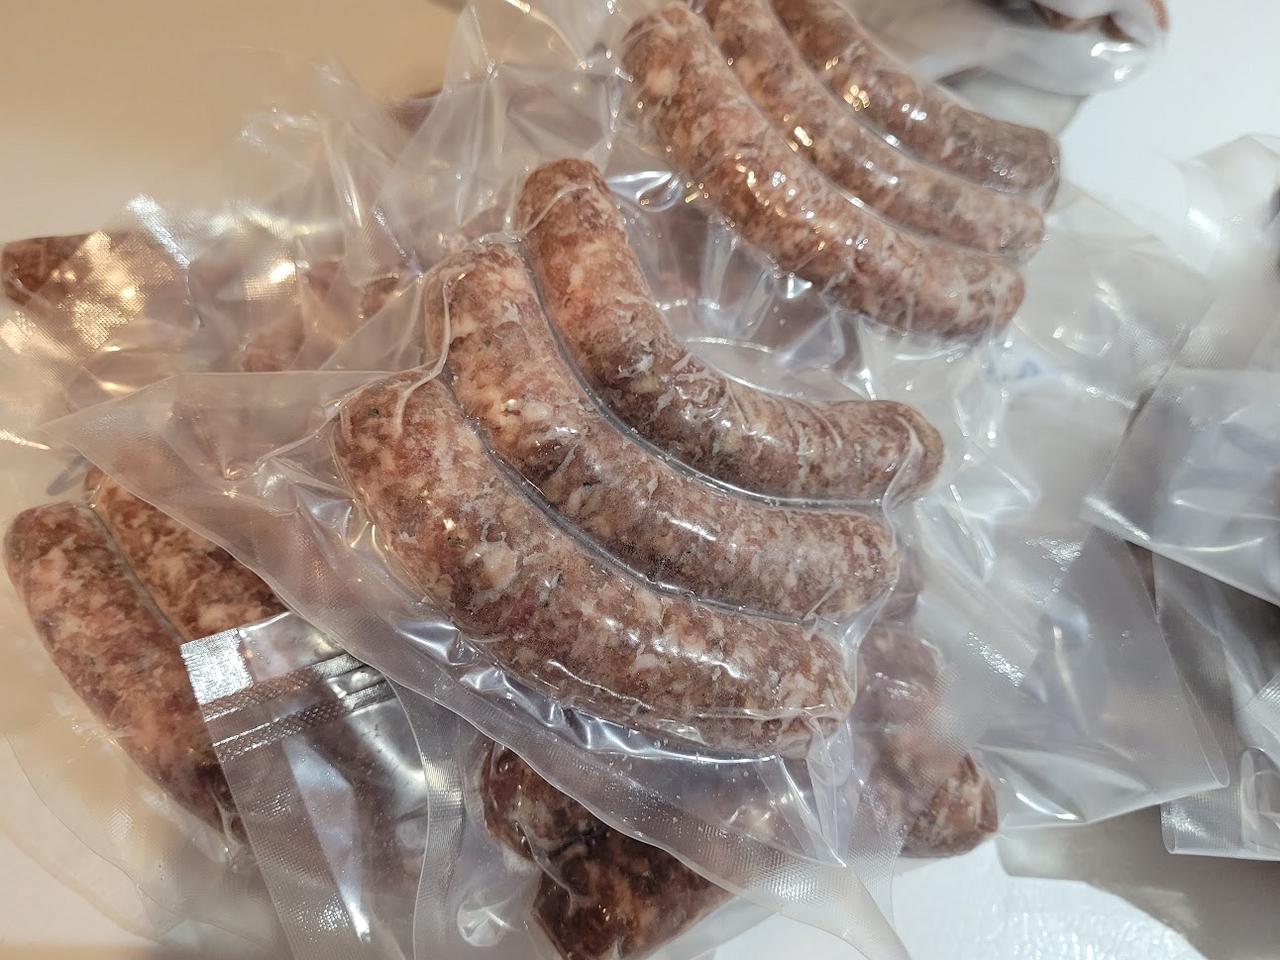
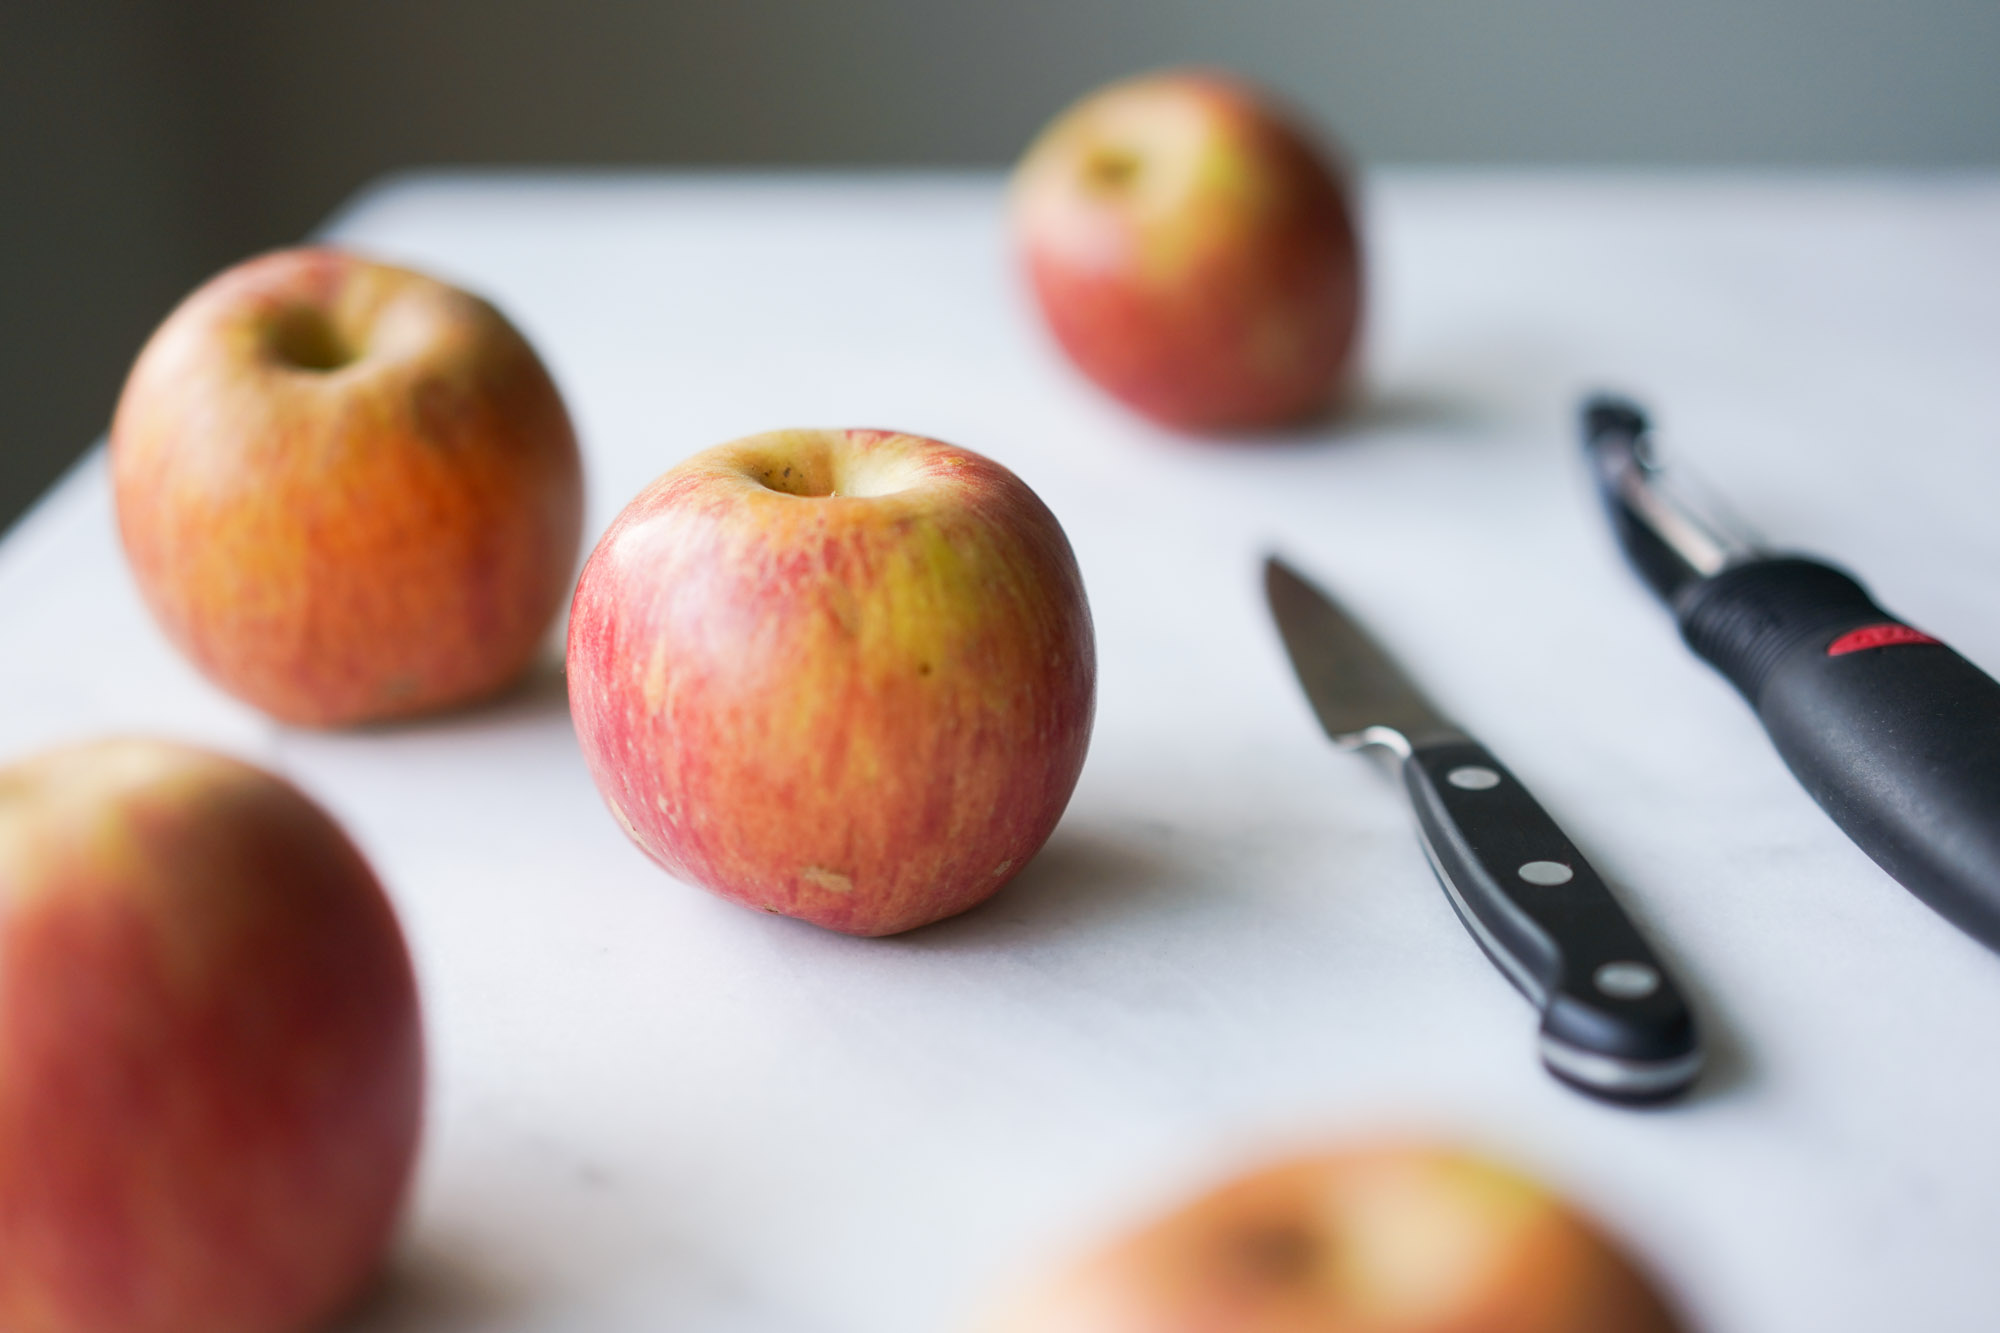
Step 1: Prepare Your Food
- Before you start vacuum sealing, make sure your food is clean and dry.
- Cut the food into portions that you want to seal.
Step 2: Prepare the Bag
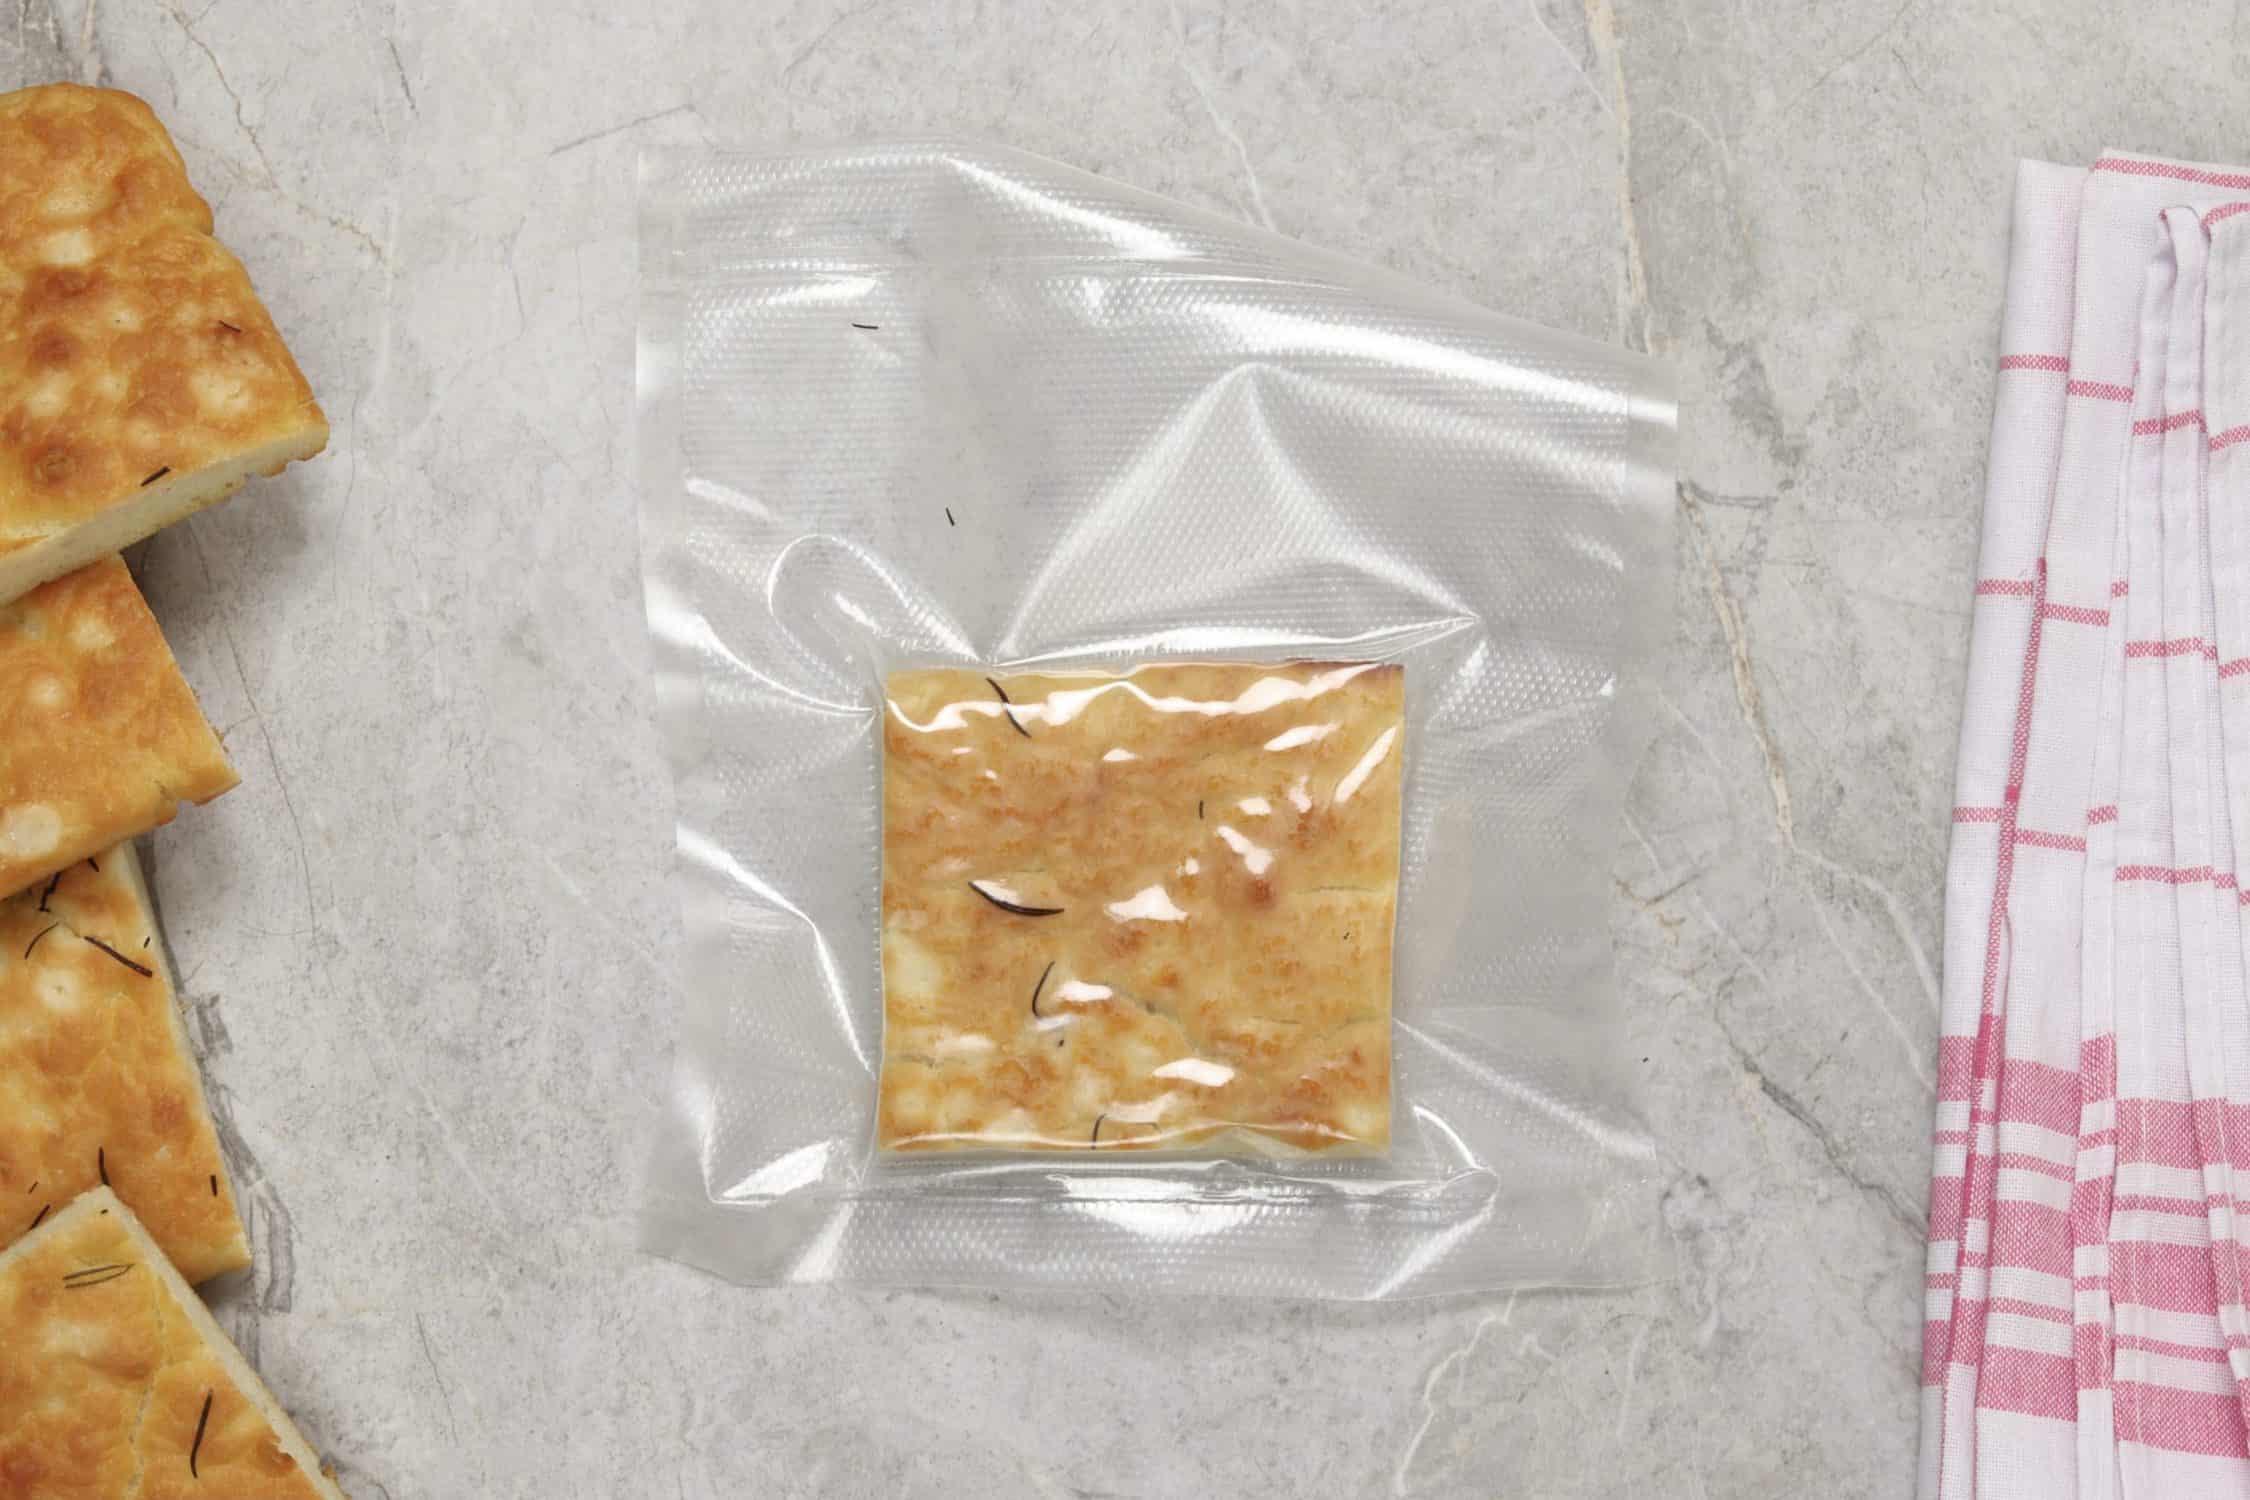
- Open the Foodsaver bag and place your food inside.
- Make sure to leave enough space at the top of the bag for sealing.
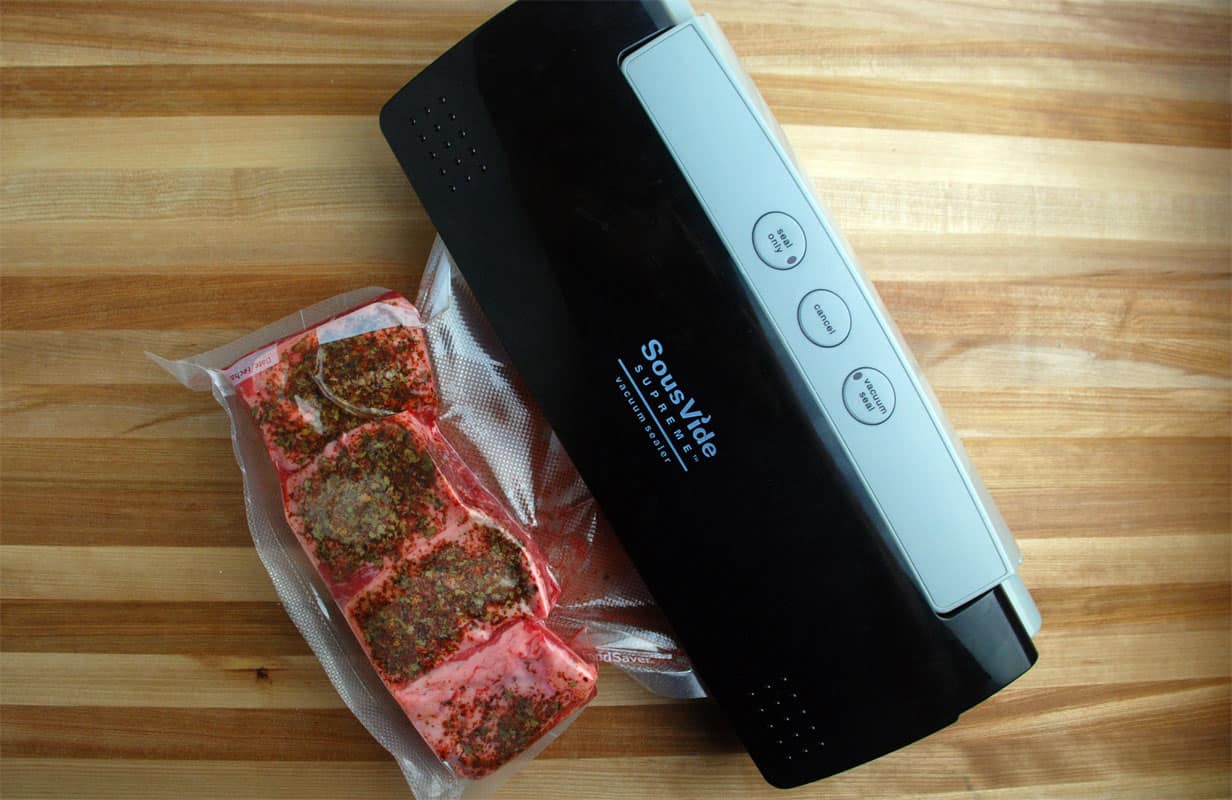
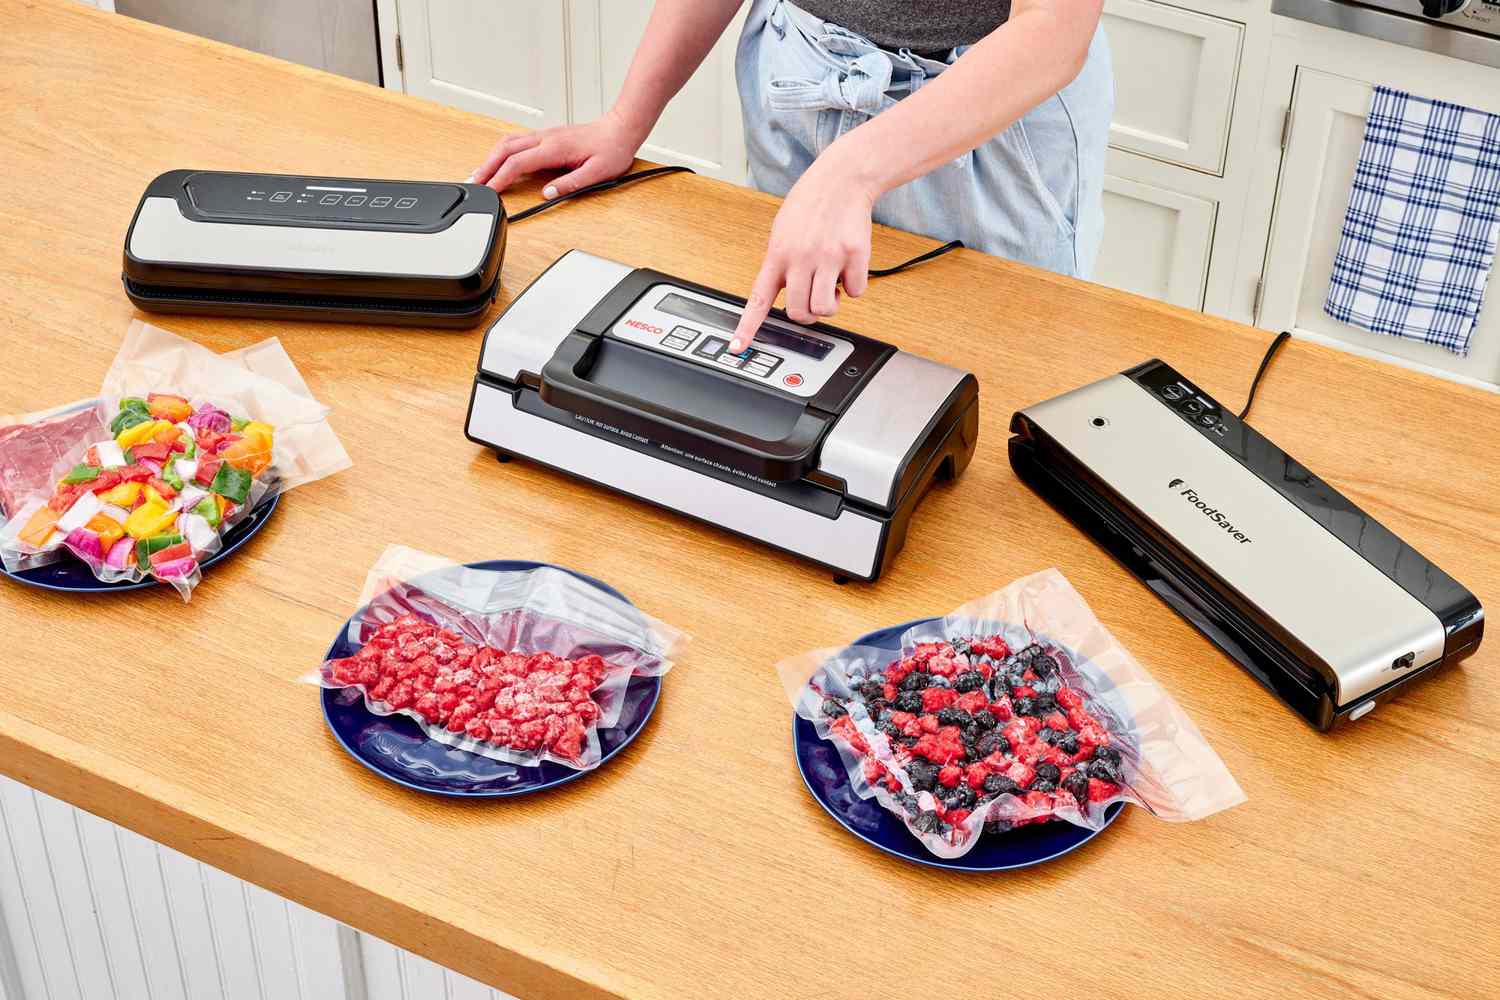
Step 3: Seal the Bag
- Place the open end of the bag into the Foodsaver vacuum sealing channel.
- Close the Foodsaver lid and press the "Vacuum & Seal" button.
- Wait for the vacuuming and sealing process to complete.
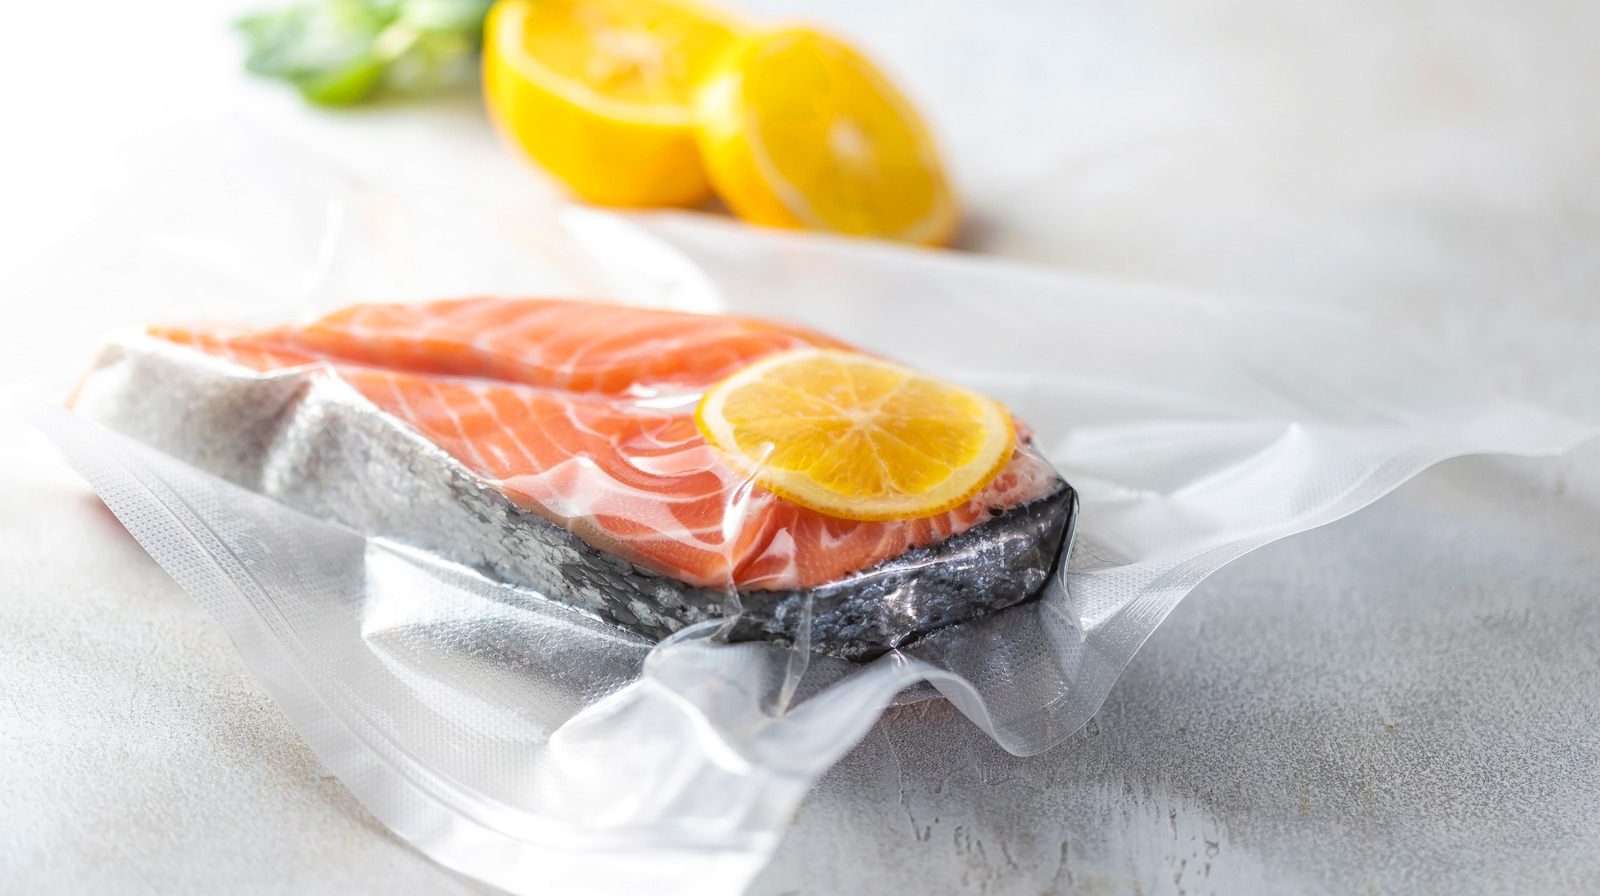
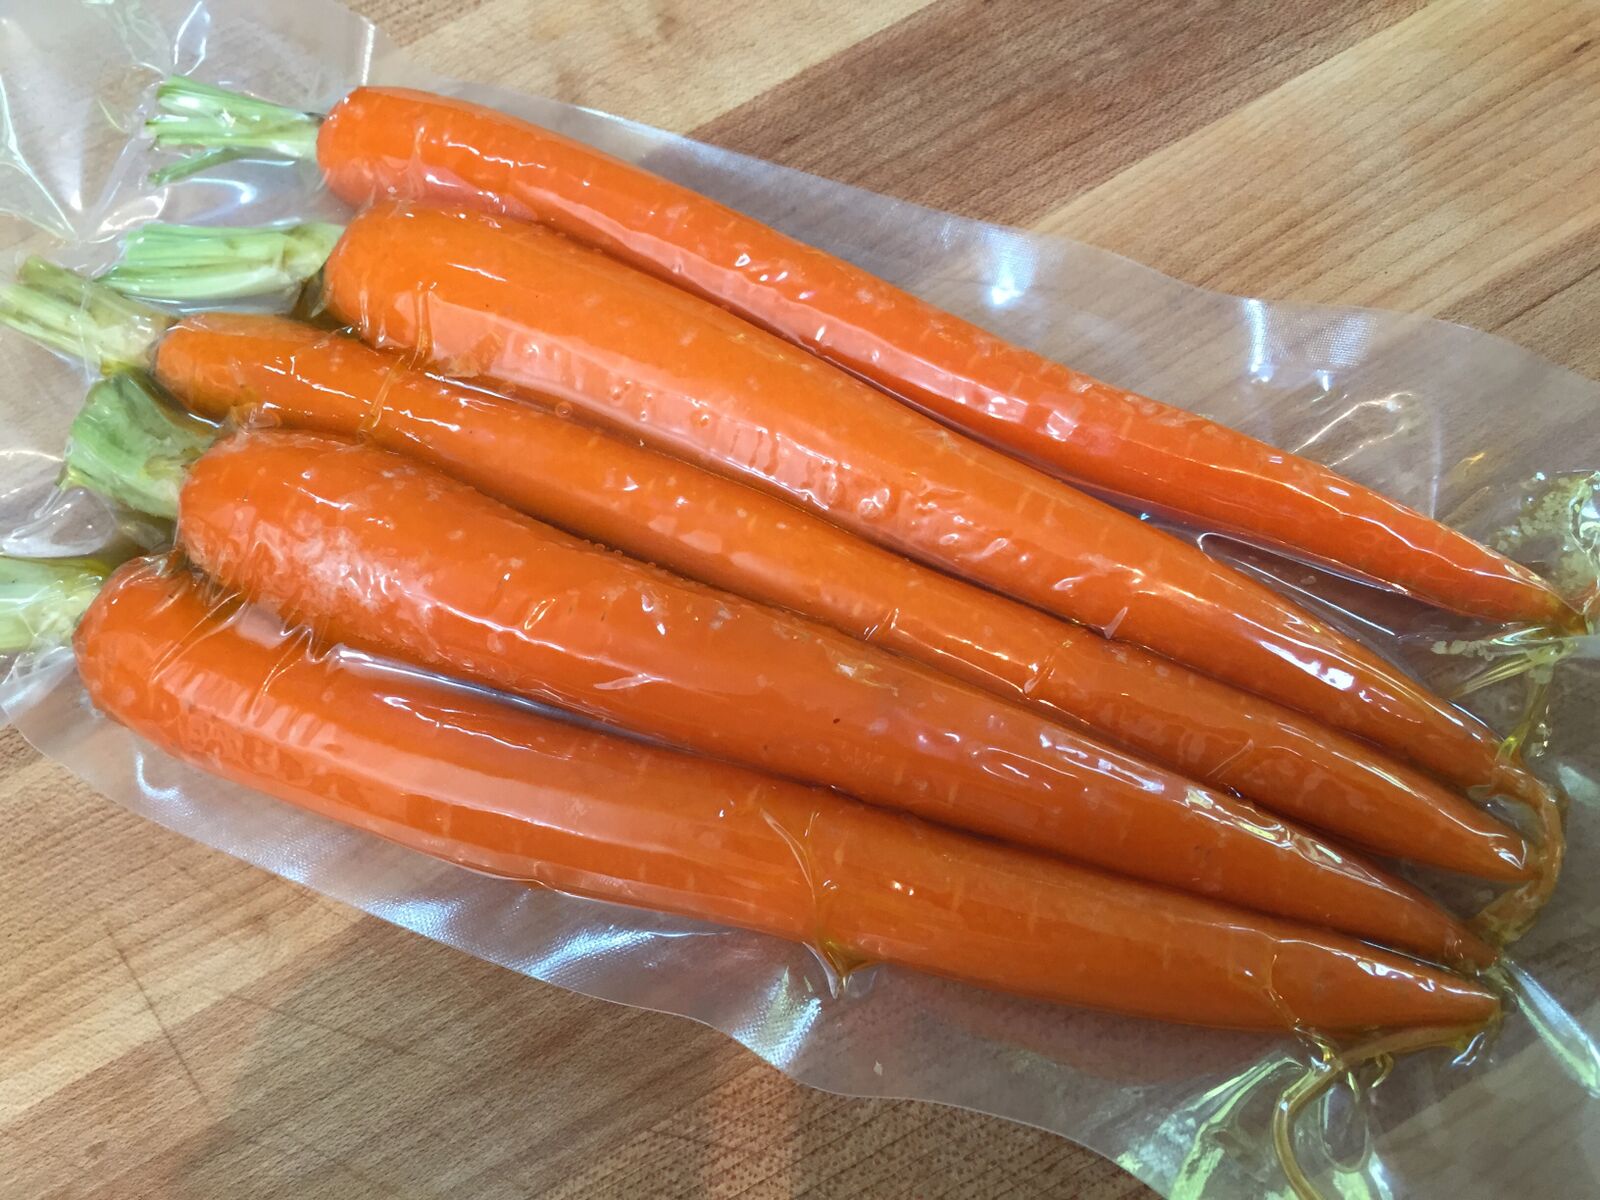
Step 4: Store or Freeze
- Once the bag is sealed, you can store it in the refrigerator or freezer.
- Enjoy the extended freshness of your food!
Tips for Successful Vacuum Sealing
While vacuum sealing with Foodsaver is straightforward, there are a few tips to keep in mind for the best results:
- Ensure the bag is clean and dry before sealing.
- Leave enough space at the top of the bag to create a proper seal.
- Use the appropriate setting for the type of food you are sealing.
- Store the sealed bags in a cool, dark place for optimal freshness.
Conclusion
Vacuum sealing with Foodsaver is a fantastic way to preserve the quality and freshness of your food. By following the simple steps outlined in this guide, you can enjoy the benefits of extended shelf life and minimized food waste. So, grab your Foodsaver and start vacuum sealing your way to fresher, tastier meals!
Was this page helpful?
Read Next: How To Vacuum Seal And Freeze Peaches
Related Articles