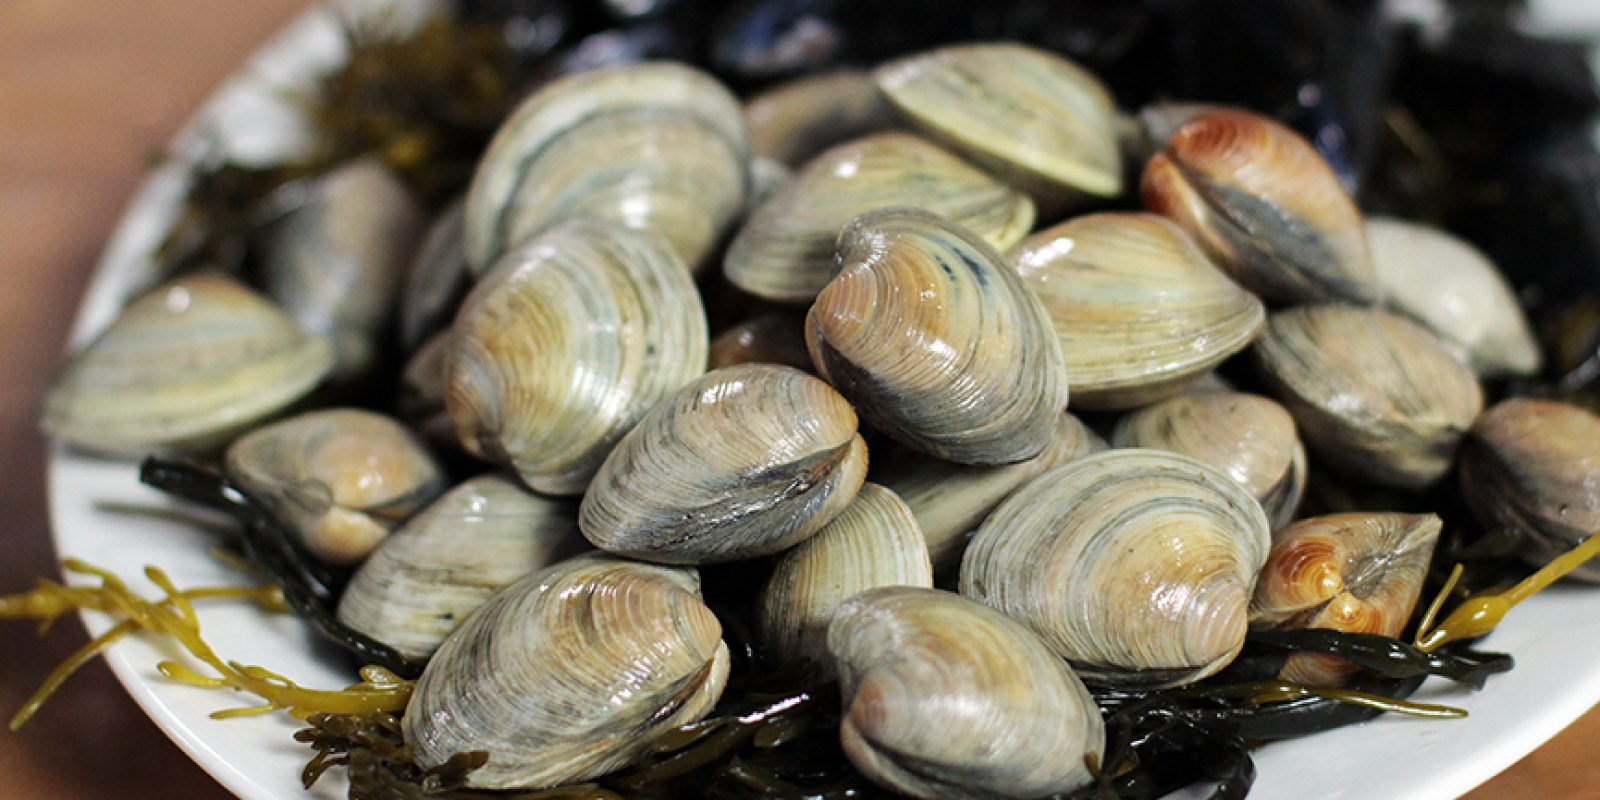
Shucking Cherrystone Clams: A Step-By-Step Guide
Cherrystone clams are a delicious and versatile seafood option that can be enjoyed in a variety of dishes, from clam chowder to pasta. However, before you can use them in your favorite recipes, you’ll need to know how to properly shuck them. Shucking clams can seem daunting at first, but with the right technique and a little practice, you’ll be able to do it with ease. In this guide, we’ll walk you through the process of shucking cherrystone clams step by step.
What You’ll Need
Before you get started, make sure you have the following tools on hand:
- A sturdy pair of gloves to protect your hands
- A clam knife or a small, sharp knife with a pointed tip
- A clean towel or cloth to hold the clams
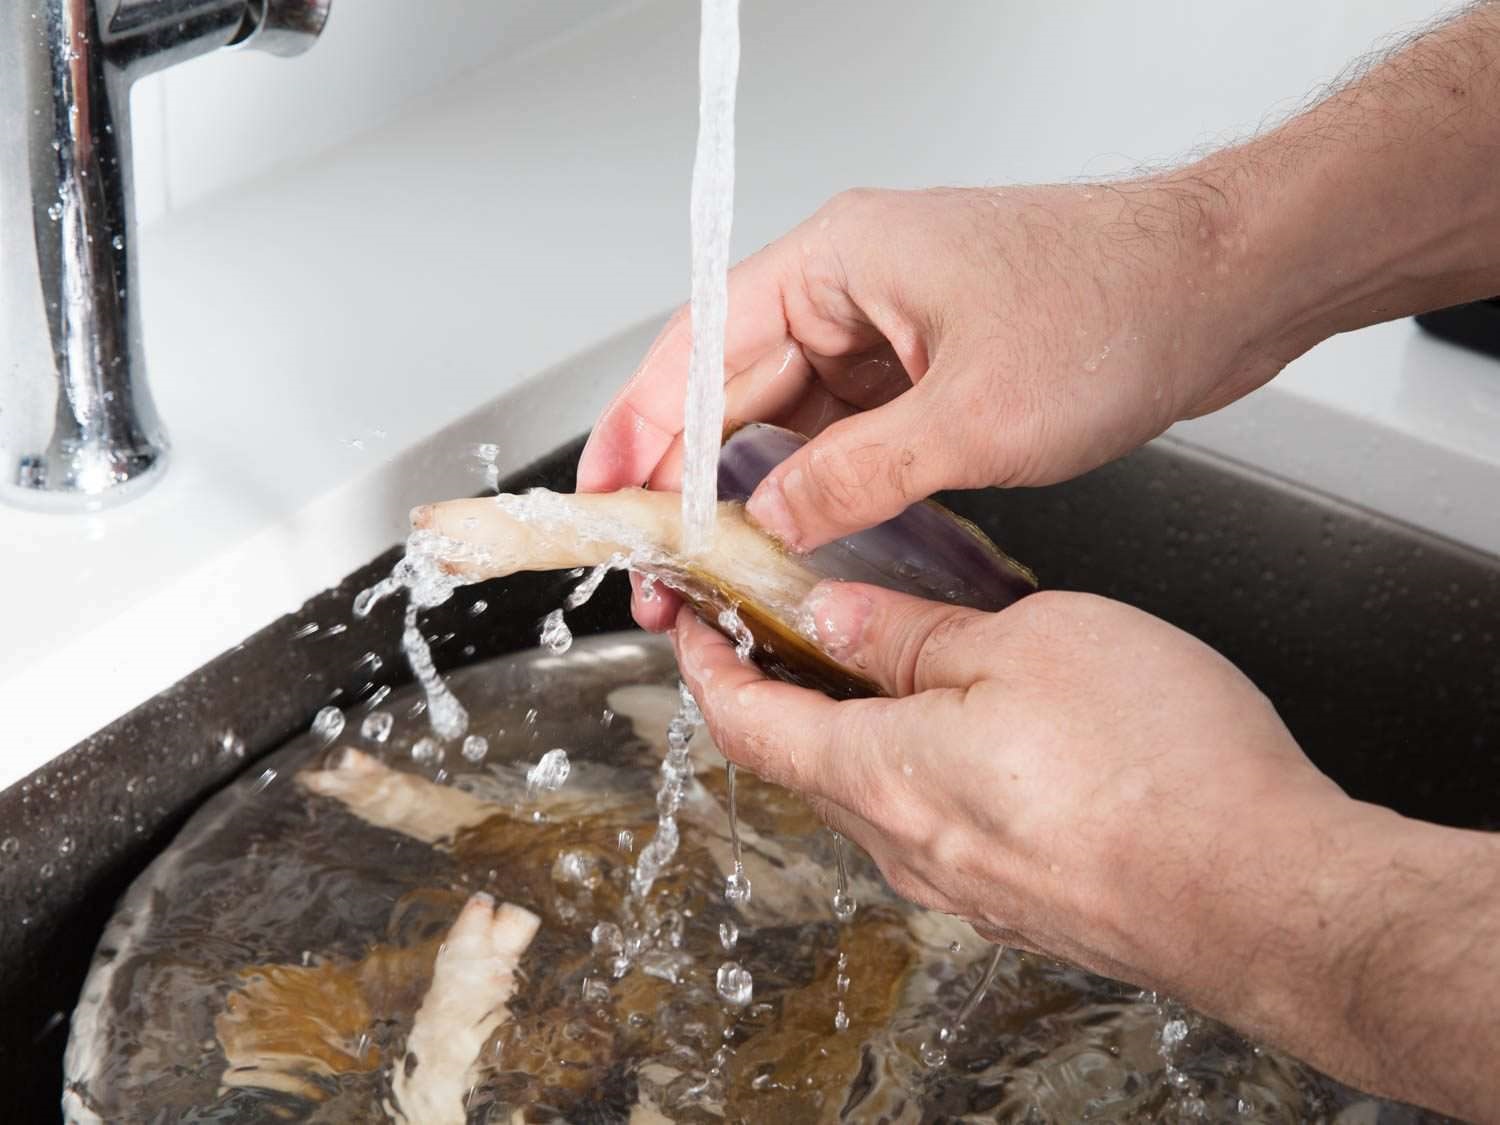
Step 1: Preparing the Clams
Start by rinsing the cherrystone clams under cold water to remove any dirt or debris from the shells. It’s important to clean the clams thoroughly before shucking them to ensure that you’re working with clean, safe seafood.
Step 2: Holding the Clam
Once the clams are clean, hold a clam in your non-dominant hand with the hinge (the pointed end) facing towards you. Use the towel to get a good grip on the clam, as they can be quite slippery.
Step 3: Inserting the Knife
Take the clam knife or small, sharp knife and locate the seam or opening near the hinge of the clam. Gently insert the tip of the knife into the seam, being careful not to apply too much pressure. The goal is to wiggle the knife in to break the muscle that holds the shell together.
Step 4: Opening the Clam
Once the knife is inserted, carefully twist it to pry the top and bottom shells apart. As you do this, you should hear a slight pop as the muscle releases. Continue to run the knife along the inside of the top shell to fully separate it from the bottom shell.
Step 5: Removing the Top Shell
With the top shell removed, use the knife to carefully cut the muscle that attaches the clam to the shell. Be sure to do this gently to avoid damaging the clam meat.
Step 6: Removing any Grit
After the clam is shucked, take a moment to inspect it for any bits of shell or grit. Use your fingers or the knife to carefully remove any debris from the clam meat, ensuring that it’s clean and ready to use in your recipe.
Step 7: Enjoying Your Freshly Shucked Clams
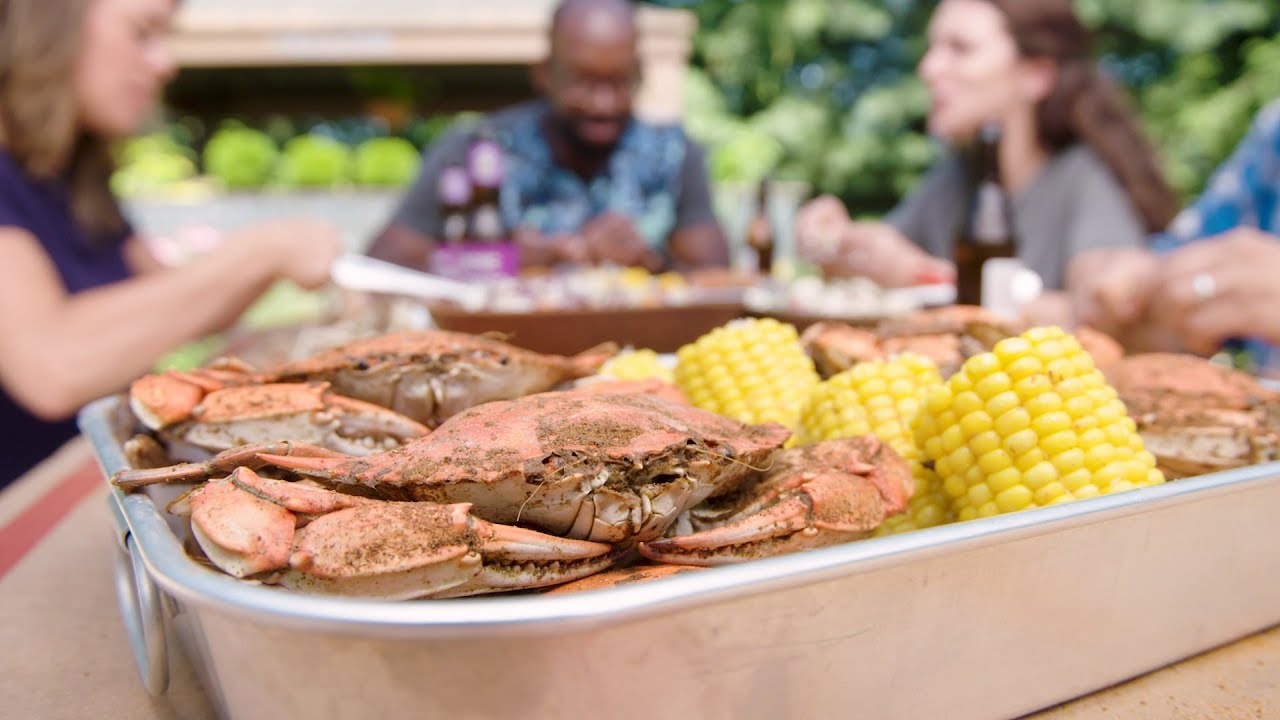
Now that you’ve successfully shucked your cherrystone clams, you can use them in your favorite dishes or simply enjoy them on the half shell with a squeeze of lemon. Whether you’re making clam chowder, pasta, or a delicious seafood appetizer, you can now confidently prepare cherrystone clams to elevate your culinary creations.
With a bit of practice, shucking cherrystone clams will become second nature, allowing you to enjoy the fresh, briny flavor of these delectable shellfish whenever the craving strikes.
So, the next time you’re at the seafood market or planning a seafood feast, don’t hesitate to pick up some cherrystone clams and put your newfound shucking skills to the test!
Was this page helpful?
Read Next: How To Shuck Oyster At Home
Related Articles