Step-by-Step Guide to Deboning a Turducken
Deboning a turducken may seem like a daunting task, but with the right technique and a little patience, you can master the art of deboning this delicious dish. Whether you’re preparing for a special occasion or simply want to impress your guests, follow these simple steps to debone a turducken like a pro.
What You’ll Need
- Sharp boning knife
- Cutting board
- Kitchen shears
- Cooking twine
- Poultry seasoning
- Patience and a steady hand
Step 1: Prepare the Turducken
Before you begin deboning, make sure your turducken is fully thawed. Place it on a clean cutting board and pat it dry with paper towels. Sprinkle the turducken with your favorite poultry seasoning to add flavor to the meat.
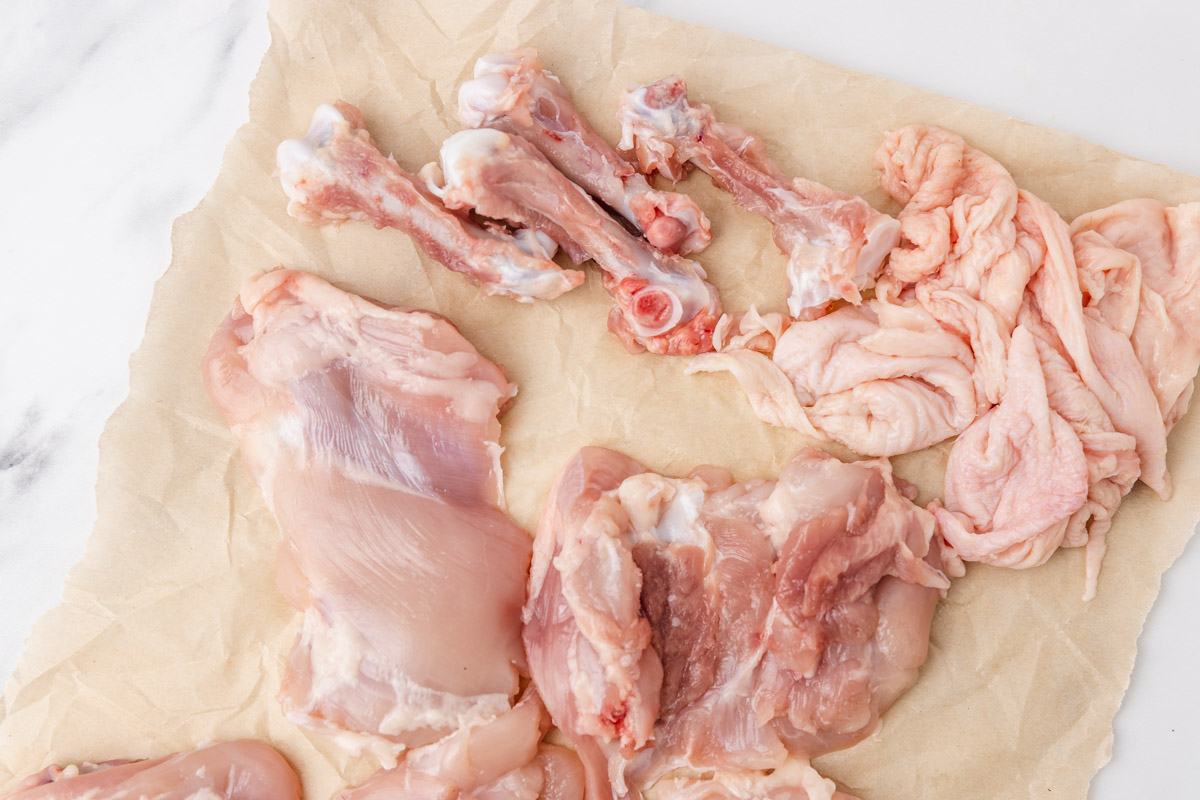
Step 2: Remove the Backbone
Using a sharp boning knife, carefully remove the backbone of the turducken. Start by making an incision along one side of the backbone, then use the knife to separate the meat from the bone. Continue this process on the other side until the backbone is completely removed.
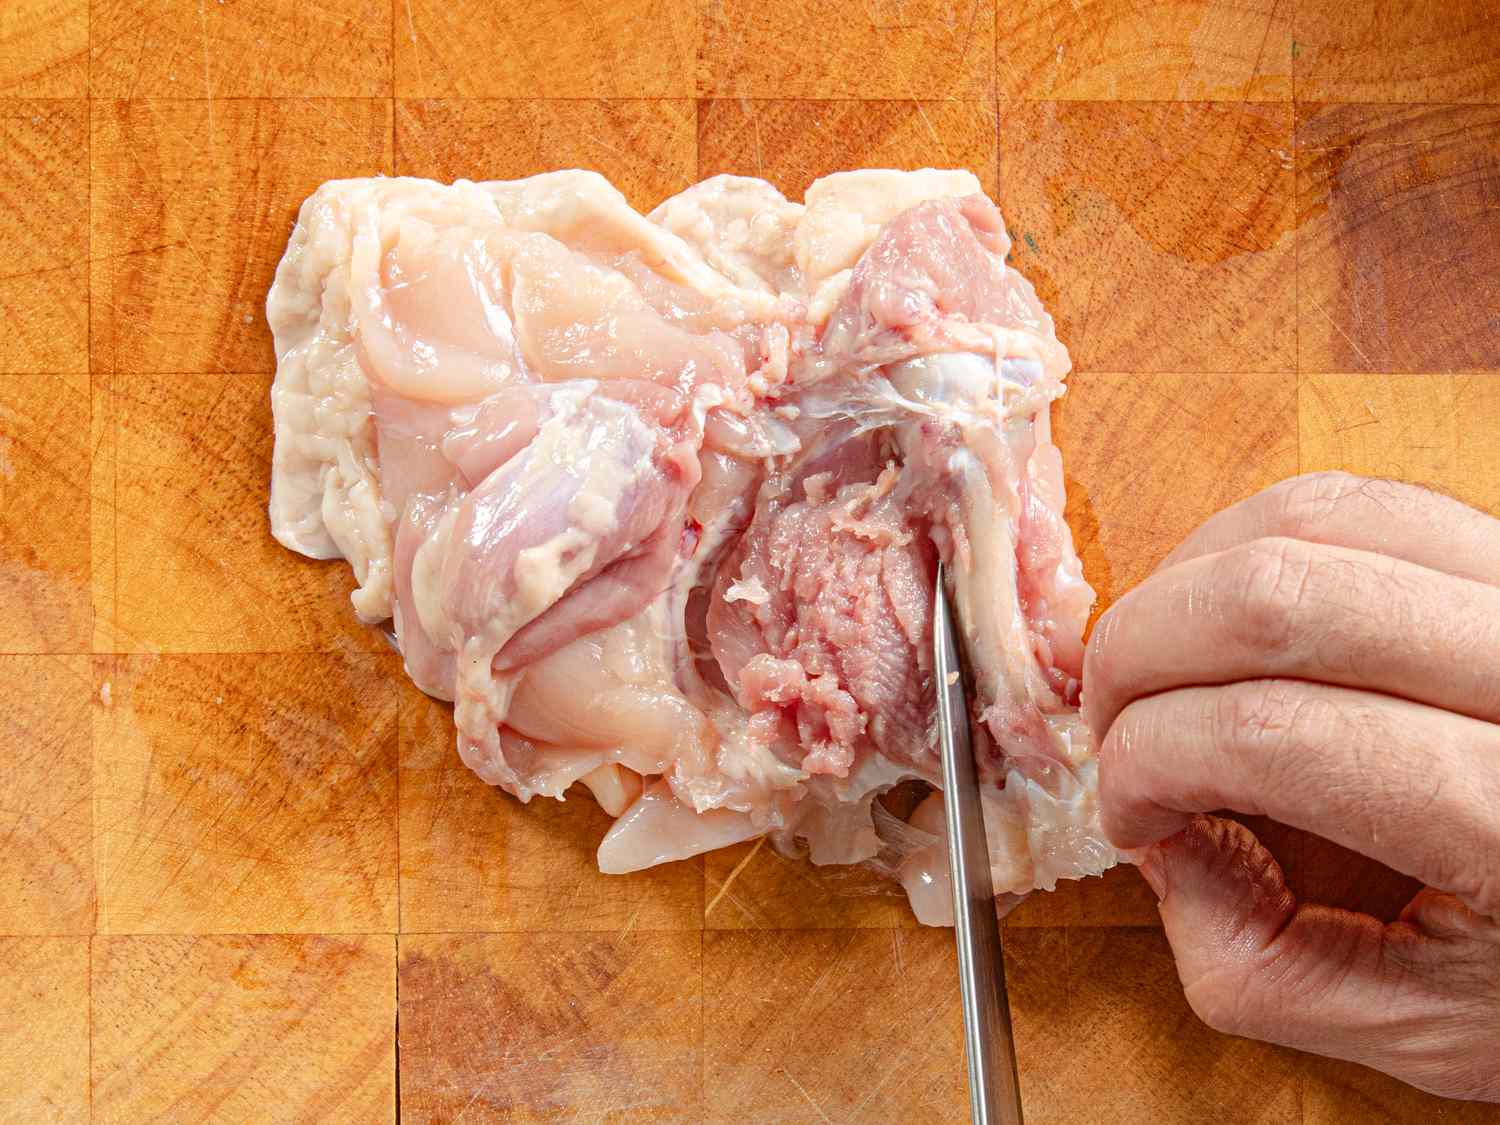
Step 3: Debone the Turkey
Once the backbone is removed, it’s time to debone the turkey. Start by carefully slicing along the breastbone to separate the meat from the bone. Use the knife to gently cut around the bones, working your way down the turkey until the bones are fully removed.
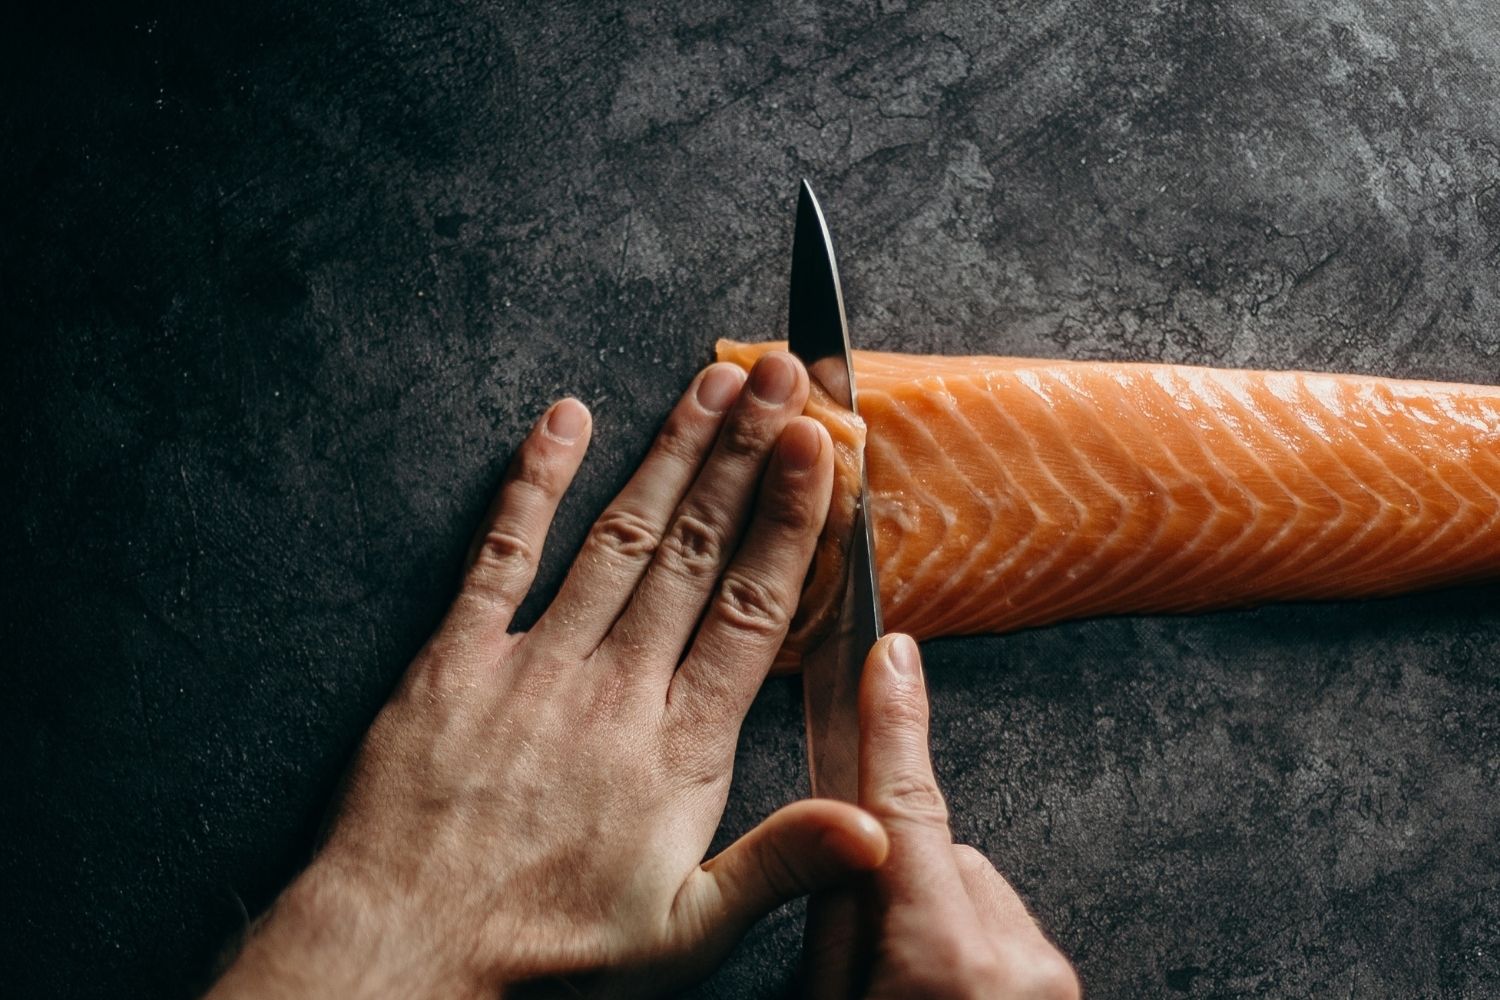
Step 4: Debone the Duck
With the turkey deboned, it’s time to move on to the duck. Using the same technique, carefully separate the meat from the bones, ensuring that the duck is fully deboned and ready to be stuffed inside the turkey.
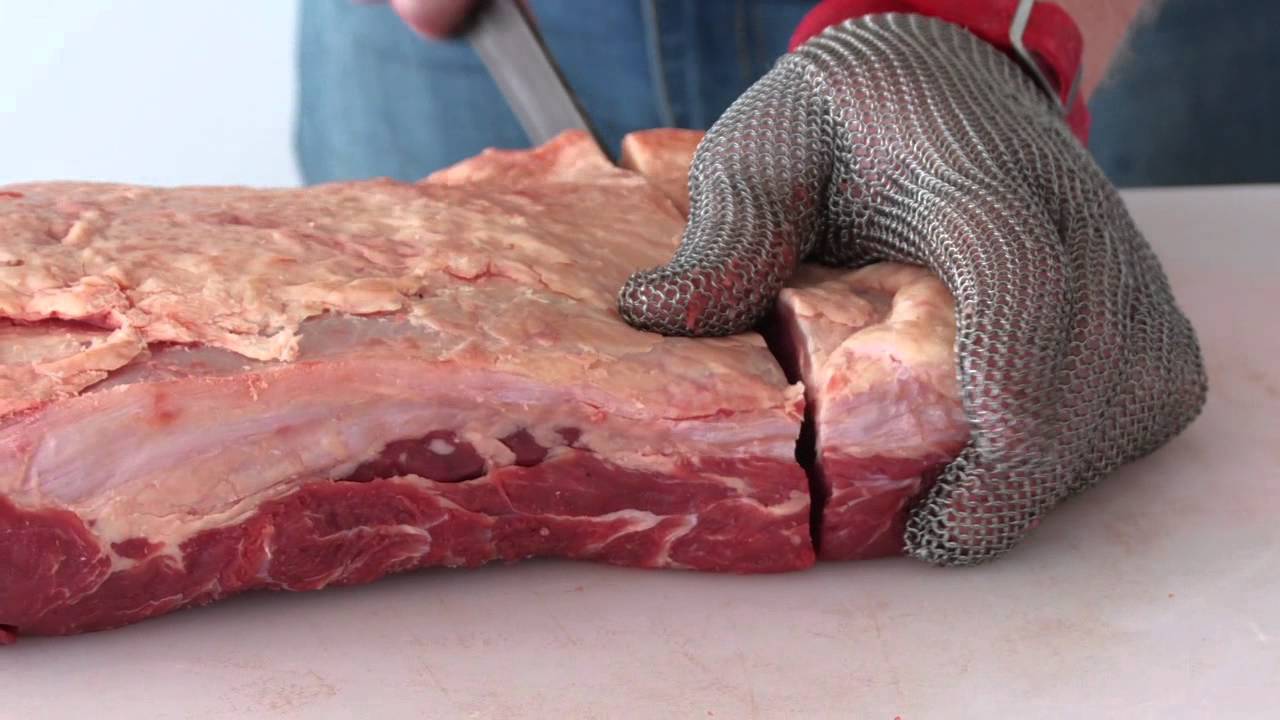
Step 5: Debone the Chicken
Finally, it’s time to debone the chicken. Repeat the same process of carefully removing the bones from the meat, ensuring that the chicken is fully deboned and ready to be stuffed inside the duck.
Step 6: Assemble and Tie
Once all three birds are deboned, it’s time to assemble the turducken. Lay the deboned turkey flat on the cutting board, then place the deboned duck on top of it. Finally, place the deboned chicken on top of the duck. Carefully fold the turkey around the duck and chicken, creating a layered effect.
Using kitchen twine, carefully tie the turducken to secure it in place. This will help the turducken maintain its shape while cooking and make it easier to carve once it’s done.
Step 7: Cook and Enjoy
Once your turducken is assembled and tied, it’s ready to be cooked. Follow your favorite turducken recipe for cooking times and temperatures. Once it’s done, allow the turducken to rest for a few minutes before carving and serving to your eager guests.
Deboning a turducken may take some time and patience, but the end result is well worth the effort. With this step-by-step guide, you can confidently tackle the task of deboning a turducken and impress your friends and family with this unique and delicious dish.
Happy cooking!
Was this page helpful?
Read Next: How To Debone Snapper Fillets
Related Articles