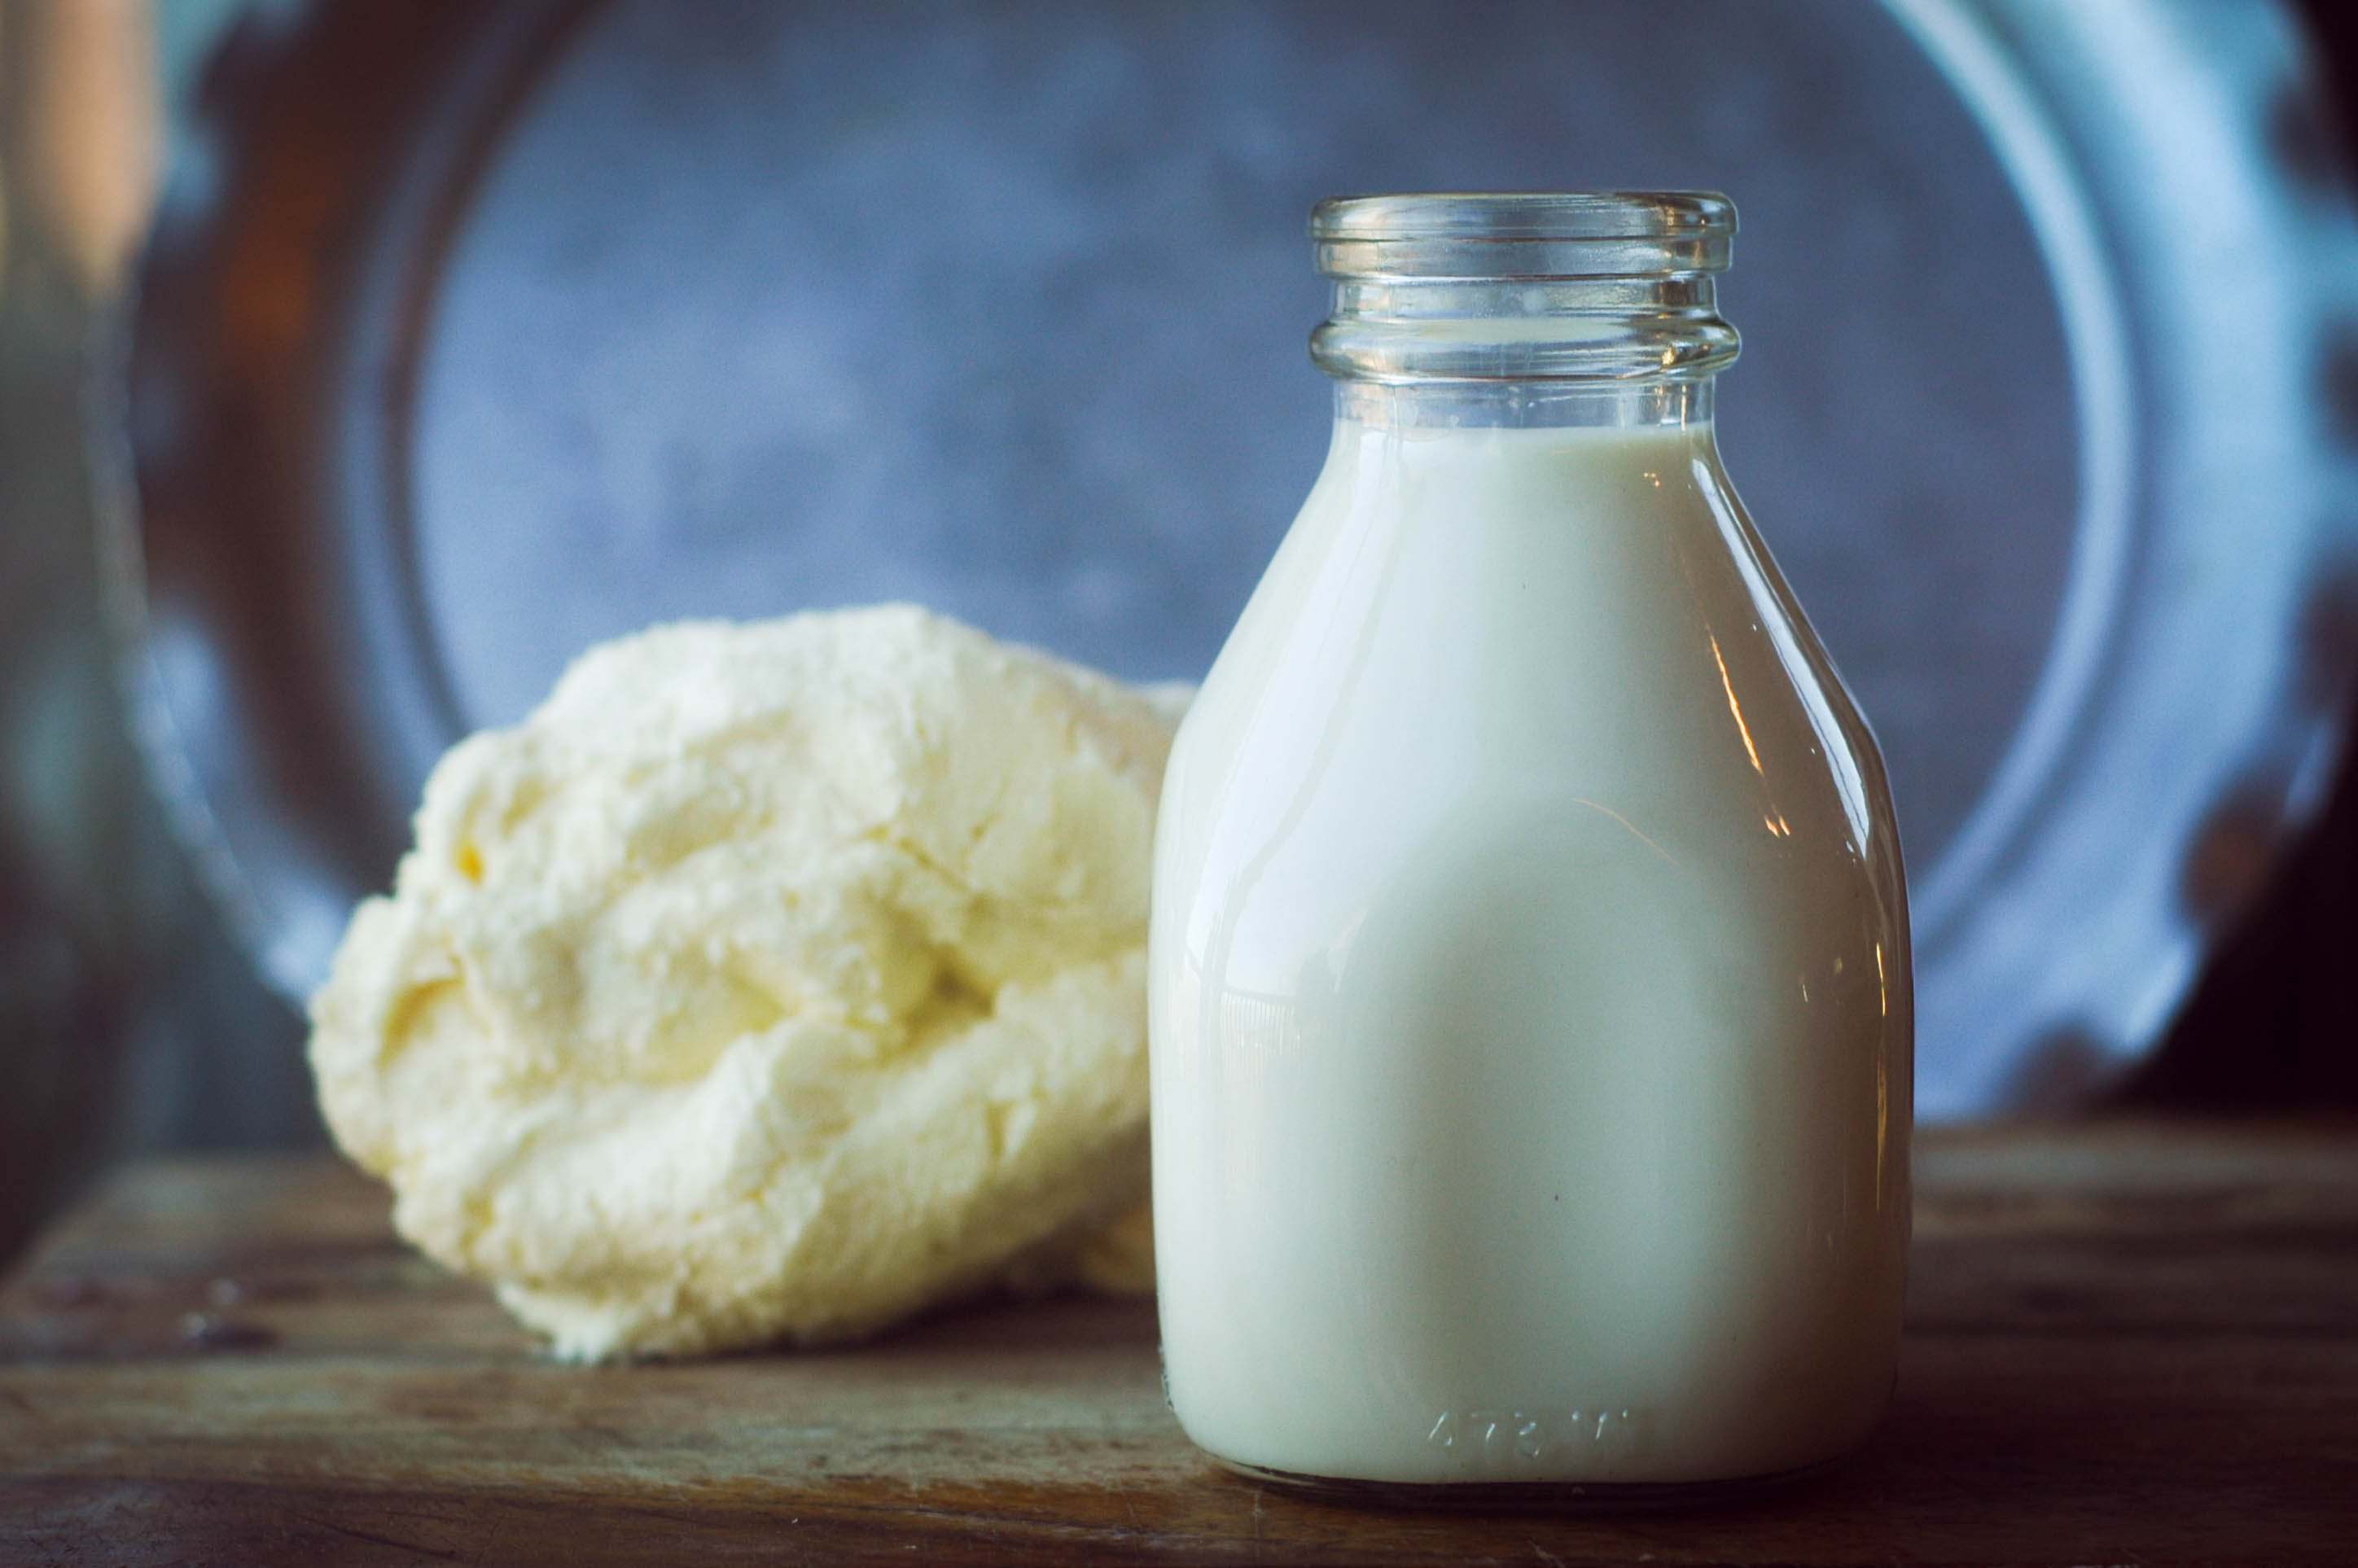
DIY Cultured Buttermilk: The Simple Guide to Making Your Own Creamy Delight
Are you a fan of that tangy, creamy goodness known as buttermilk? This delightful dairy product has been a staple in many households for centuries, but did you know that you can easily make your own cultured buttermilk right at home? That’s right! By following a simple DIY process, you can enjoy a fresh batch of this delicious drink whenever your heart desires. Today, we’ll guide you through the steps to becoming a buttermilk connoisseur!
Why Make Your Own Buttermilk?
Before we dive into the DIY process, let’s take a moment to appreciate the benefits of making your own cultured buttermilk:
- Cost-effective: Commercial buttermilk can be pricey, but making it at home saves you money in the long run.
- Freshness: By making your own buttermilk, you can ensure it’s fresh and free from any additives or preservatives.
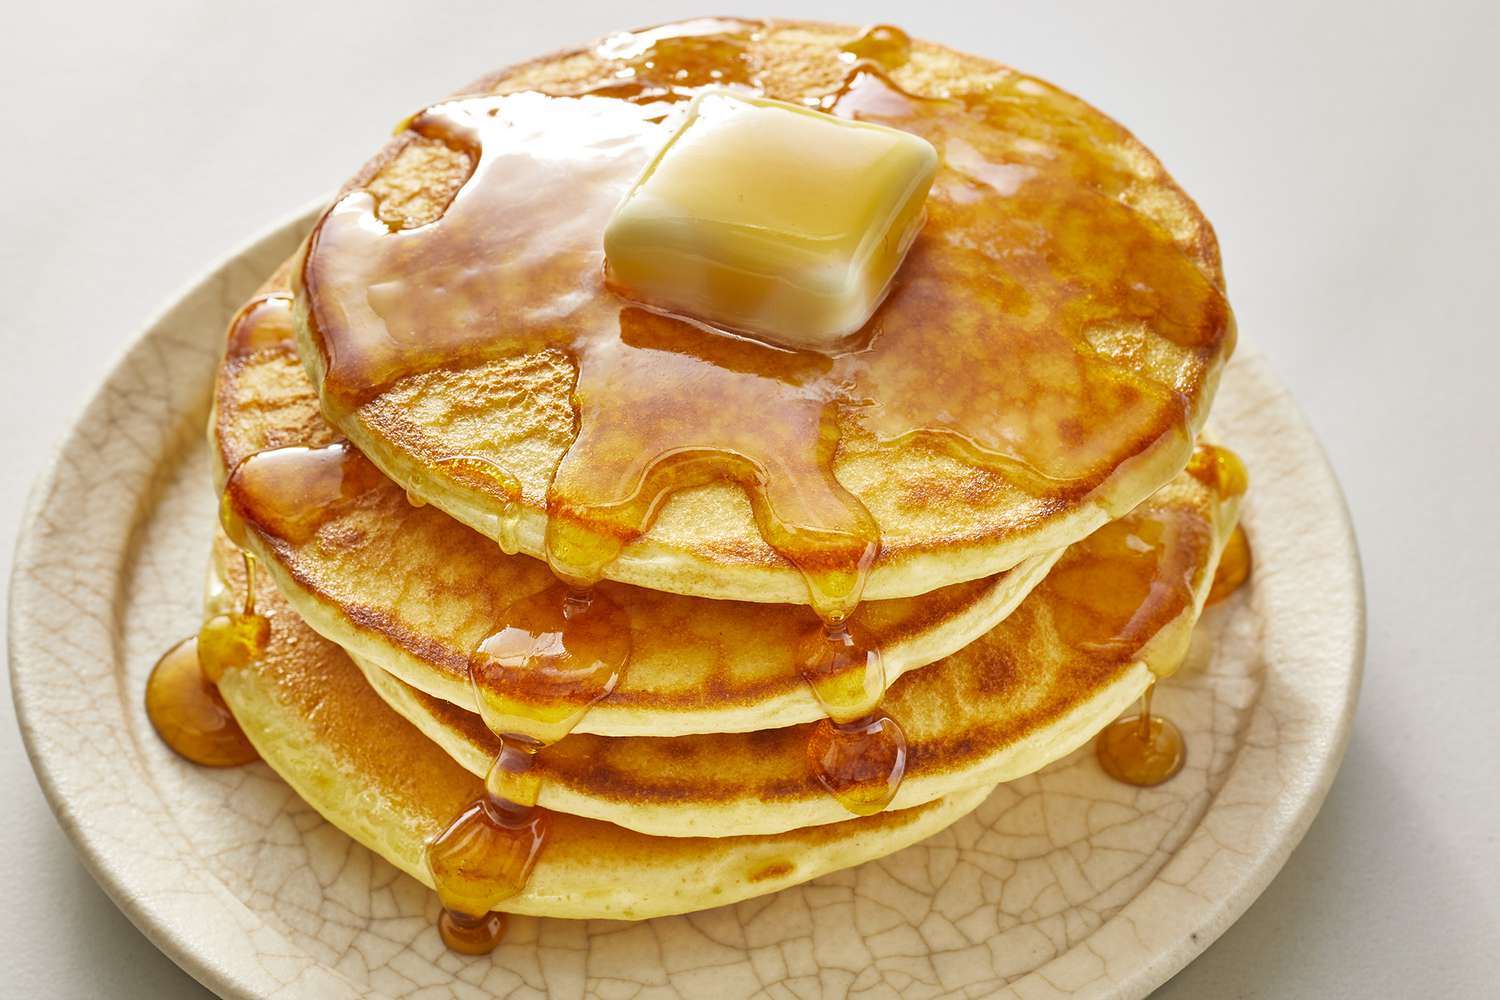
- Creative possibilities: DIY buttermilk opens up a world of culinary possibilities. You can incorporate it into a variety of recipes, from fluffy pancakes to moist cakes and tangy dressings.
- Sustainability: Making your own buttermilk reduces plastic waste from store-bought containers.
The DIY Cultured Buttermilk Process
Now, let’s get down to business and learn how to make your very own homemade cultured buttermilk:
- Ingredients:
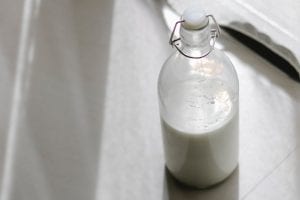
- 1 cup of whole milk
- 1 tablespoon of fresh lemon juice or white vinegar
- Process:
- Pour the whole milk into a clean glass jar or container.
- Add the lemon juice or vinegar to the milk.
- Gently stir the mixture together.
- Cover the jar with a clean cloth or plastic wrap, ensuring it’s airtight.
- Let the mixture sit at room temperature for about 10 to 24 hours. The longer it sits, the thicker and tangier the buttermilk will become.
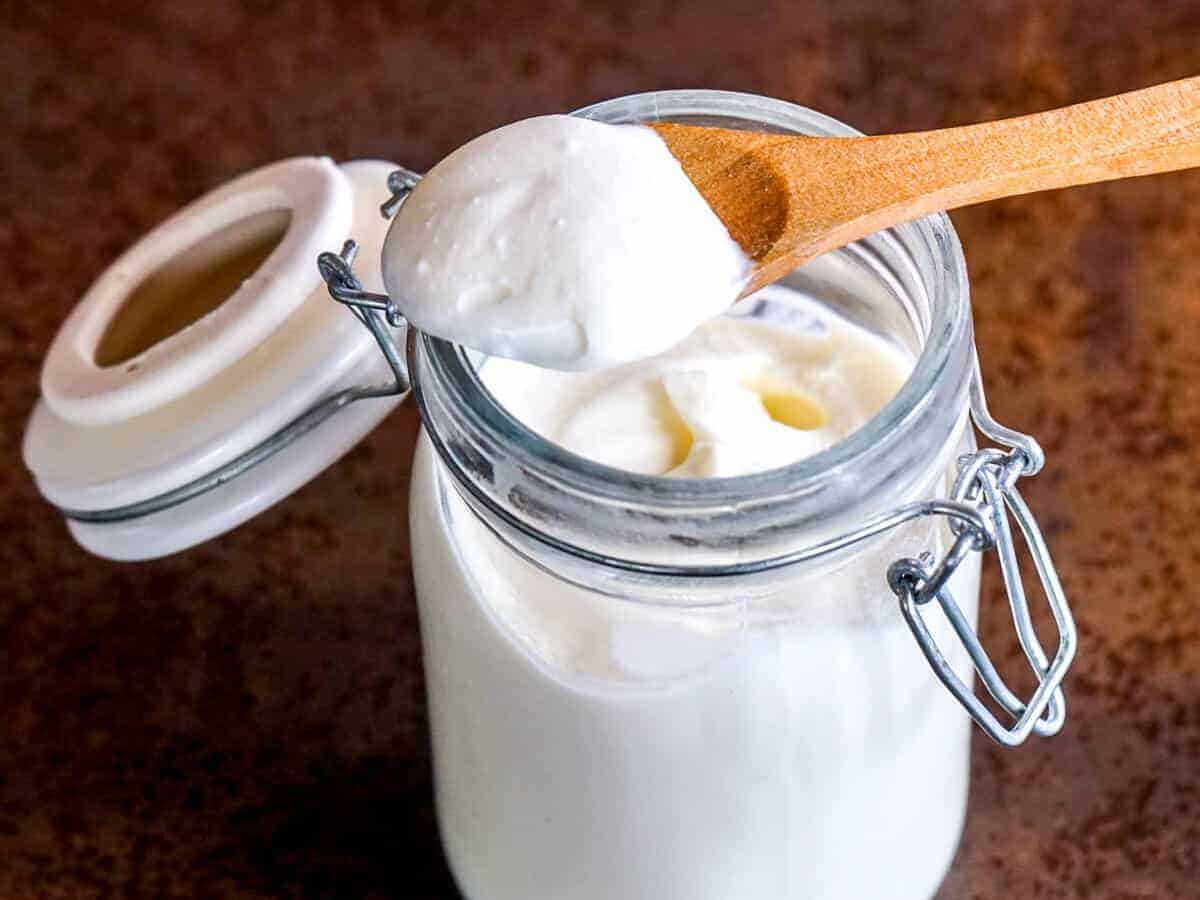
- After the desired fermentation time, give the buttermilk a good stir.
- Congratulations! Your homemade cultured buttermilk is ready to be enjoyed. Transfer it to a refrigerator to chill before using.
Optional: Some recipes call for store-bought buttermilk as a starter culture. If you have it on hand, you can substitute 1 tablespoon of buttermilk for the lemon juice or vinegar.
Extra Tips for Perfect Homemade Buttermilk
While the process may be simple, here are a few extra tips to ensure that your DIY cultured buttermilk turns out absolutely delicious:
- Use fresh ingredients: Opt for fresh whole milk, as it will provide a creamier and richer taste.
- Don’t rush the fermentation process: Allowing the milk to sit for the recommended time ensures that the bacteria have enough time to convert lactose into lactic acid, giving the buttermilk its distinctive tanginess.
- Experiment with tanginess: If you prefer a milder buttermilk, reduce the fermentation time. For a tangier flavor, let it sit for longer.
- Store it correctly: Homemade buttermilk can be stored in the refrigerator for up to two weeks. Shake or stir it before using, as it may separate during storage.
With just a few simple ingredients and a little patience, you can create your very own homemade cultured buttermilk. Say goodbye to store-bought versions and hello to a creamy delight that’s tailored to your taste buds. So, why not roll up your sleeves and embark on your DIY buttermilk adventure today?
Was this page helpful?
Related Articles