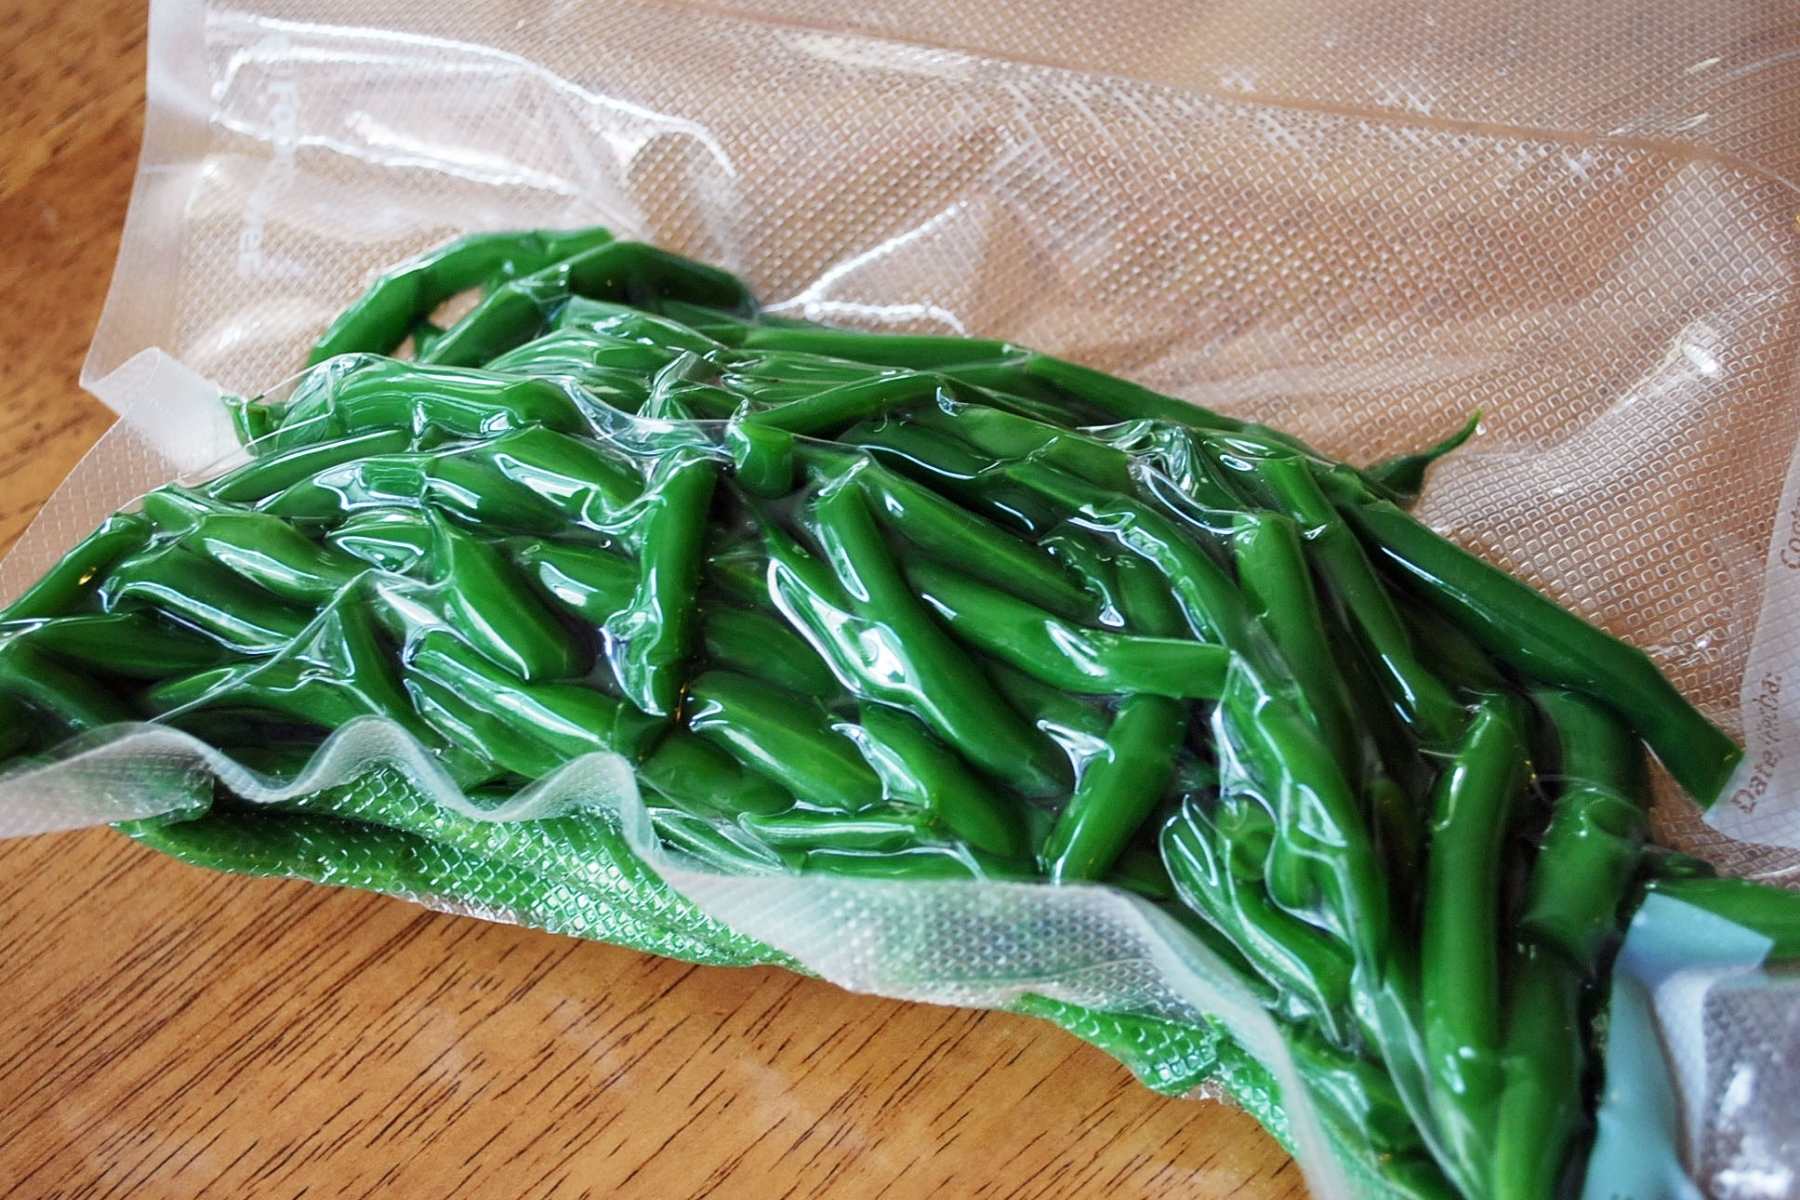
Why Vacuum Sealing Meal Prep Containers is a Game-Changer
Meal prepping has become a popular way to save time and eat healthier. It allows you to plan and prepare your meals in advance, ensuring that you have nutritious and delicious food ready to go when you need it. However, keeping your prepped meals fresh for an extended period can be a challenge. This is where vacuum sealing meal prep containers comes in. Vacuum sealing is a game-changer for meal preppers, as it helps to extend the shelf life of your meals and keep them fresh for longer.
The Benefits of Vacuum Sealing Meal Prep Containers
There are several benefits to vacuum sealing your meal prep containers, including:
- Extended Shelf Life: Vacuum sealing removes air from the container, preventing the growth of bacteria and mold, which can help extend the shelf life of your prepped meals.
- Freshness: By removing air and sealing in the freshness, vacuum sealing helps to preserve the flavor, texture, and nutritional value of your meals.
- Space-Saving: Vacuum sealing reduces the amount of space your meal prep containers take up, making it easier to store and organize your prepped meals in the fridge or freezer.
- Prevention of Freezer Burn: Vacuum sealing creates an airtight seal, preventing freezer burn and preserving the quality of your meals when stored in the freezer.
How to Vacuum Seal Meal Prep Containers
Vacuum sealing your meal prep containers is a straightforward process that can be done with the right equipment. Here’s a step-by-step guide to vacuum sealing your meal prep containers:
- Prepare Your Meals: Before vacuum sealing, make sure your meals are fully cooked and cooled to room temperature.
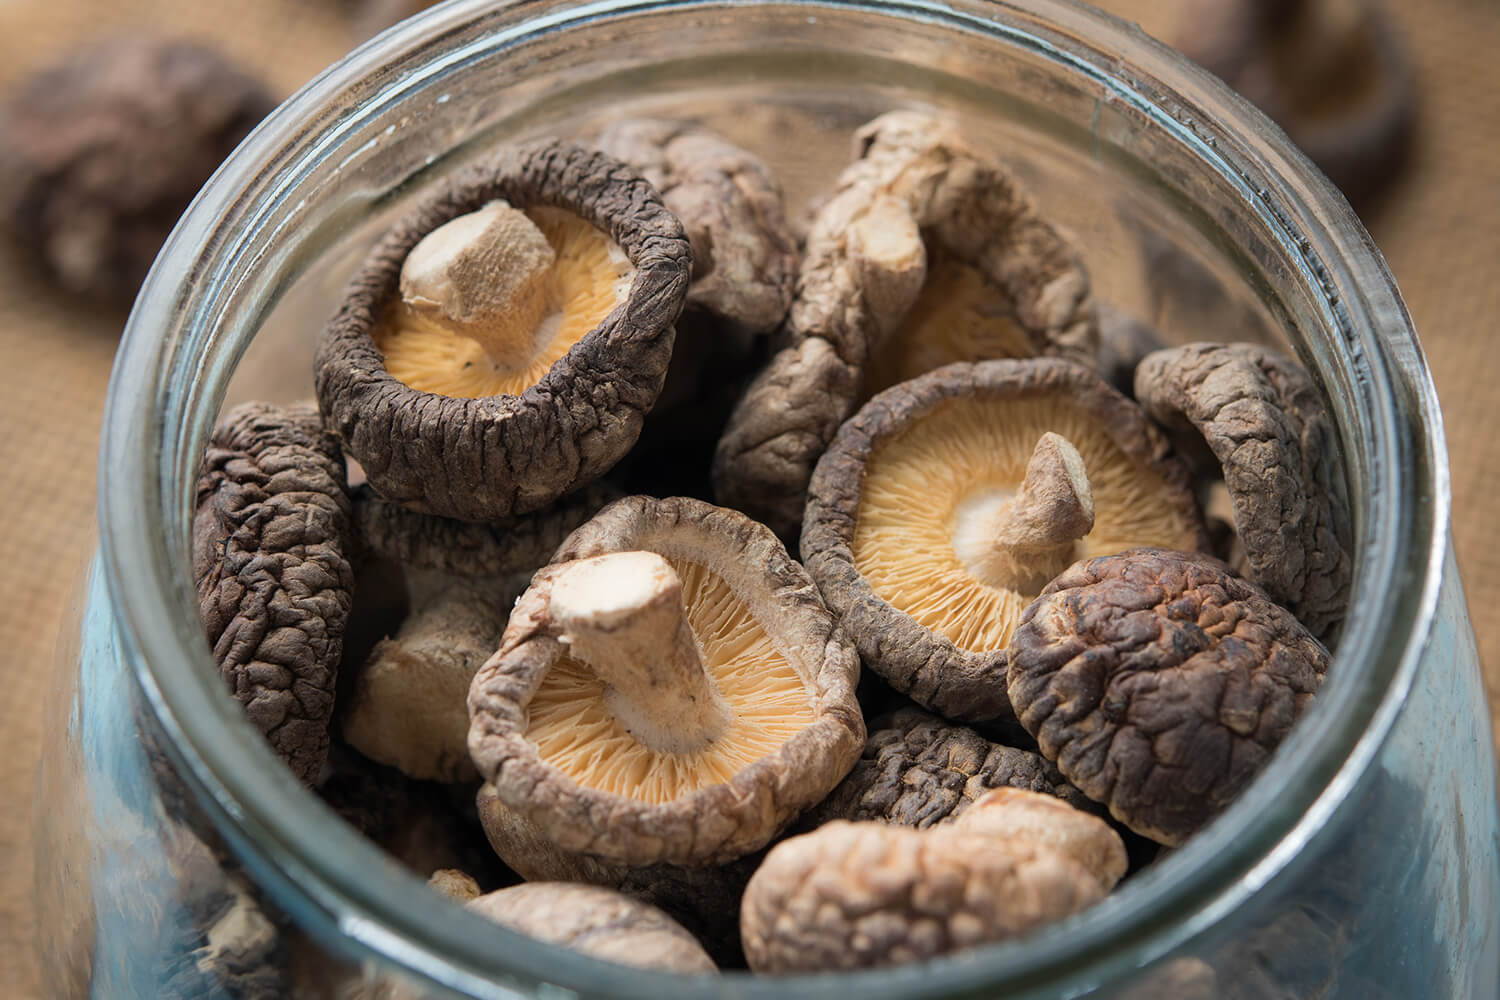
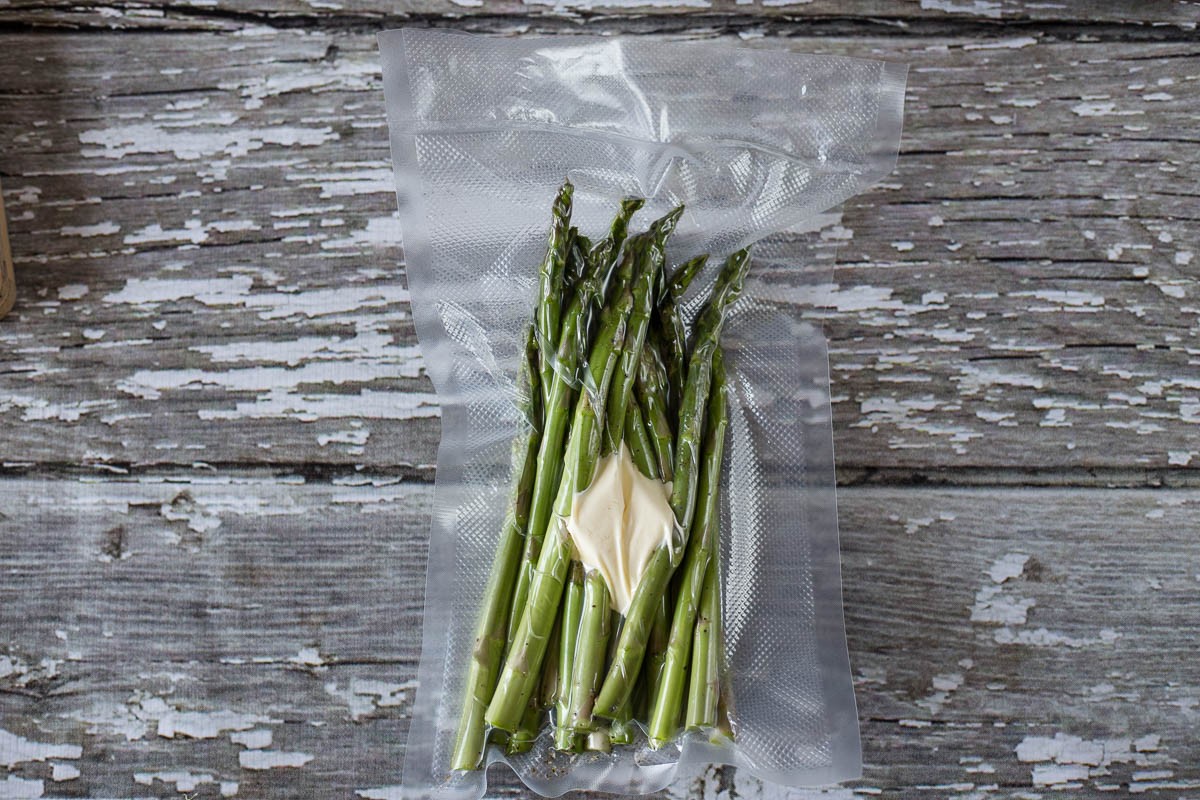
- Select the Right Containers: Choose meal prep containers that are compatible with vacuum sealing, such as vacuum-sealable plastic or glass containers.
- Place the Meals in the Containers: Divide your prepped meals into the chosen containers, leaving some space at the top for the vacuum sealing process.
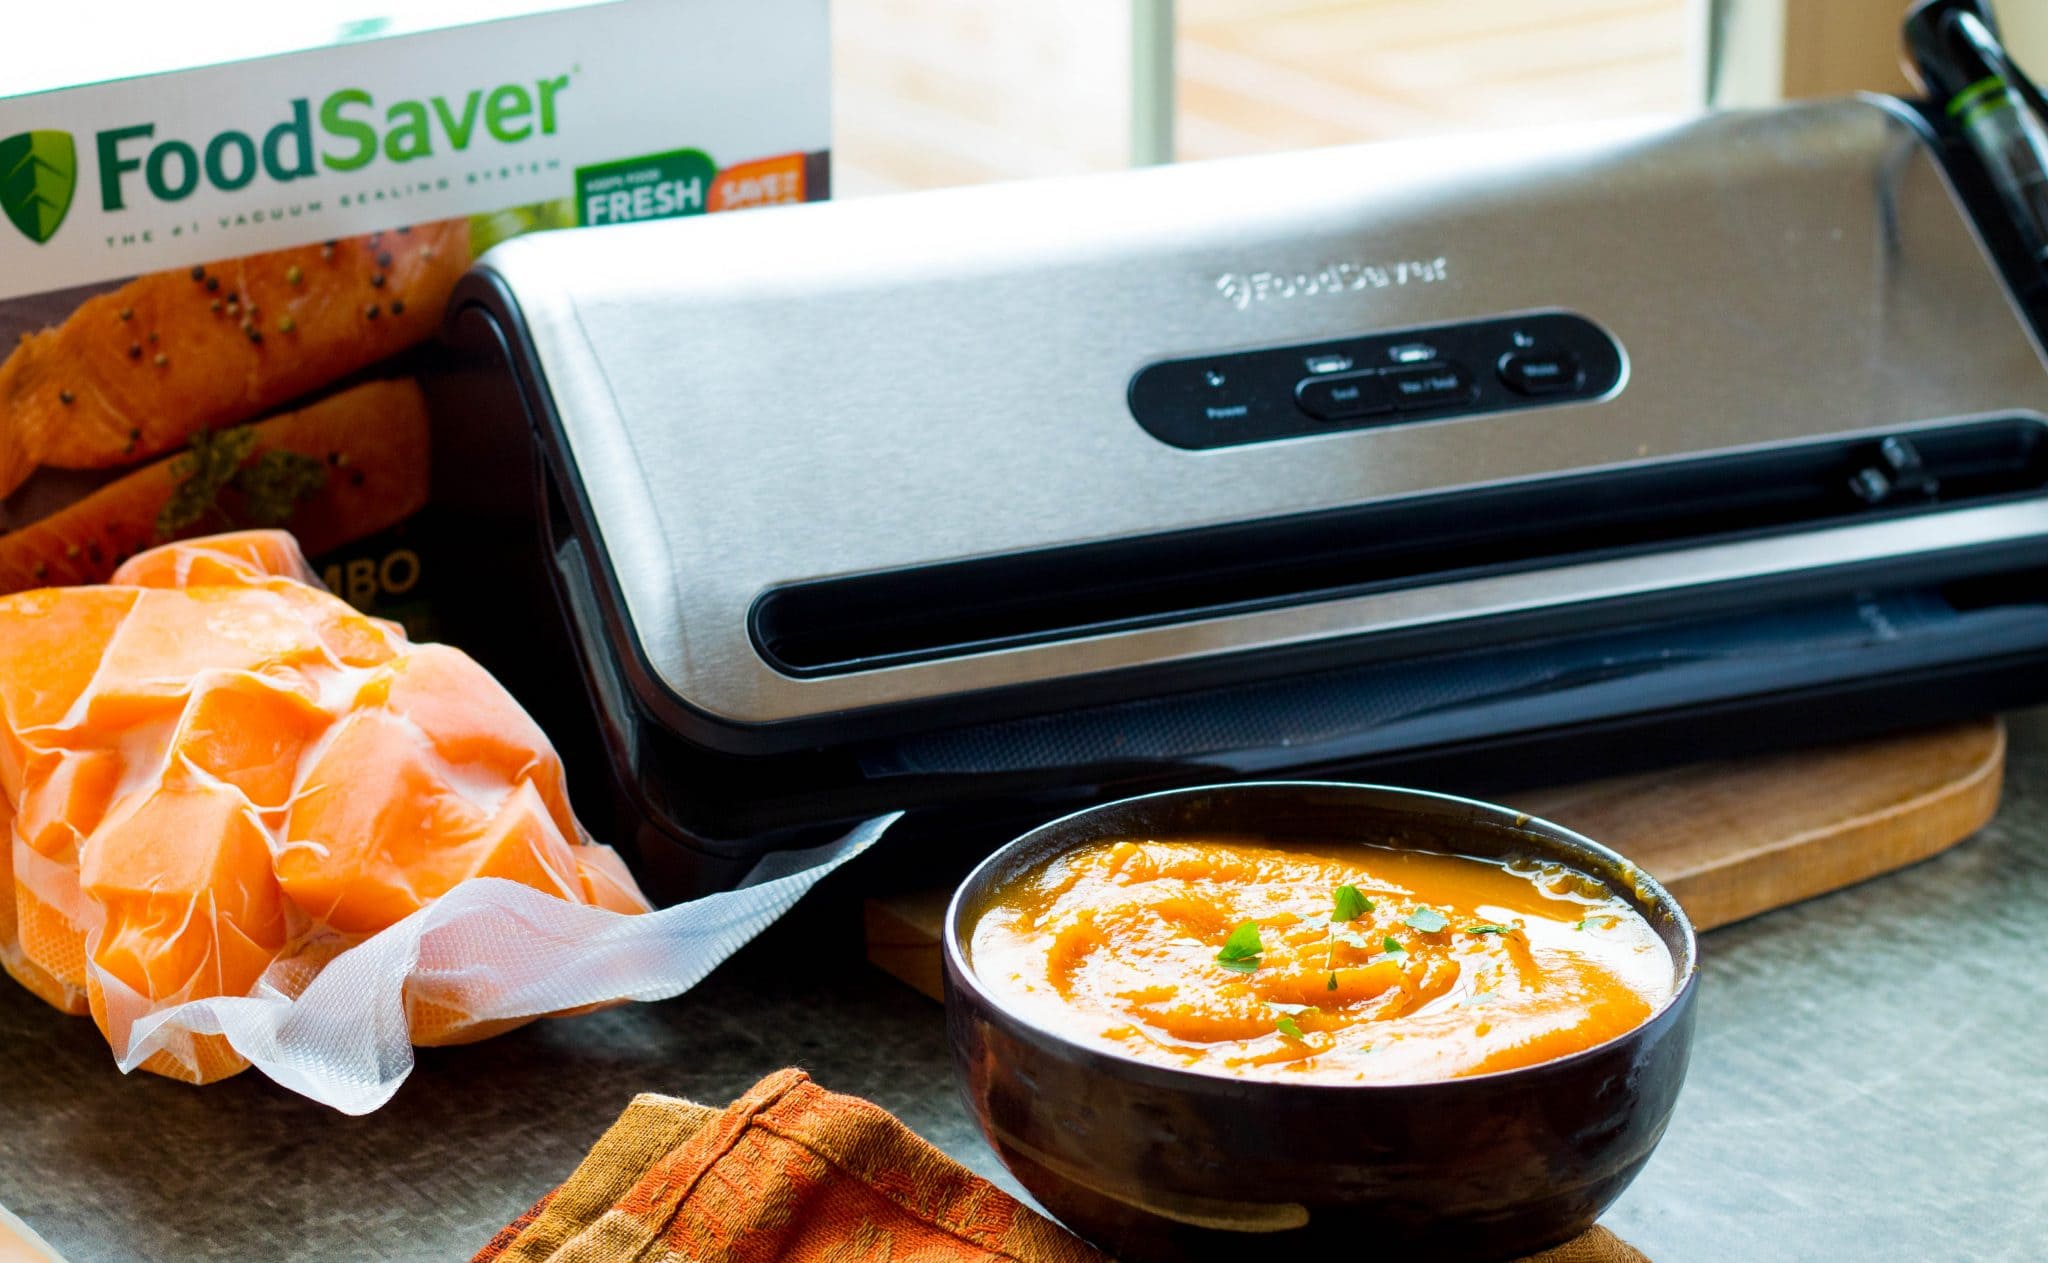
- Use a Vacuum Sealer: Place the open end of the meal prep container into the vacuum sealer and follow the manufacturer’s instructions to create an airtight seal.
- Store Your Vacuum Sealed Containers: Once sealed, label the containers with the date and contents, and then store them in the fridge or freezer as needed.
Tips for Successful Vacuum Sealing
To ensure successful vacuum sealing of your meal prep containers, consider the following tips:
- Avoid Overfilling: Leave some space at the top of the container to allow for proper sealing.
- Use Quality Containers: Invest in high-quality, airtight meal prep containers that are designed for vacuum sealing.
- Label and Date: Properly label and date your vacuum-sealed containers to keep track of their contents and freshness.
- Follow Manufacturer’s Instructions: Always follow the manufacturer’s guidelines for your specific vacuum sealer to ensure proper sealing.
Conclusion
Vacuum sealing meal prep containers is a simple and effective way to extend the shelf life of your prepped meals, keeping them fresh and flavorful for longer. By following the steps outlined above and incorporating these tips, you can make the most out of your meal prepping efforts and enjoy the convenience of having healthy, ready-to-eat meals at your fingertips.
Was this page helpful?
Read Next: How To Vacuum Seal Pasta
Related Articles