Step-by-Step Guide on How to Hull Beans
Beans are a versatile and nutritious ingredient that can be used in a wide variety of dishes. Whether you’re cooking up a pot of chili, making a hearty bean soup, or adding beans to a salad, it’s important to properly hull them to ensure the best flavor and texture. Hulling beans involves removing the outer shell or husk that surrounds the bean. Here’s a step-by-step guide on how to hull beans:
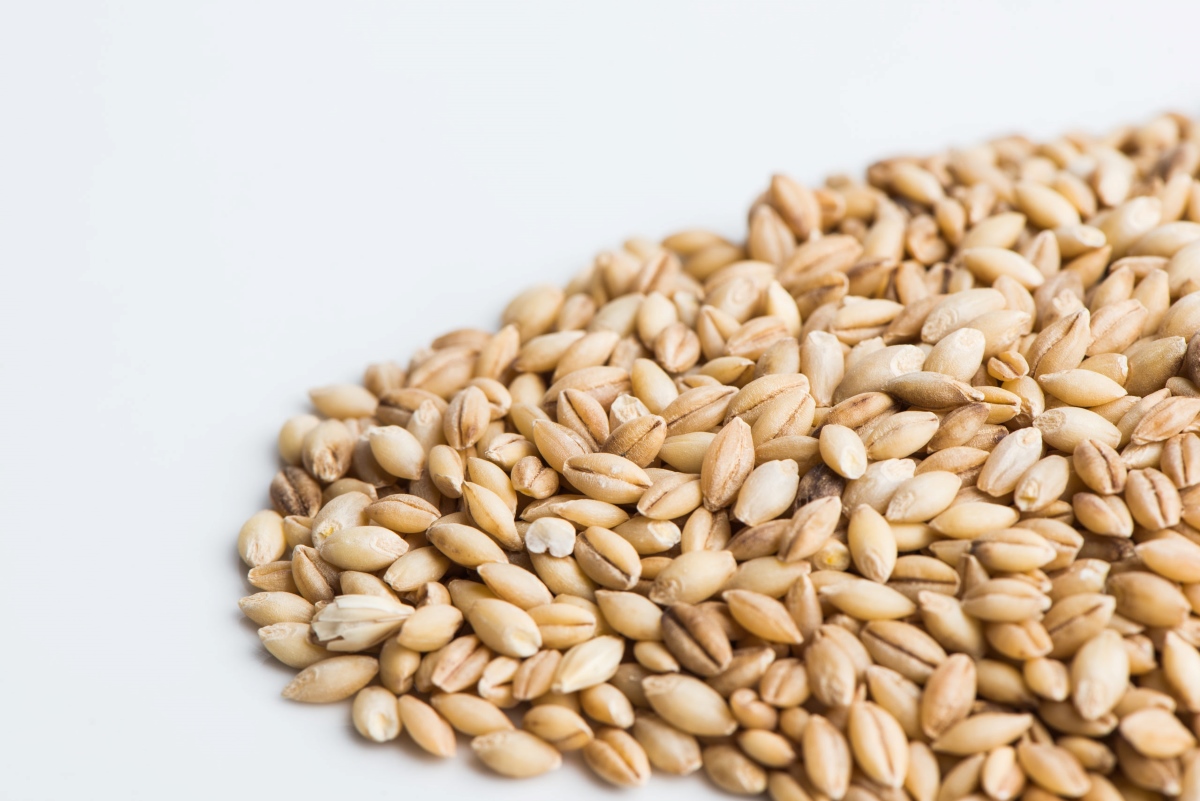
1. Selecting the Beans
When hulling beans, it’s important to start with high-quality, fresh beans. Look for beans that are plump, firm, and free from any signs of mold or damage. Common types of beans that are often hulled include black beans, pinto beans, kidney beans, and navy beans.
2. Sorting and Rinsing
Before hulling the beans, spread them out on a clean, flat surface and sort through them to remove any debris or stones. Once sorted, rinse the beans under cold water to remove any dirt or impurities.
3. Soaking the Beans
Many beans benefit from soaking before hulling. Soaking helps to soften the outer husk, making it easier to remove. Place the sorted and rinsed beans in a large bowl and cover them with several inches of water. Allow the beans to soak for at least 4-6 hours or overnight for best results.
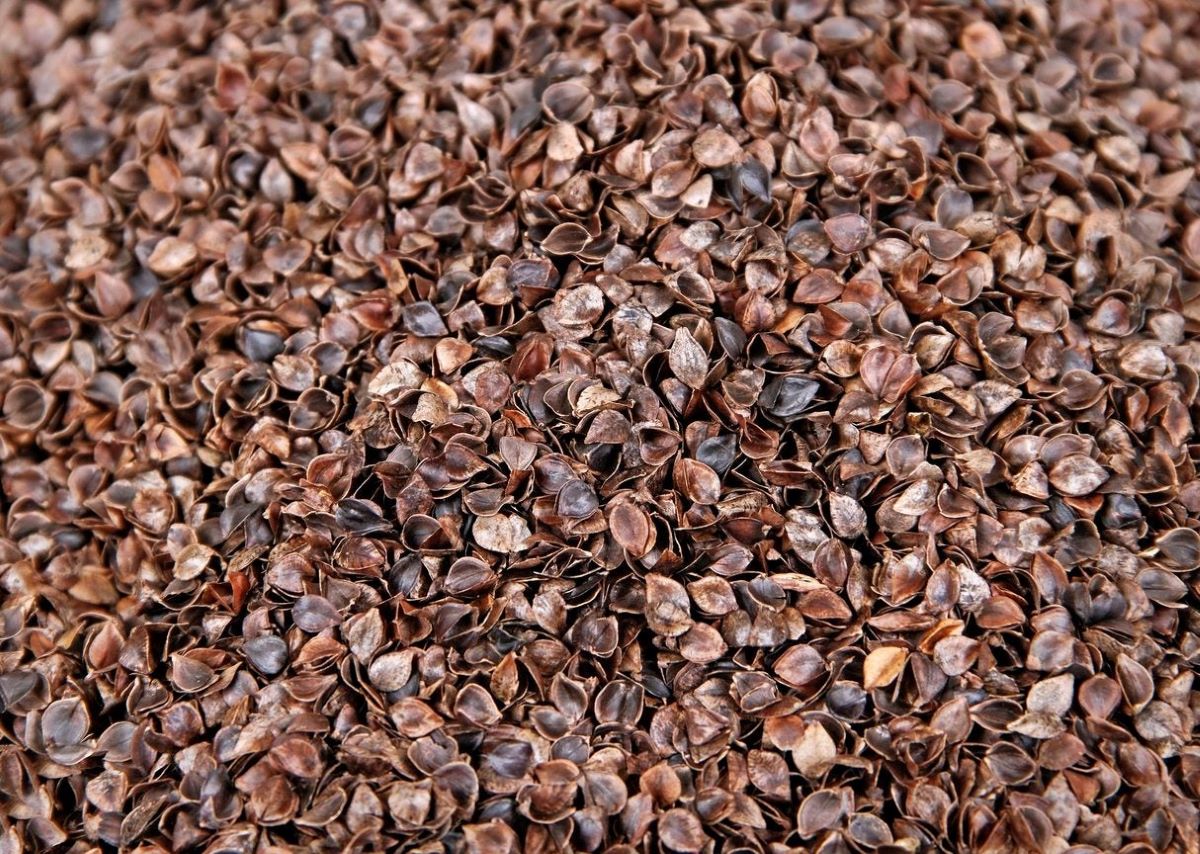
4. Hulling the Beans
After soaking, drain the beans and transfer them to a clean work surface. Take a handful of beans at a time and gently rub them between your hands to loosen the husks. As you rub the beans, you’ll start to notice the husks separating from the beans. Remove the loosened husks and set aside the hulled beans in a separate bowl.
5. Rinsing the Hulled Beans
Once you’ve hulled all the beans, give them a final rinse under cold water to remove any remaining husk fragments. This step is important to ensure that your beans are clean and free from any residual husk pieces.
6. Using the Hulled Beans
Now that your beans are hulled and cleaned, they’re ready to be used in your favorite recipes. Whether you’re adding them to soups, stews, salads, or casseroles, hulled beans are a delicious and nutritious addition to any dish.
7. Storing the Hulled Beans
If you have hulled more beans than you need for your current recipes, you can store the extras for later use. Place the hulled beans in an airtight container and store them in a cool, dry place. Properly stored, hulled beans can last for several months.
Now that you’ve mastered the art of hulling beans, you can enjoy the delicious flavor and texture of freshly hulled beans in all your favorite dishes. Whether you’re a seasoned cook or just starting out in the kitchen, hulling beans is a simple and rewarding process that enhances the quality of your meals.
Was this page helpful?
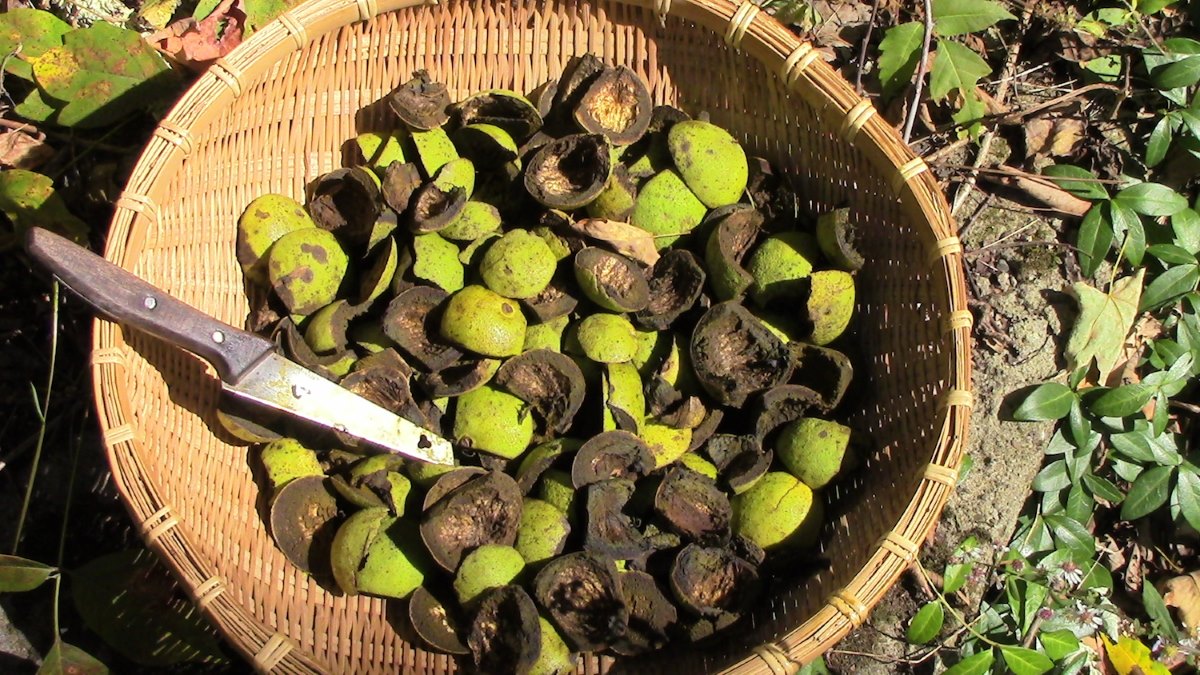
Read Next: How To Hull Black Walnuts
Related Articles