Deboning a Cooked Duck: A Step-by-Step Guide
Deboning a cooked duck may seem like a daunting task, but with the right technique, it can be a rewarding and delicious experience. Whether you’re preparing a special dinner or simply looking to elevate your culinary skills, learning how to debone a cooked duck is a valuable skill for any home chef. In this step-by-step guide, we’ll walk you through the process of deboning a cooked duck with ease.
Step 1: Gather Your Tools
Before you begin, make sure you have the necessary tools on hand. You will need a sharp boning knife, a cutting board, and a pair of kitchen shears. Having these tools readily available will make the deboning process much smoother.
Step 2: Prepare the Duck
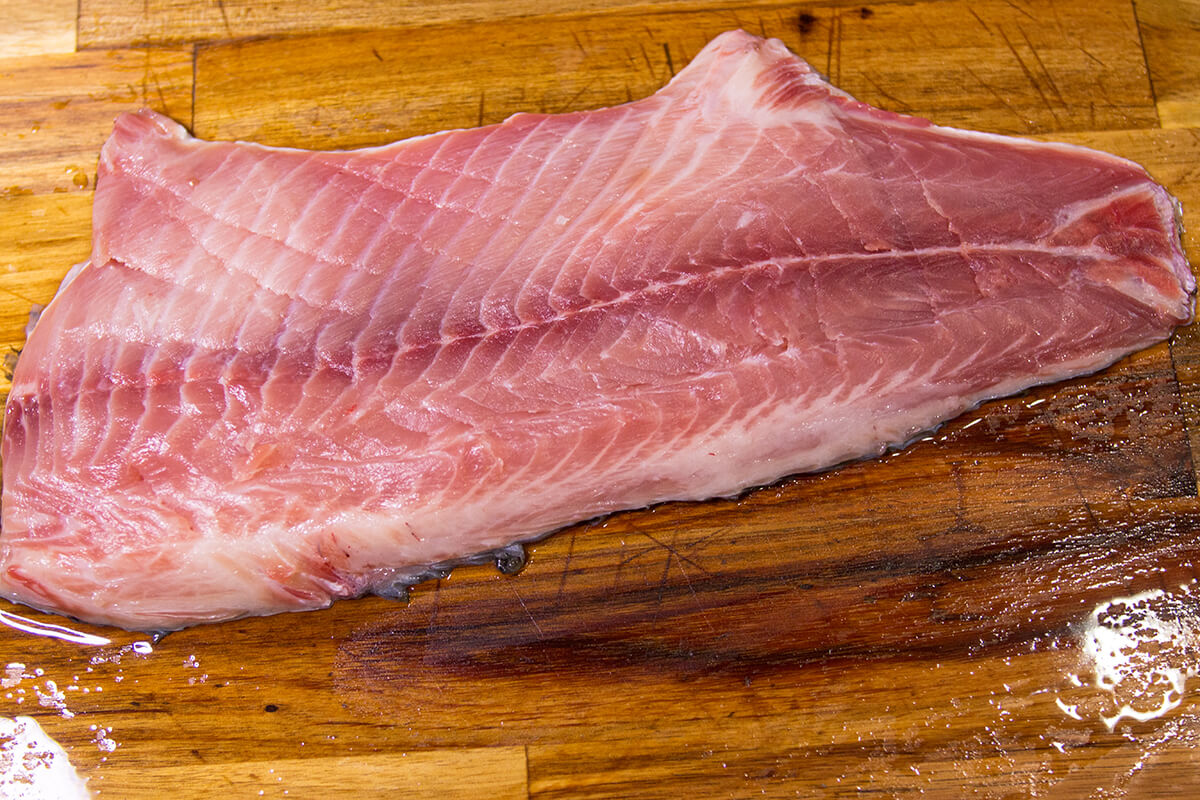
Place the cooked duck on a clean, flat surface. Take a moment to appreciate the crispy skin and succulent meat before you begin the deboning process.
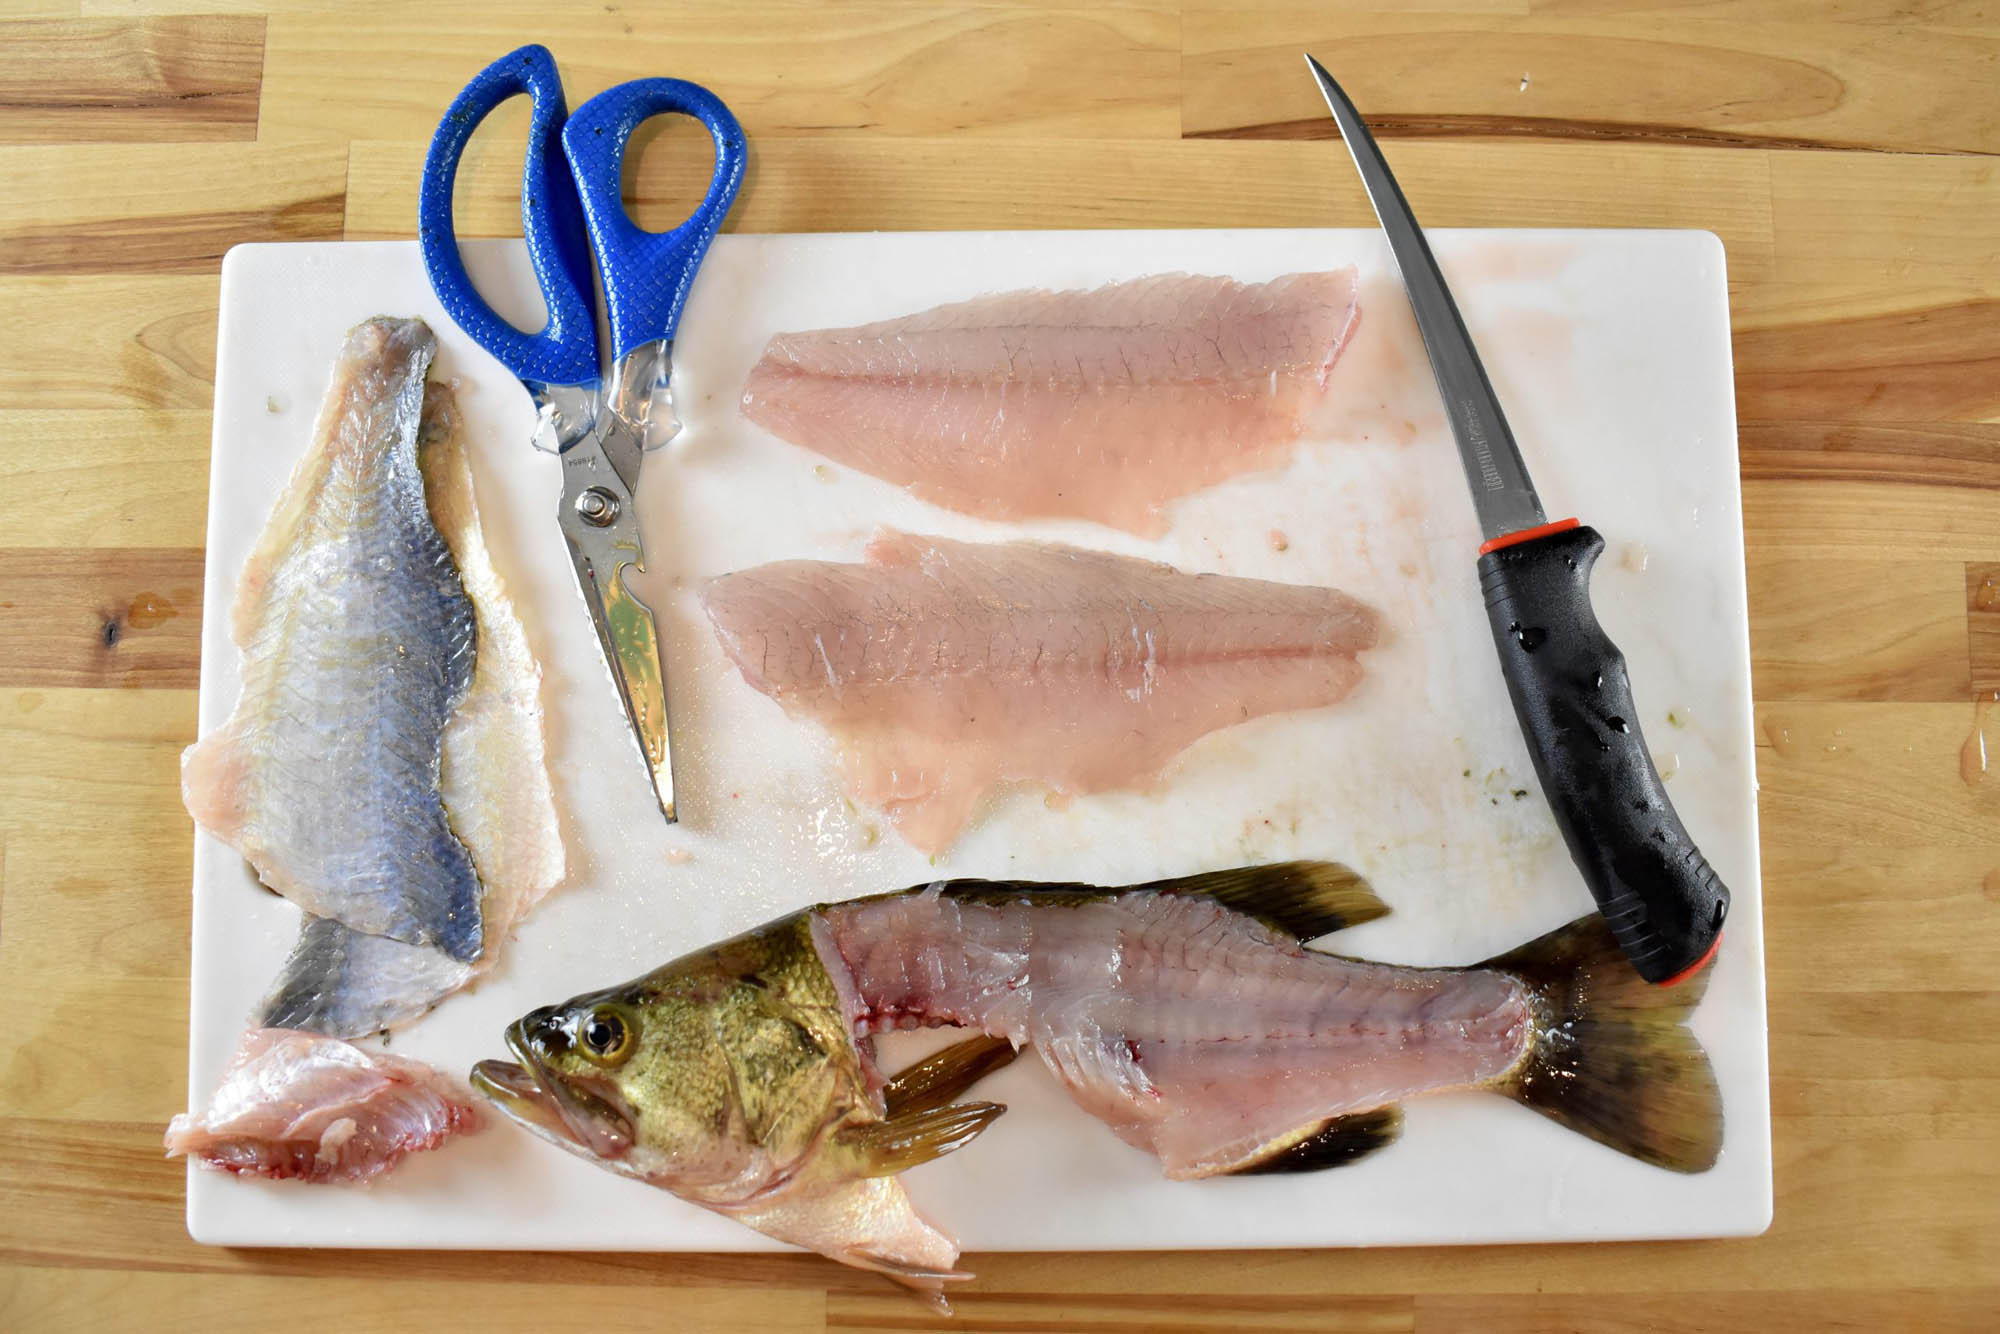
Step 3: Remove the Legs and Wings
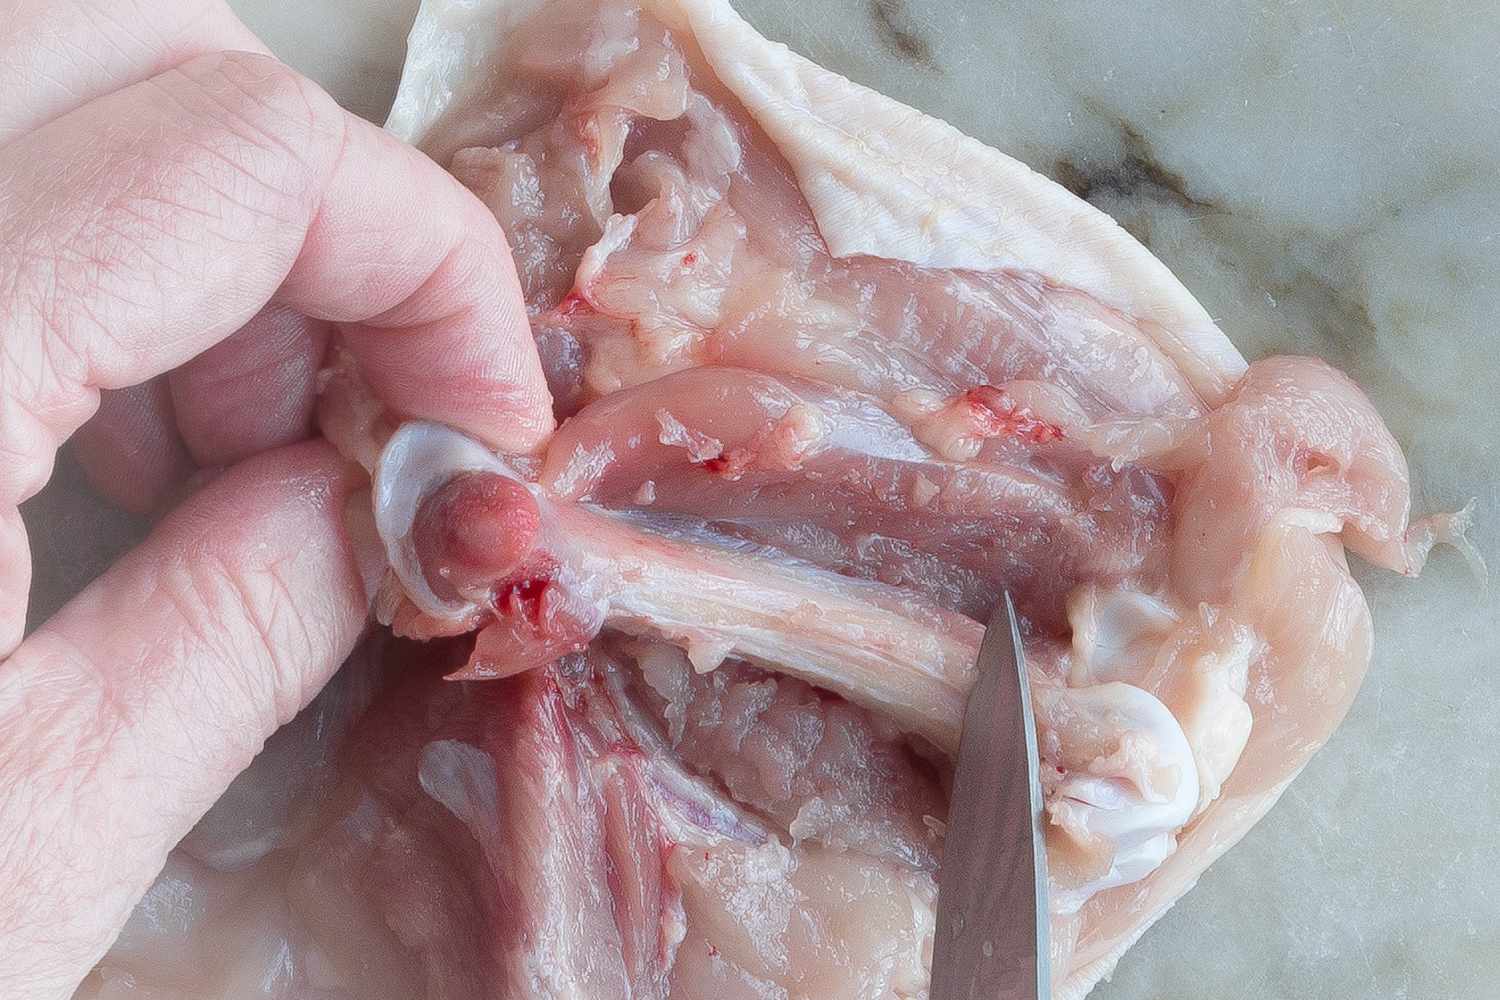
Using your boning knife, carefully separate the legs and wings from the body of the duck. Gently pull the leg away from the body and locate the joint. Use the knife to cut through the joint, separating the leg from the body. Repeat this process for the other leg and the wings.
Step 4: Debone the Breast
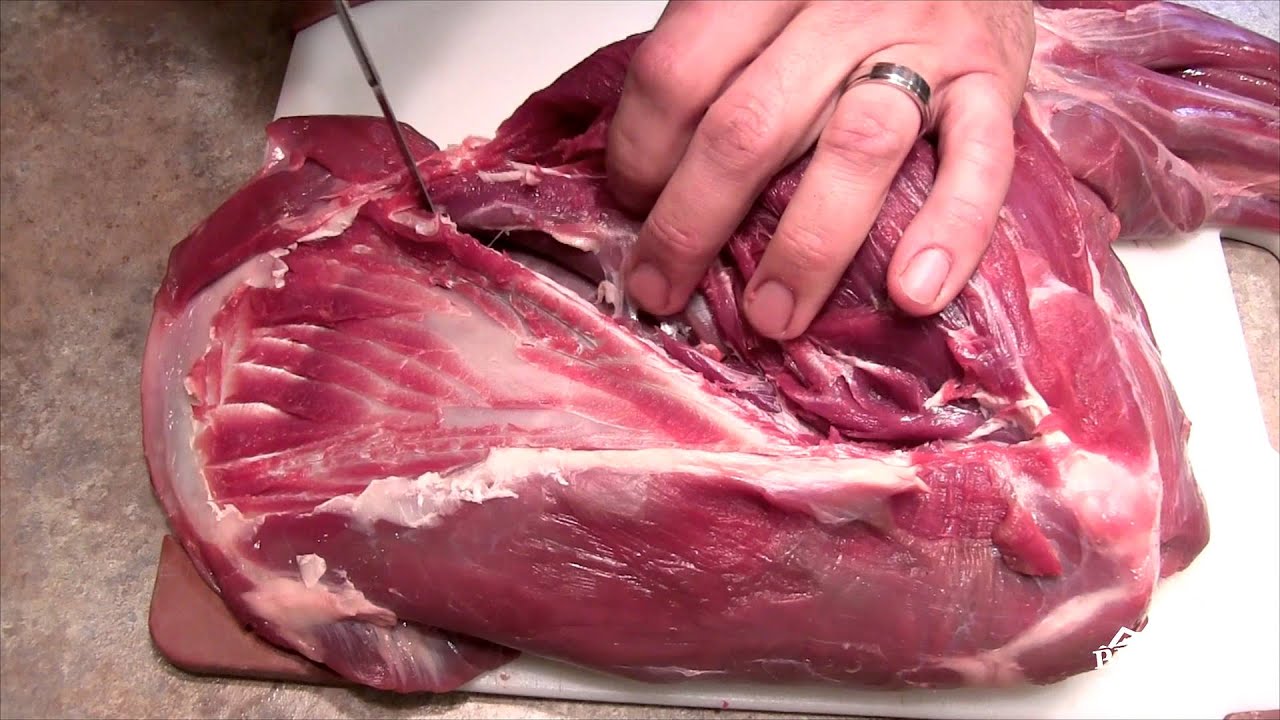
Next, it’s time to debone the breast. Make a long incision along the breastbone to expose the meat. Use the boning knife to carefully separate the meat from the bone, working your way around the ribcage. Take your time and use smooth, deliberate motions to avoid tearing the meat.
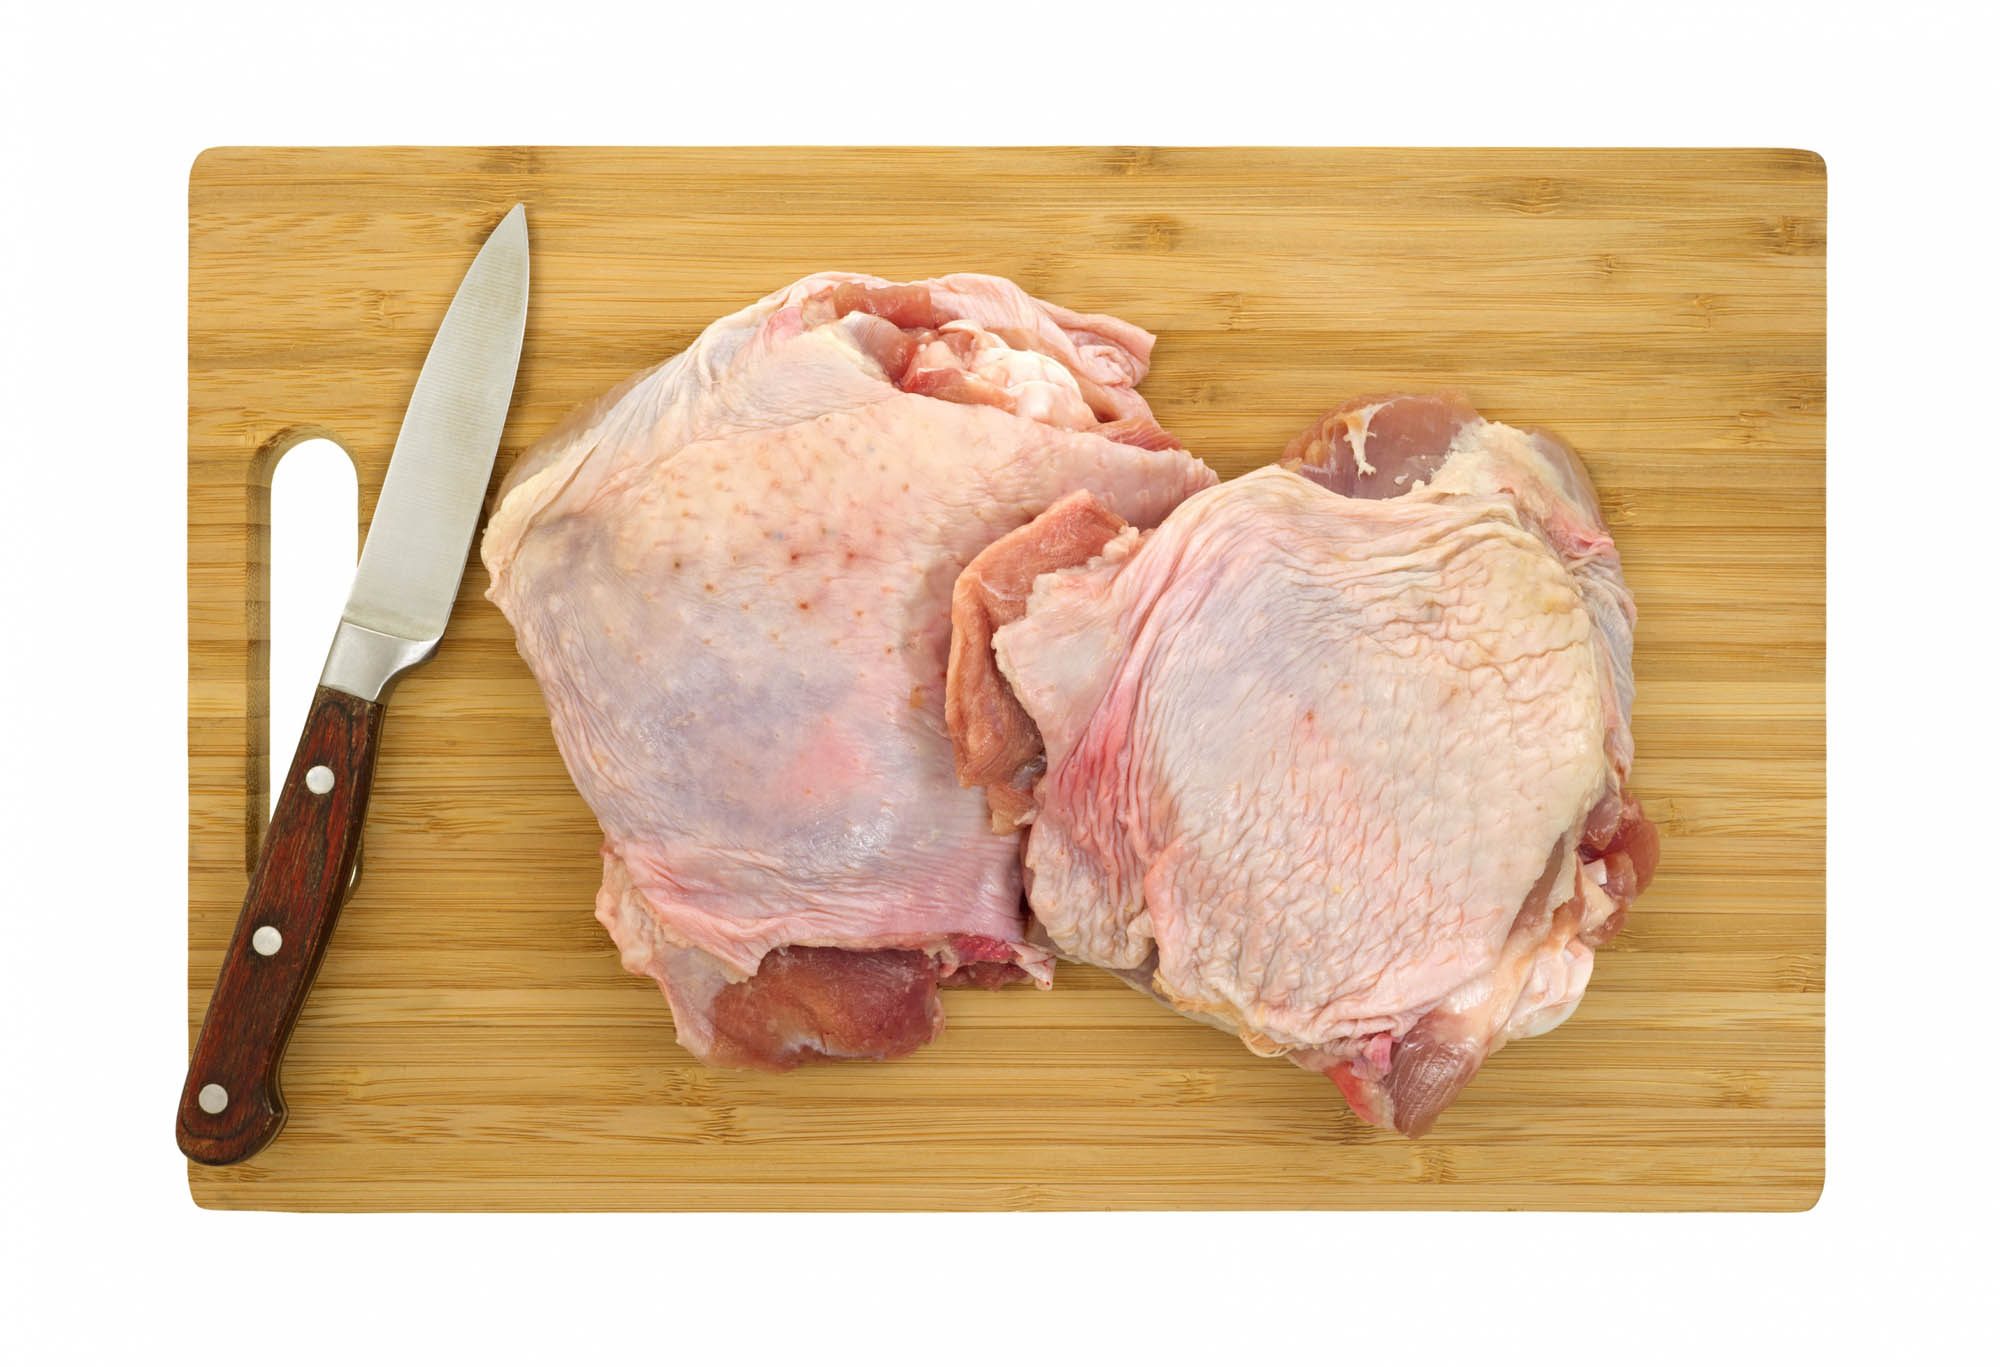
Step 5: Trim and Clean the Meat
Once the breast, legs, and wings have been removed, take a moment to trim any excess fat and clean up the meat. Trim off any excess skin and fat to ensure that the meat is ready to be served.
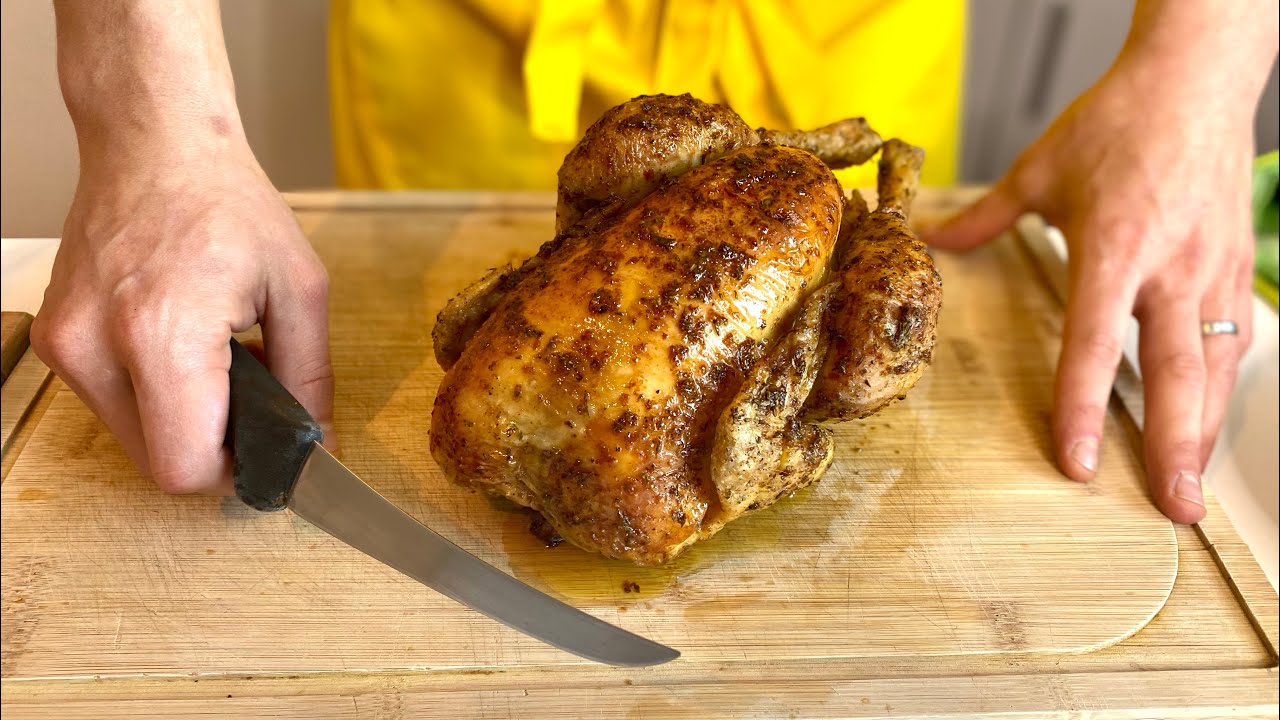
Step 6: Enjoy Your Deboned Duck
Congratulations, you have successfully deboned a cooked duck! Now it’s time to put your culinary skills to the test and create a delicious dish with your deboned duck. Whether you choose to roast, grill, or pan-sear the meat, you can be proud of your accomplishment.
Deboning a cooked duck requires patience and precision, but the end result is well worth the effort. With practice, you’ll become more confident in your deboning skills and may even impress your friends and family with your newfound culinary expertise. So, the next time you have a cooked duck on your hands, don’t be intimidated by the prospect of deboning it. Armed with these steps, you can tackle the task with confidence and enjoy the mouthwatering rewards.
Was this page helpful?
Read Next: How To Debone A Croaker
Related Articles