How to Cut the Hind Quarter of Deer: A Step-by-Step Guide
Are you ready to embark on the journey of processing your own deer? One of the most important steps in this process is learning how to properly cut the hind quarter. By following these step-by-step instructions, you will be able to efficiently and effectively process this portion of the deer.
Before You Begin
Before diving into the cutting process, make sure you have the necessary tools readily available:
- Sharp boning knife
- Cutting board
- Butcher paper or vacuum-sealing system
- Meat grinder (optional)
It’s also important to ensure that the deer has been properly field-dressed and cleaned before proceeding with cutting the hind quarter.
Step 1: Separate the Hind Quarter
Start by locating the natural seam between the hind quarter and the rest of the deer’s body. This is usually found between the hip bone and the pelvis. Caution: Be mindful of any bones or joints as you move forward with this step.
Using a sharp boning knife, carefully separate the hind quarter from the rest of the deer’s body by following along the natural seam. Take your time and cut through any connective tissue or muscles that may be holding the hind quarter in place.
Step 2: Remove the Shank
The shank is the lower portion of the hind leg, which can often be tougher than the rest of the meat. It is usually attached to the main portion of the hind quarter by a joint. To remove the shank, locate the joint and make a clean cut through it.
Tip: The shank can be used for making delicious venison stews or braising recipes.
Step 3: Separate the Top and Bottom Round
Now that you have removed the shank, it’s time to separate the hind quarter into the top round and bottom round portions. Start by locating the natural seam between these two sections. Using your boning knife, carefully cut through the connective tissue and separate the top round from the bottom round.
Tip: The top round is generally leaner and can be used for making jerky or roasts, while the bottom round is slightly more tender and suitable for making steaks.
Step 4: Trim and Package
With the hind quarter separated into the desired sections, now is the time to trim any excess fat or silver skin from the meat. This will enhance the overall taste and texture of the venison. Additionally, make sure to trim away any visible connective tissue or gristle.
Once the trimming is done, you can choose to either package the meat for freezing or further process it into ground venison. If you opt for packaging, ensure each section is wrapped tightly in butcher paper or vacuum-sealed to prevent freezer burn.
Final Thoughts
Cutting the hind quarter of a deer requires precision and patience. By following this step-by-step guide, you can confidently process this portion of the deer with ease. Remember, practice makes perfect, so don’t be discouraged if it takes a few attempts to master this skill. Enjoy the satisfaction of knowing that you can now prepare delicious venison dishes using your own homemade cuts!
With the guide on how to cut the hind quarter of a deer, readers can dive into a variety of venison recipes. They might want to try their hand at making Venison Chili, which features tender chunks of meat perfect for a hearty meal. Another excellent choice is Venison Jerky; this recipe allows for the preservation of the meat and is perfect for snacks. For those craving comfort food, Venison Shepherd's Pie offers a rich and flavorful option. If you're in the mood for something a bit more sophisticated, Venison Steaks with Red Wine Reduction will not disappoint. Each recipe offers a unique way to enjoy venison, showcasing the versatility and rich flavors of the meat.
Was this page helpful?
Read Next: How To Cut A Pork Butt In Half
Related Articles
How To Cut French Green Beans
How To Cut Fish For Sushi Rolls
How To Cut Corn Cobs In Quarters
How To Cut Pumpkin Easily
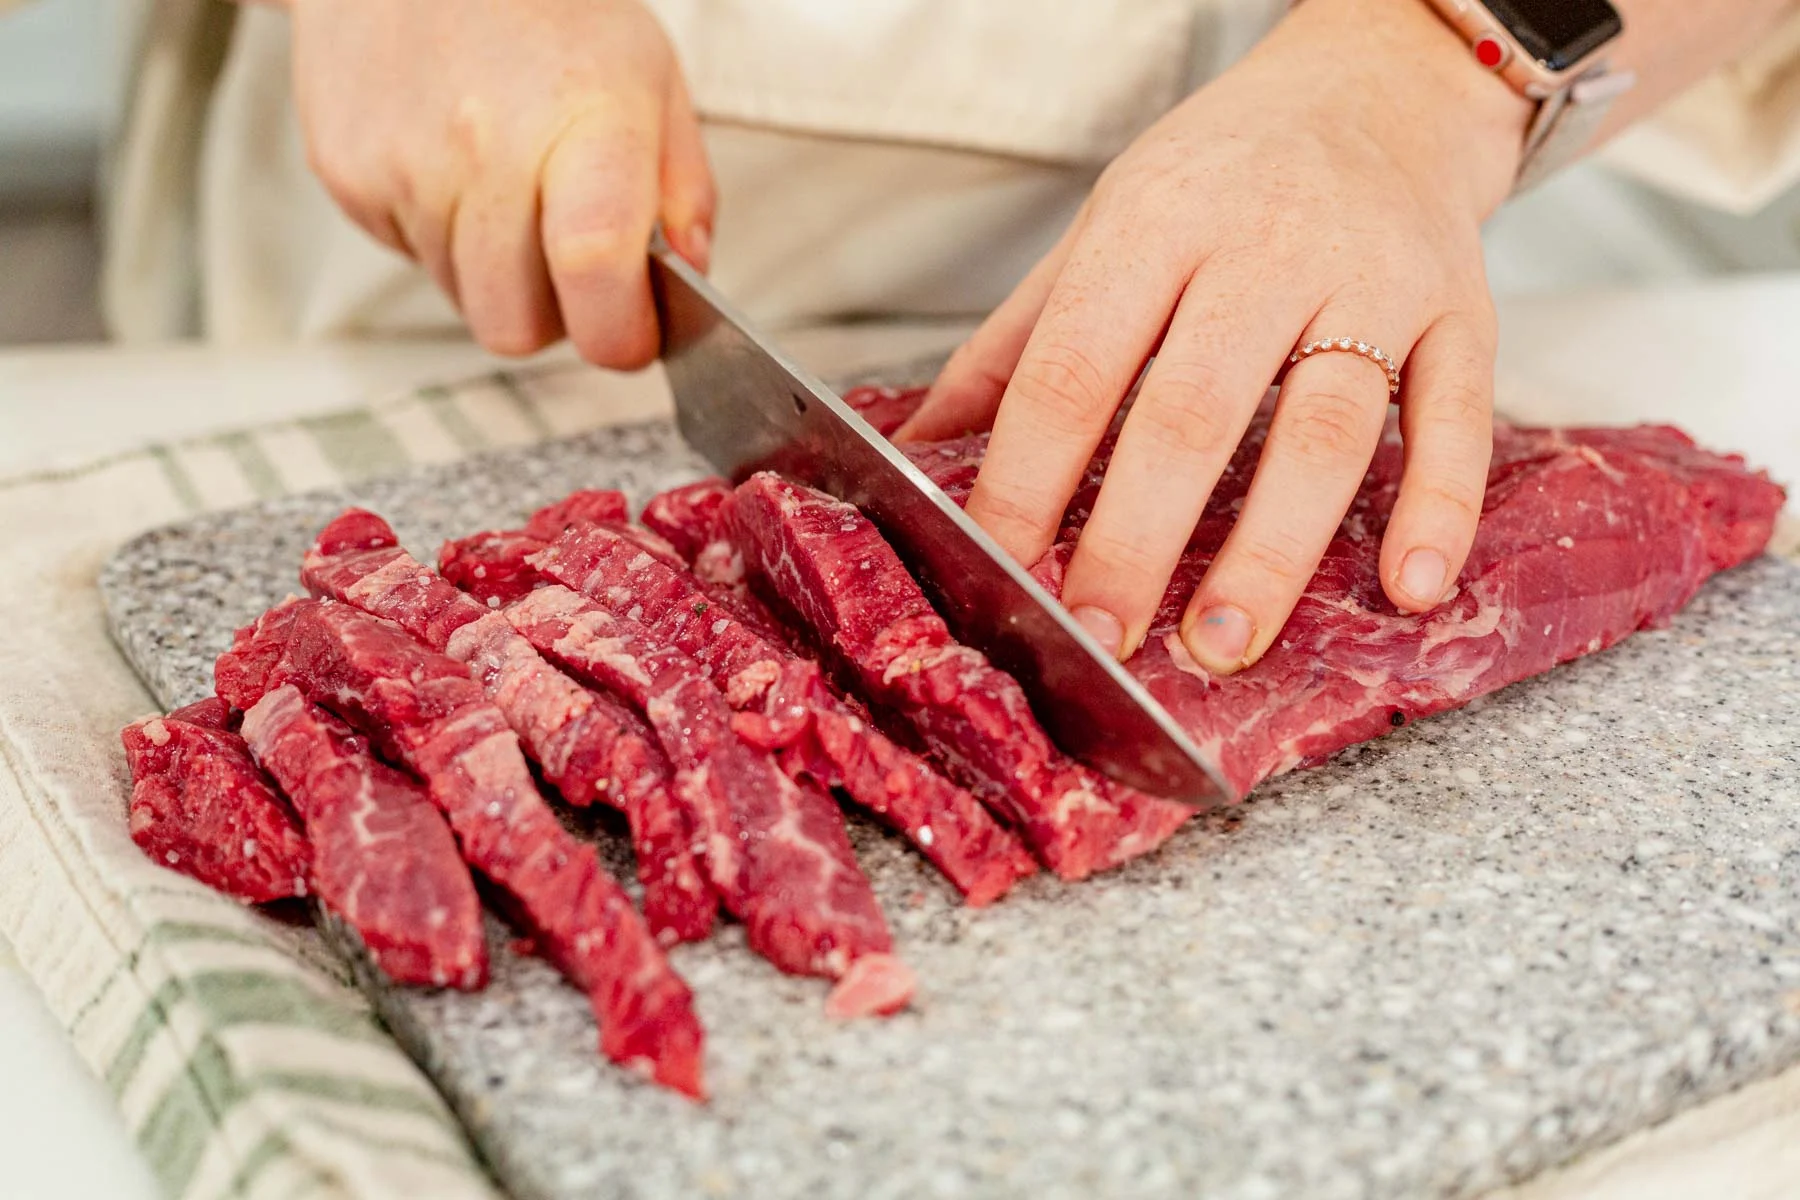
How To Cut Raw Steak
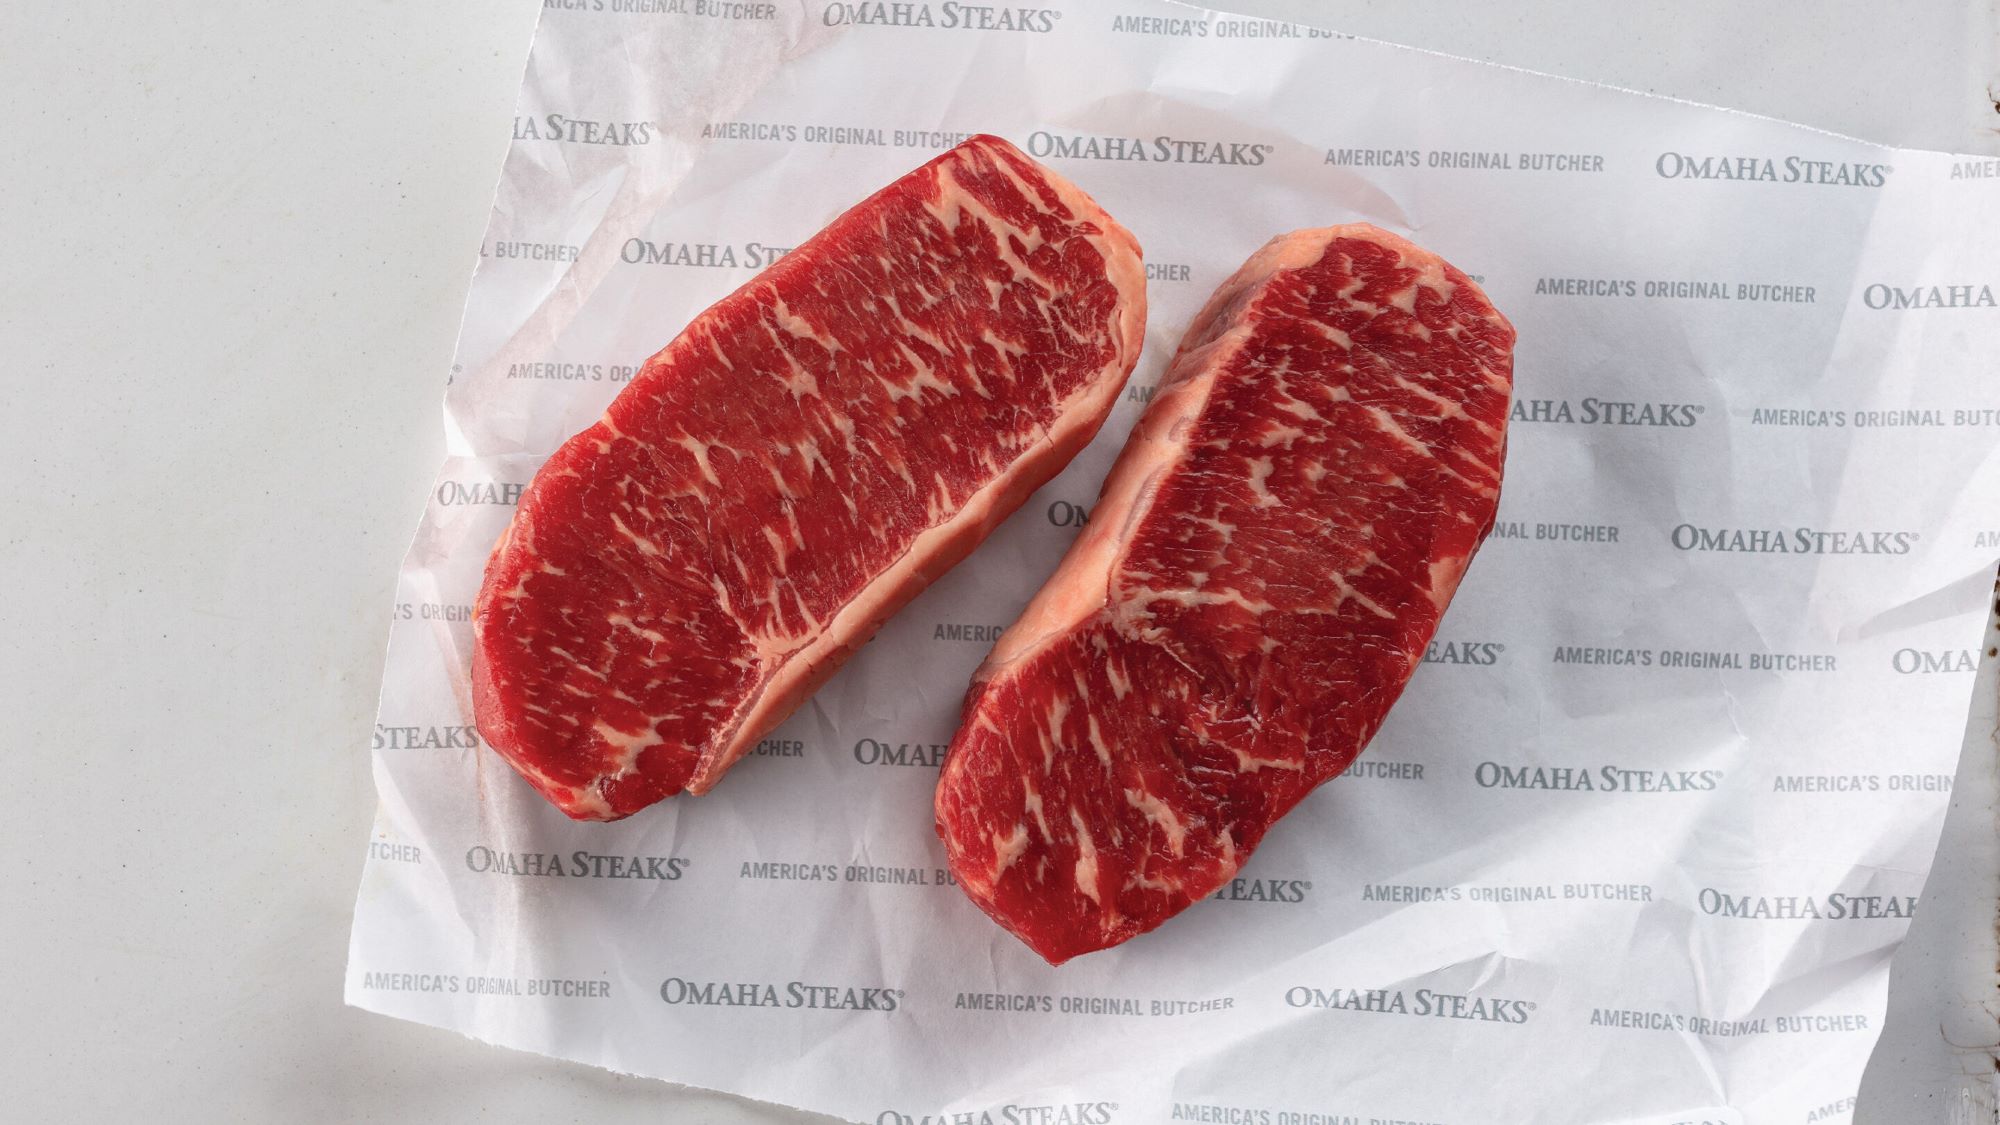
How To Cut New York Steak
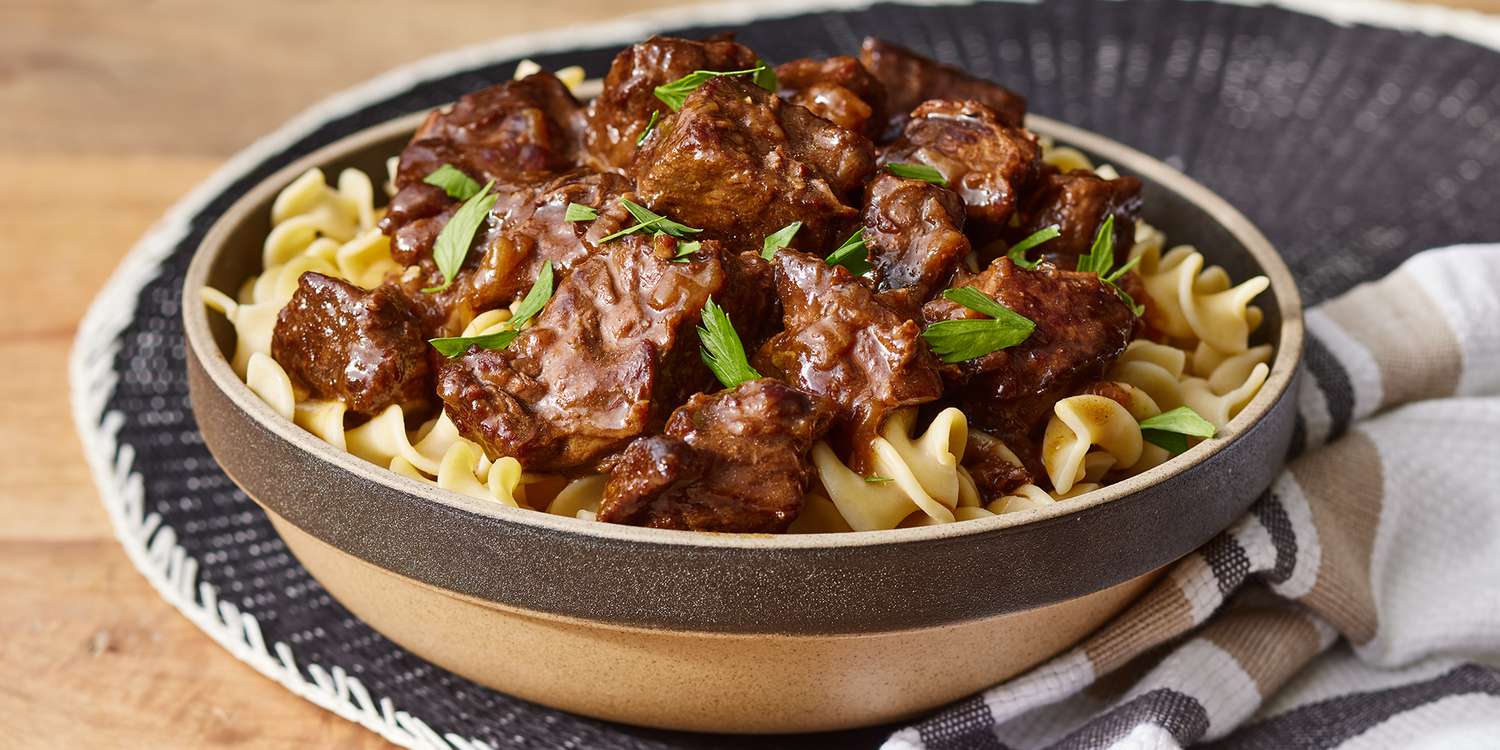
How To Cut Beef Tips
How To Cut Chicken Thigh
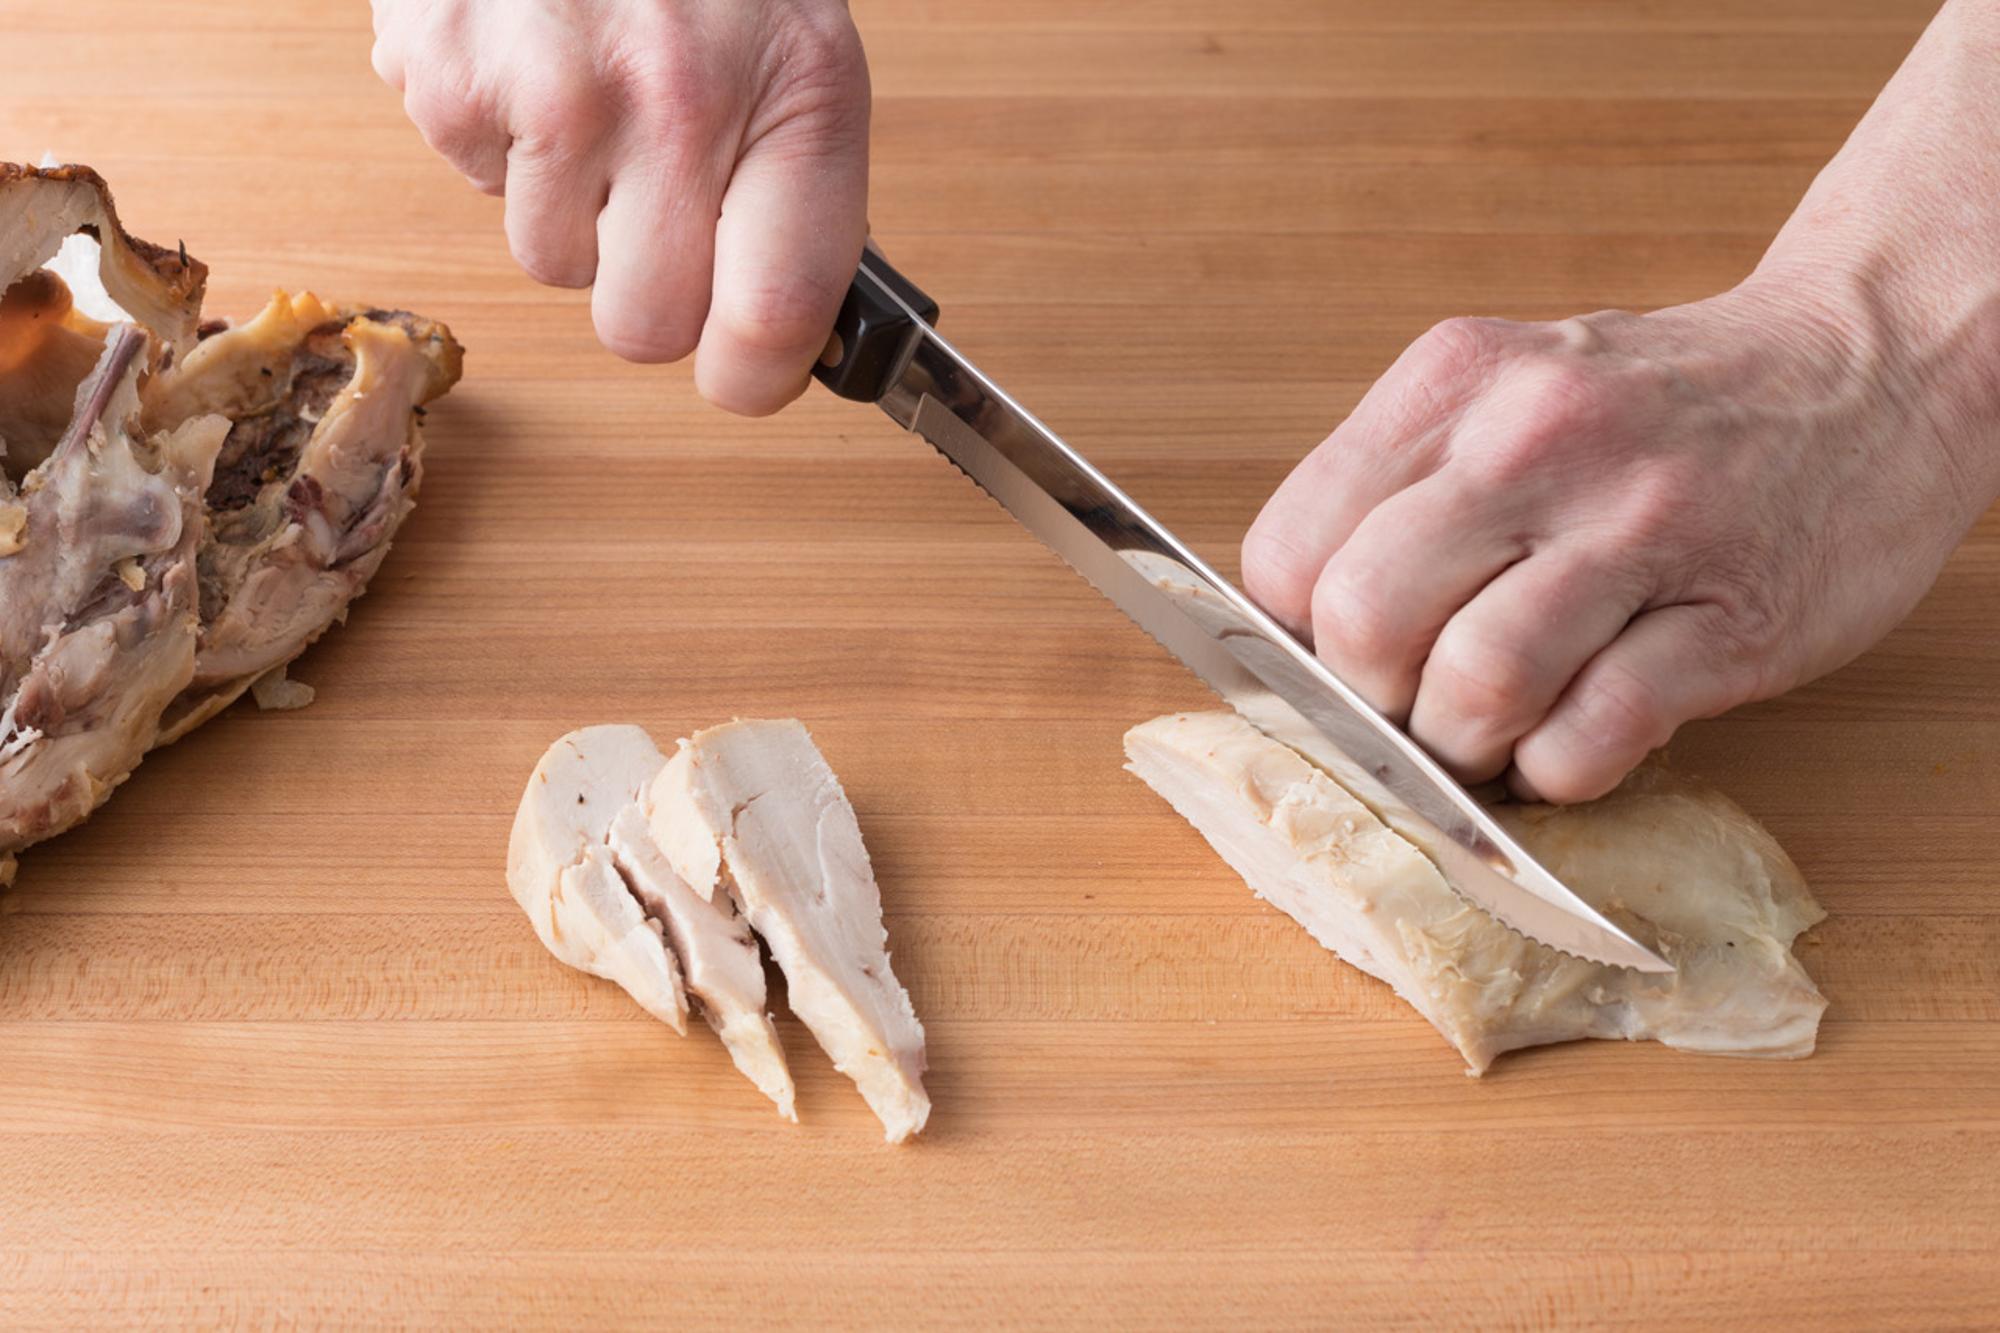
How To Cut Up A Whole Rotisserie Chicken
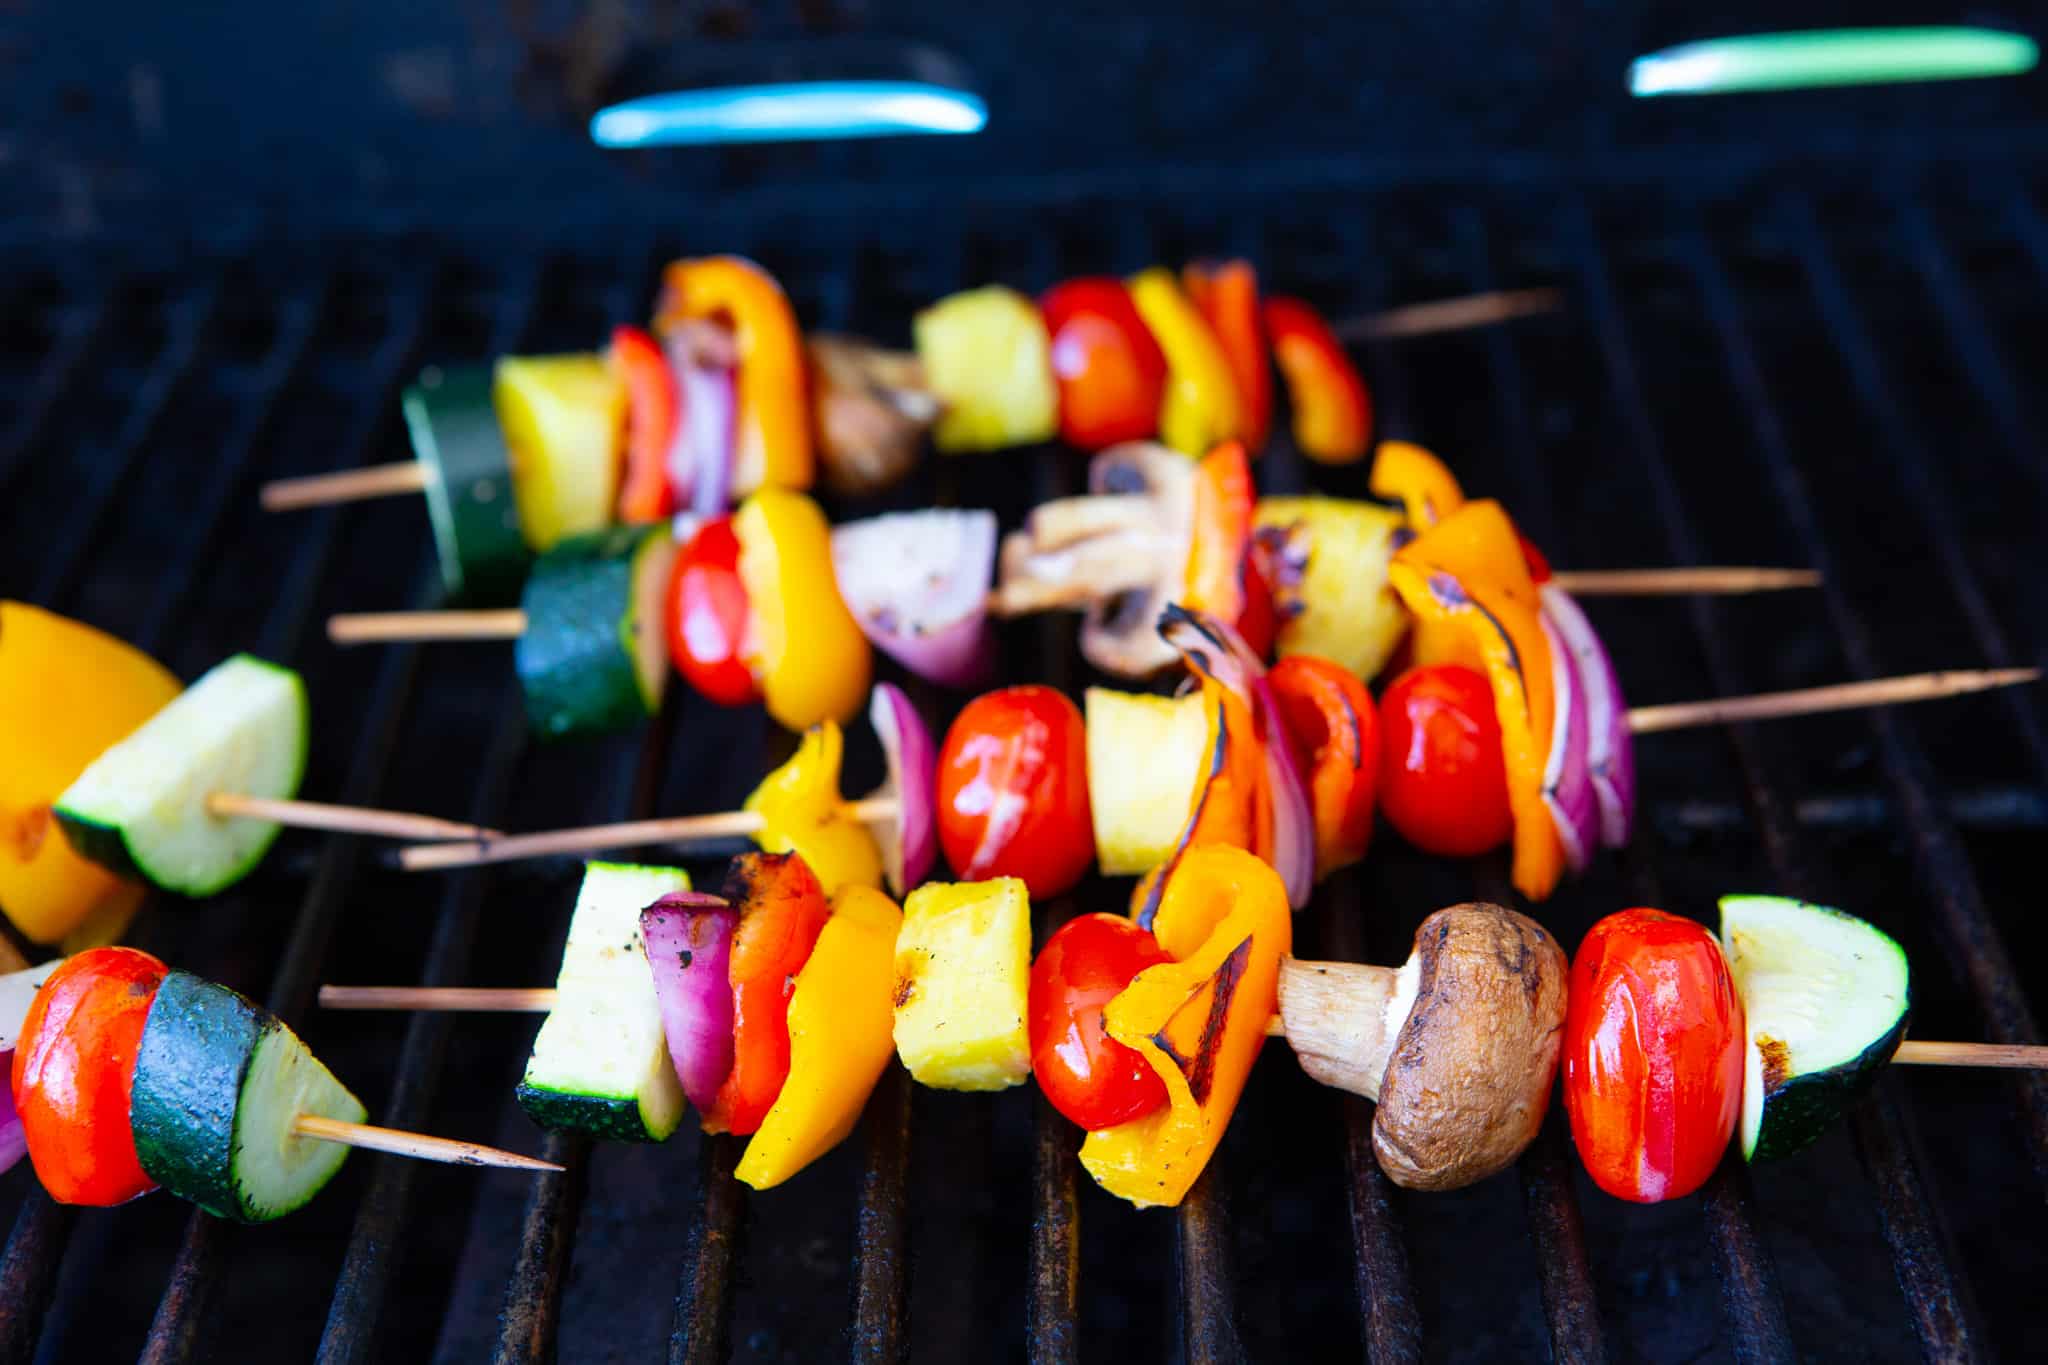
How To Cut Peppers And Onions For Kabobs
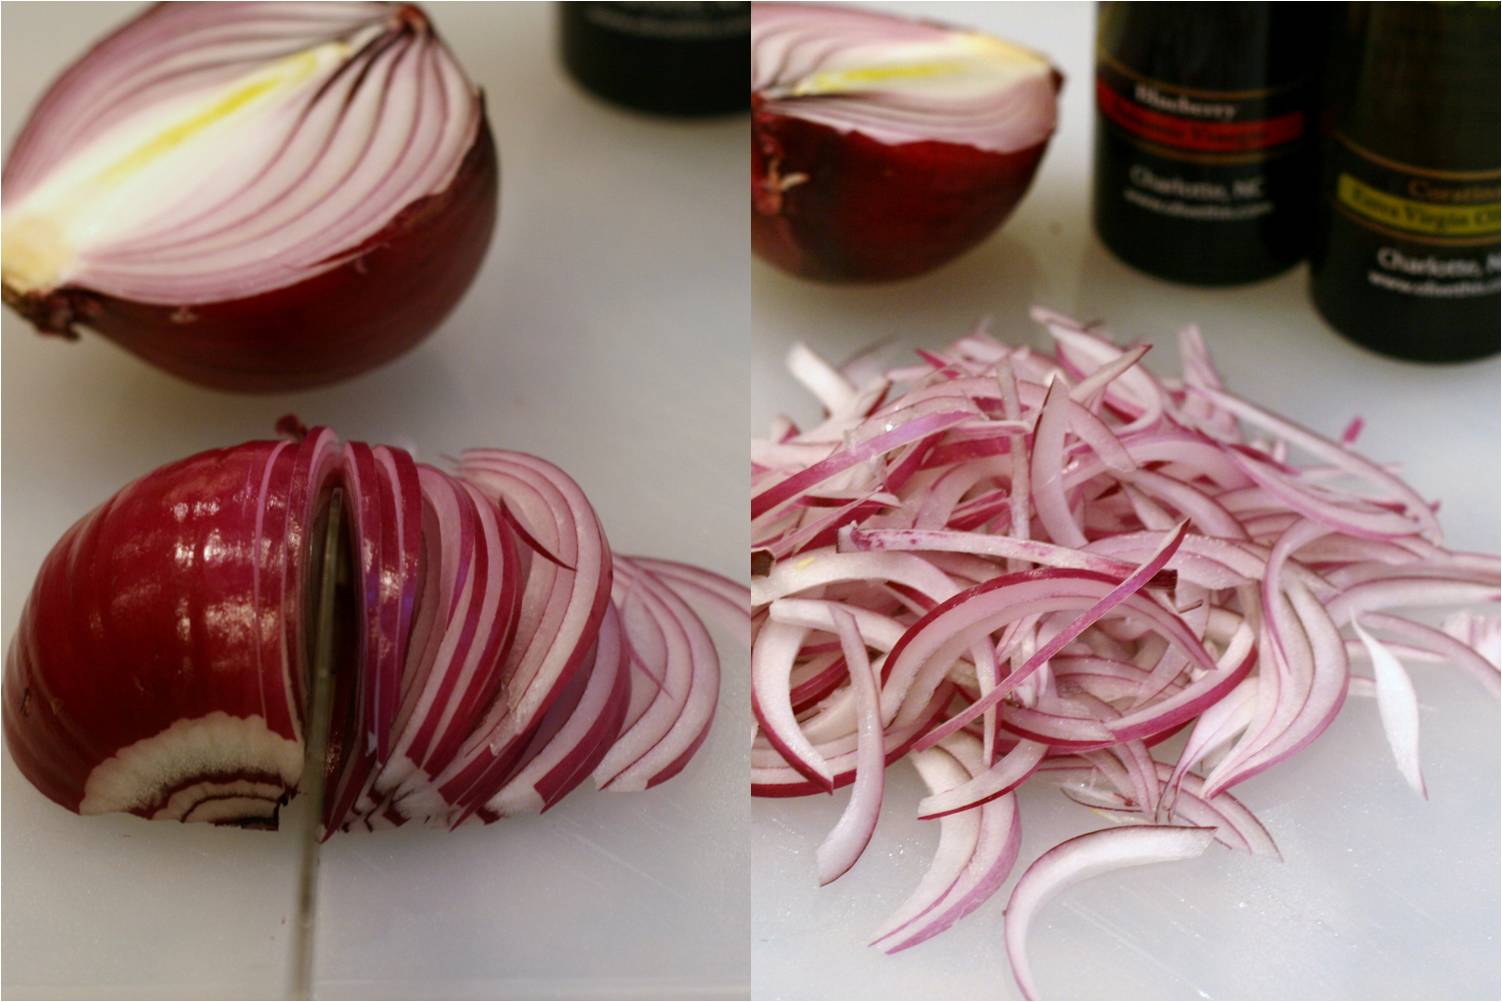
How To Cut Onions For A Salad